

Hi Everyone! This is Elizabeth from 217 Creations. For the month of June we are featuring the Heritage cartridge. I am huge fan of vintage inspired art. This cartridge has some pretty amazing features too. This centerpiece shows many of the great features available on this cartridge.
The Base
The base of this centerpiece is from a flower pot inside Target Dollar Spot. The color was horrible for this project.
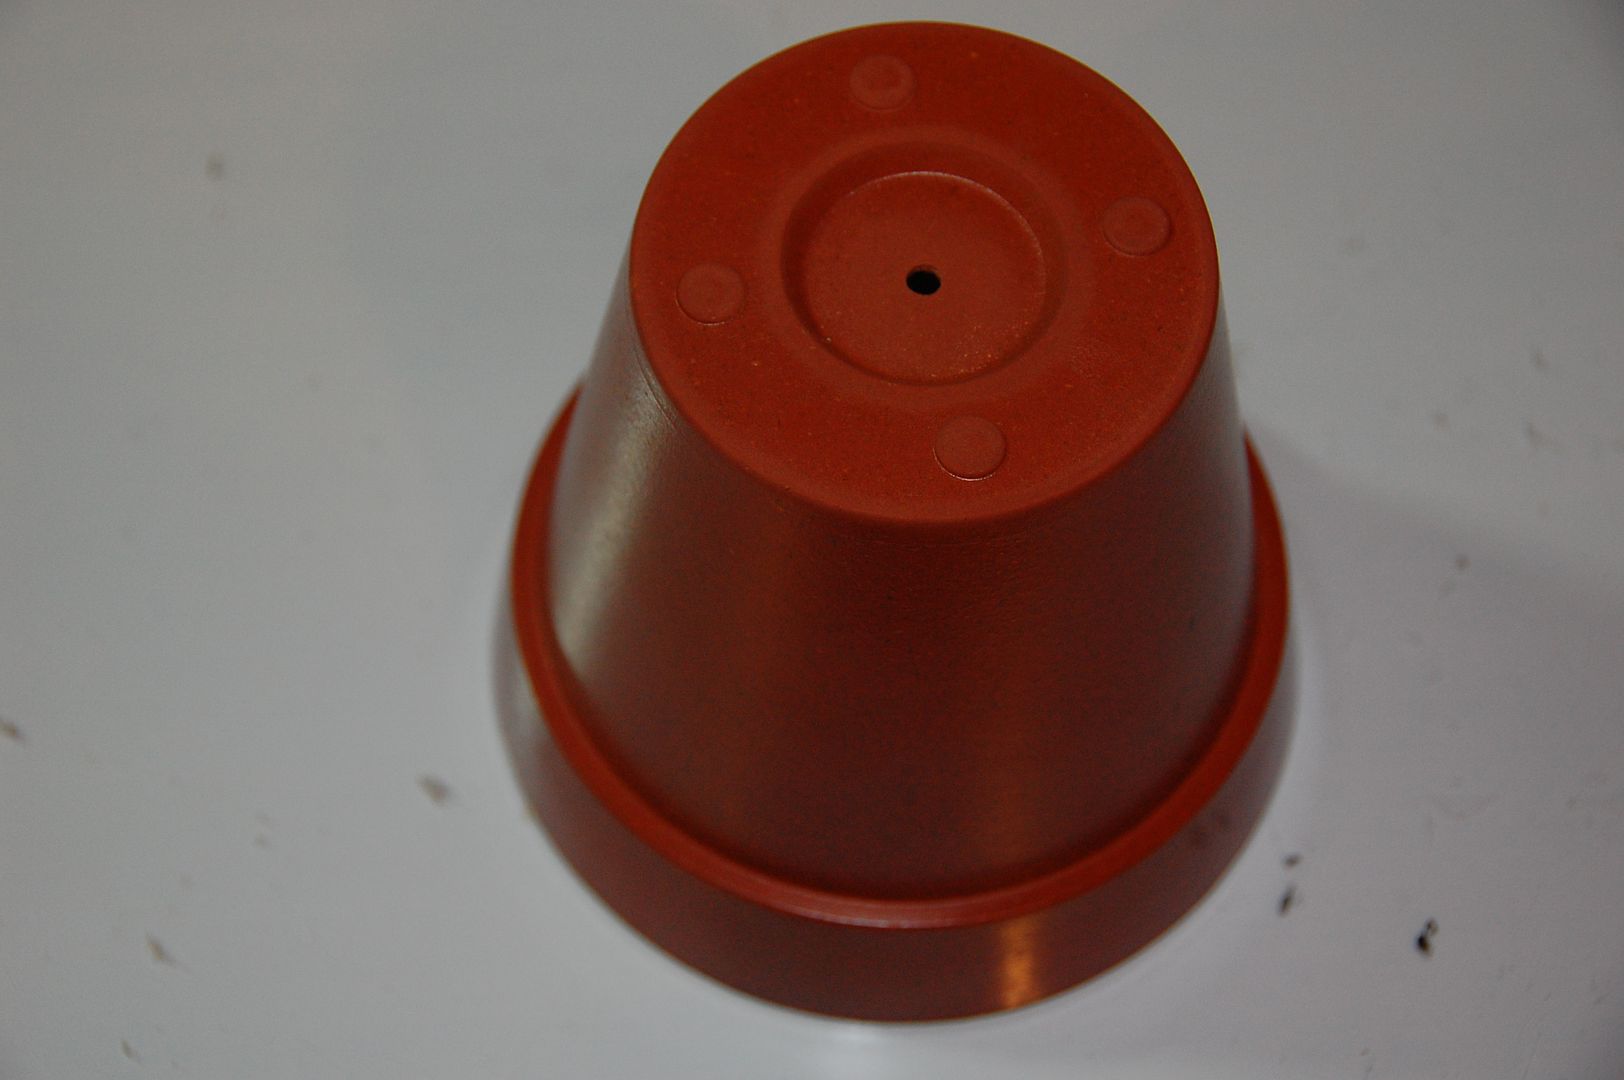
So I took Acrylic paint and used a faux painting technique to enhance and alter the flower pot.

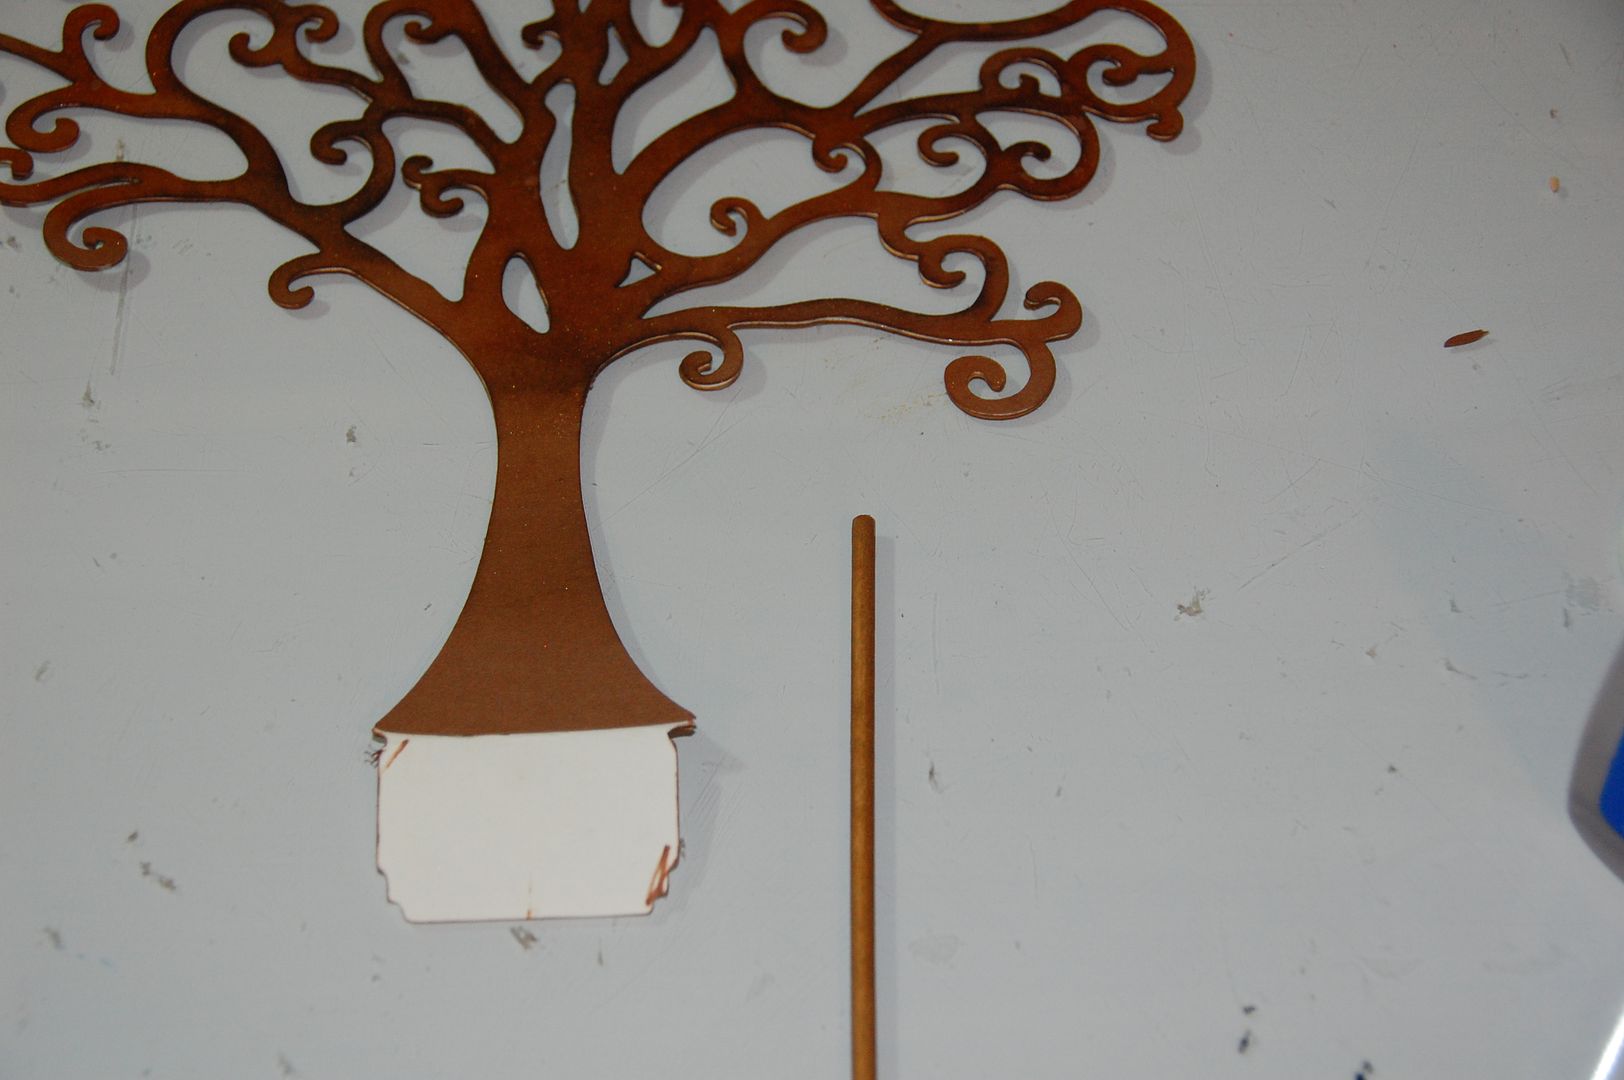
I took the same paint and painted a 3/16 inch wooden dowel that was cut to 8inches. This wooden dowel will slide into the bottom of the flower pot.
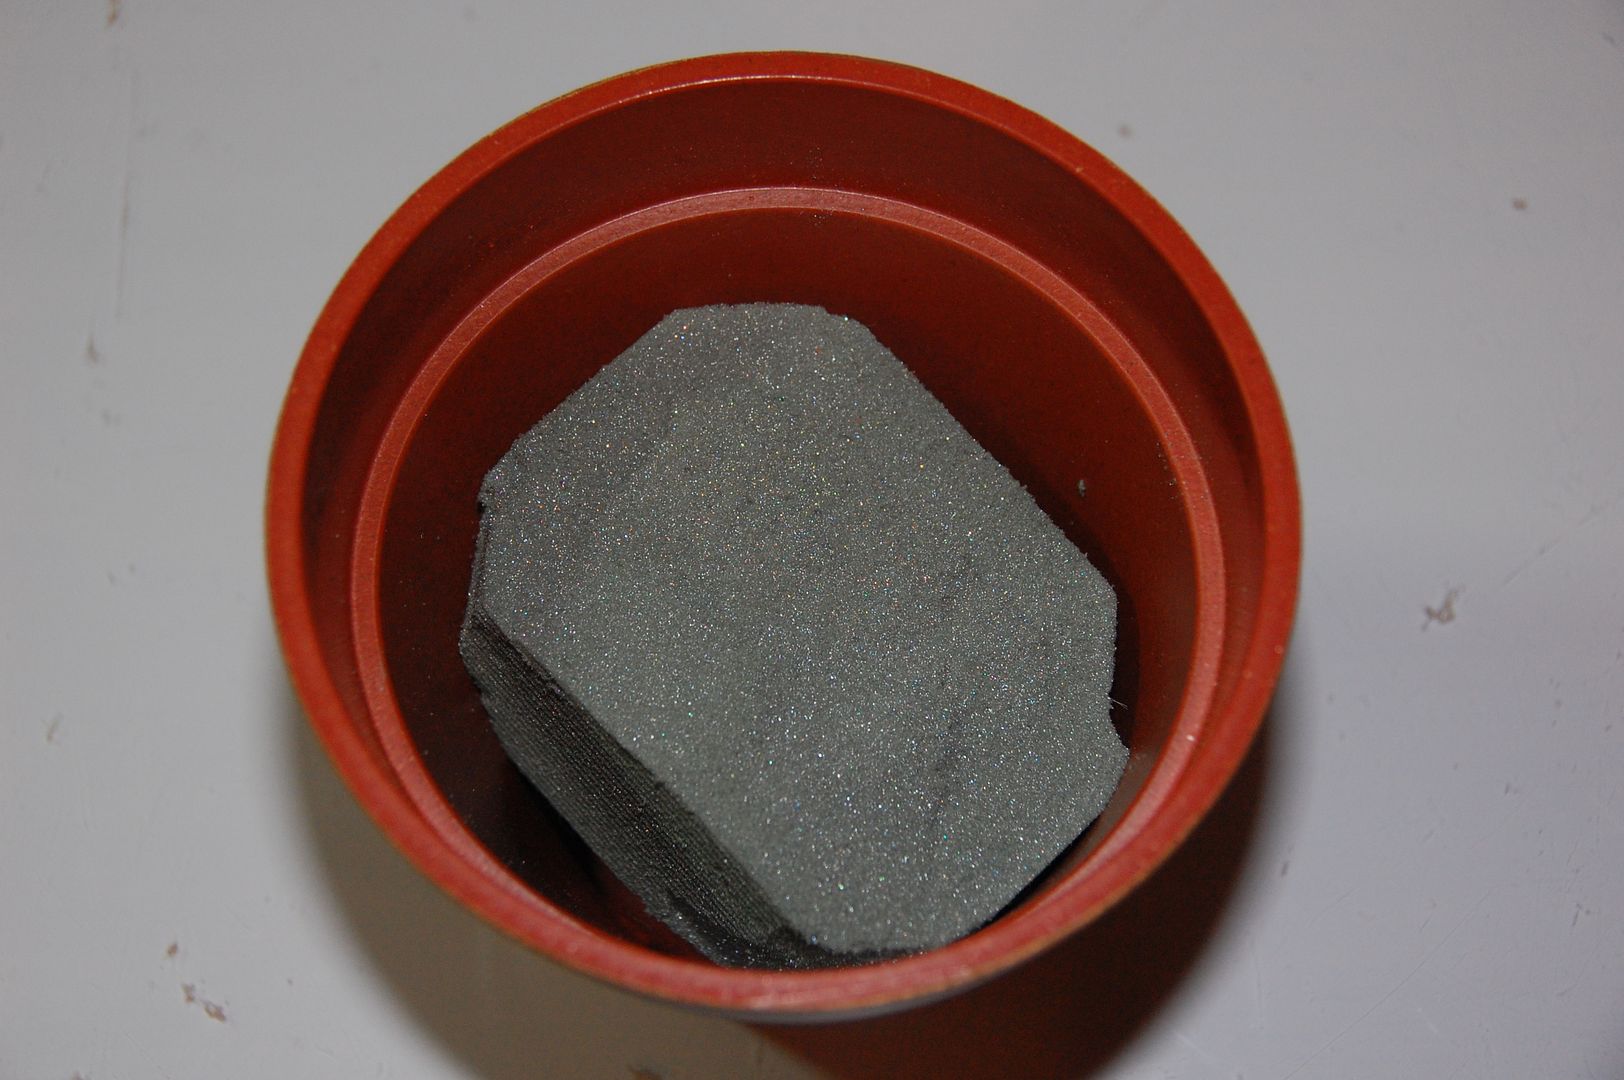
Next I took a small piece of floral foam and hot glued it to the inside of the flower pot.
The Tree
This tree image is one of my favorite images from Heritage. It has swirls and hooks, and really it was the inspiration for this project. The tree in this file has a small wedge welded to the bottom to help the tree stand up. I cut this image twice from posterboard.

The way I would have a front layer and a back layer.
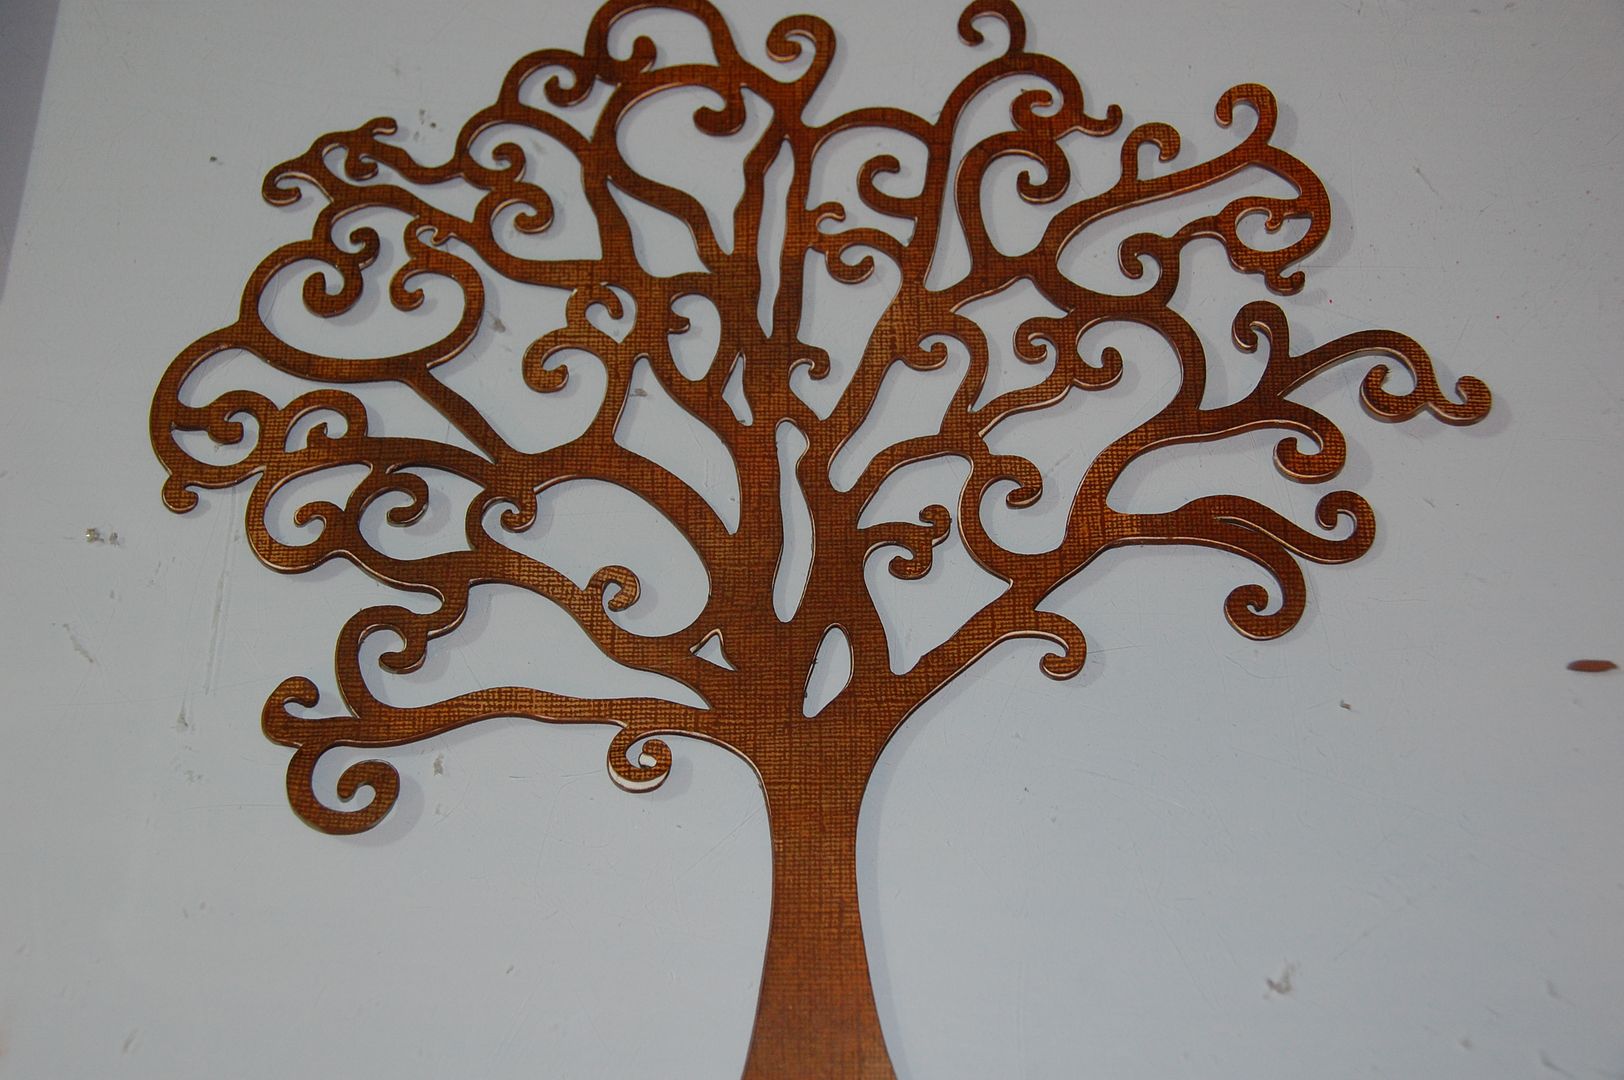
Next I cut the Tree image alone (without the wedge) 4 times: twice with Coredinations cardstock (outside layer) and twice with smooth Bazzill cardstock (inside layer). This tree was cut at 10.80 inches.
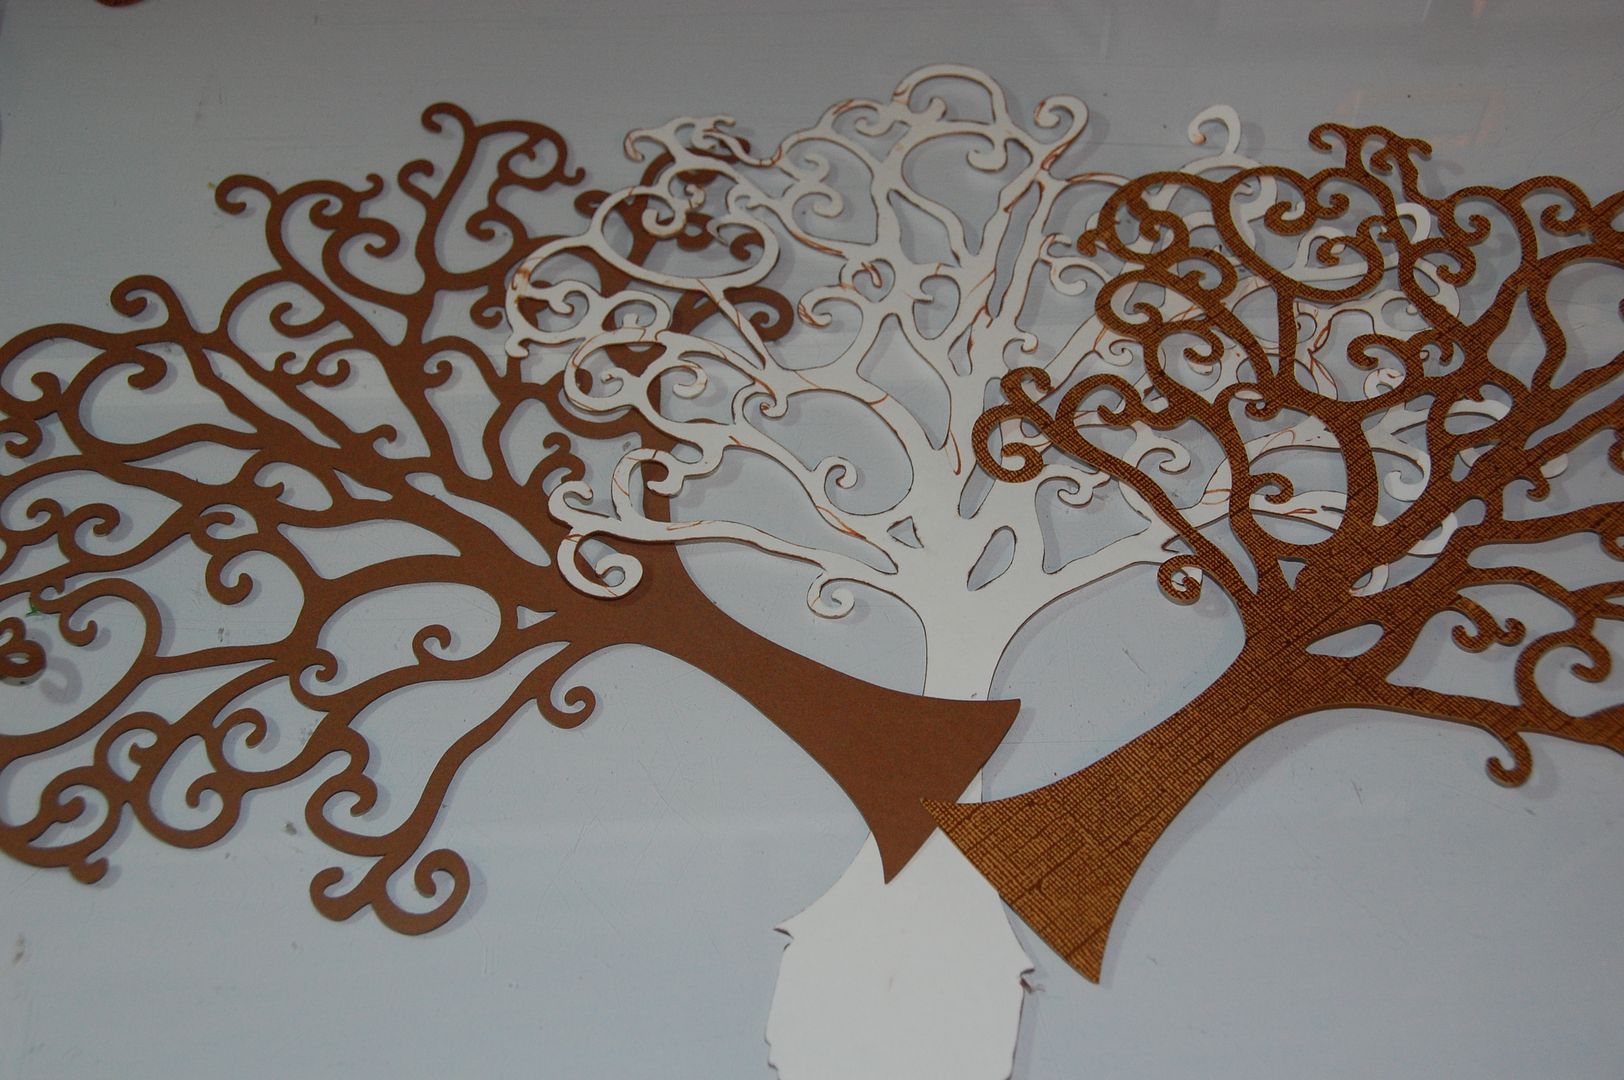
I chose to use two different cardstocks to add dimension. The edges of the cuts were inked with Chestnut Roan from ColorBox. I also took my Tim Holtz inking tool and inked towards the inside of the tree branches with Rusty Hinge and Walnut Stain Distress Ink . Next I adhered the inside layer to my two trees. The my outside layer.

Then I took my painted dowel and hot glued it between the two layers of the tree so my Coordinations Paper faced outward on the front and the back.

I then pushed the dowel through the hole in the flower pot.
The final touch for the tree portion is the leaves.
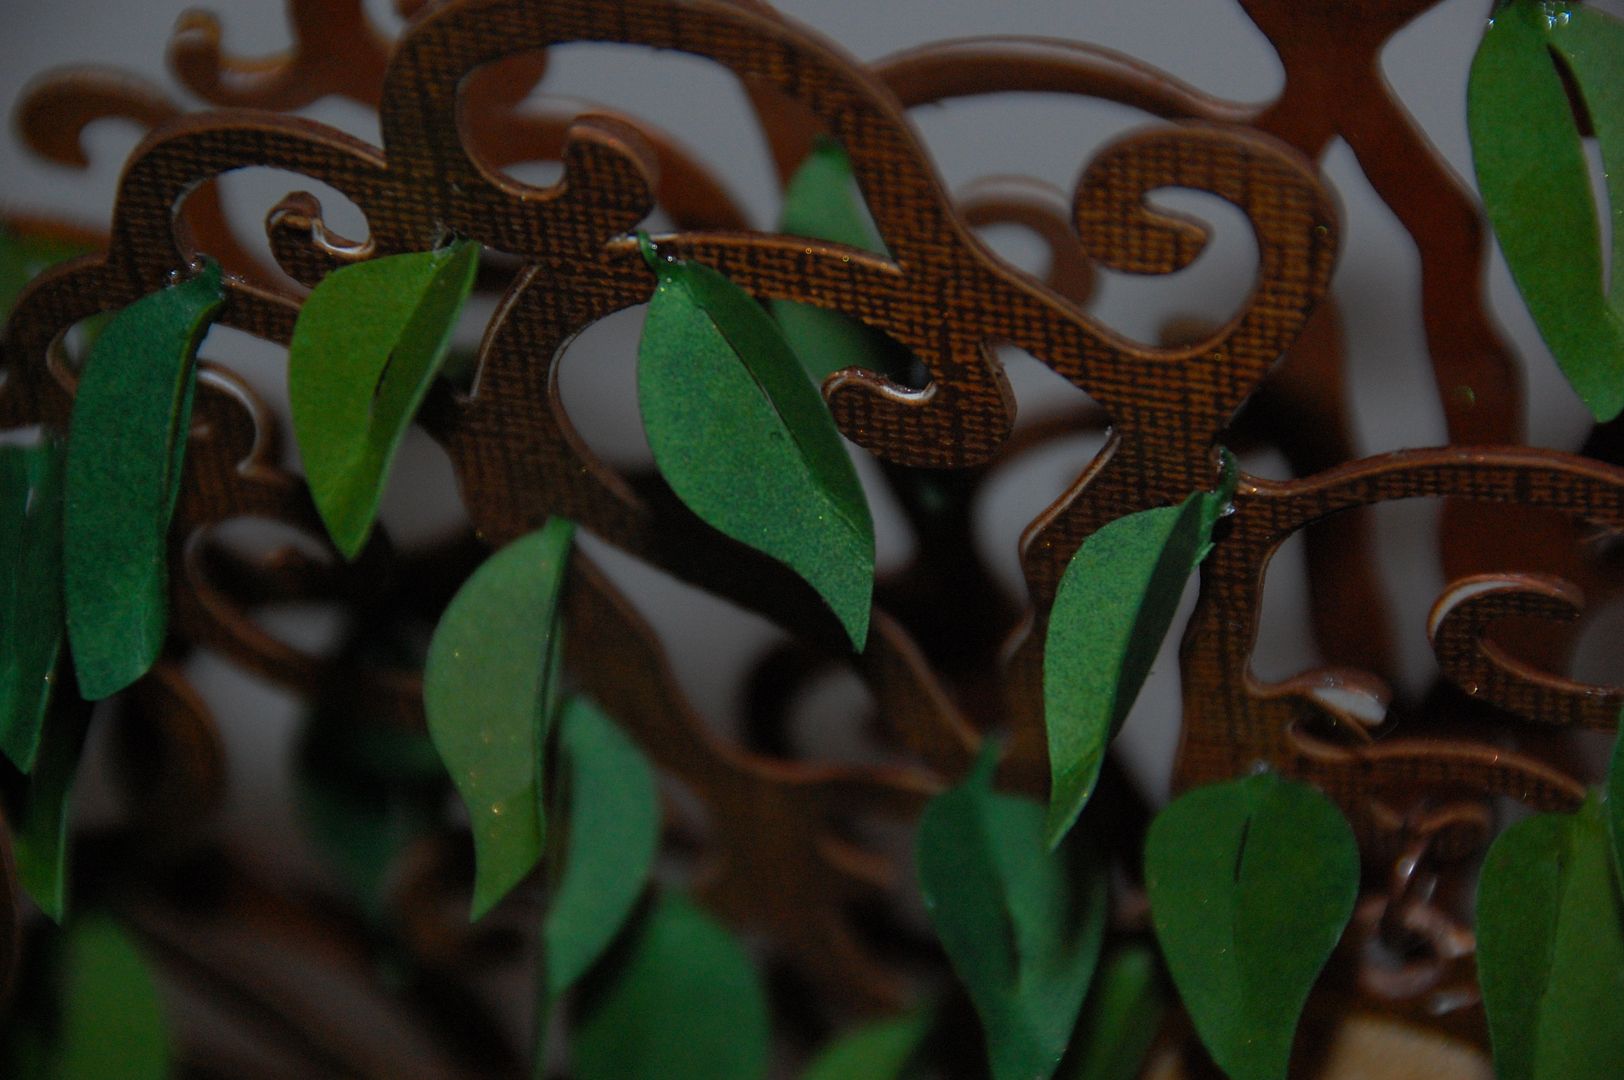
The leaves were cut at 1.72 inches and were inked with Crushed Olive and Pine Needles Distress Ink. I used Zip Dry glue to adhere the leaves between the layers.
The Charms
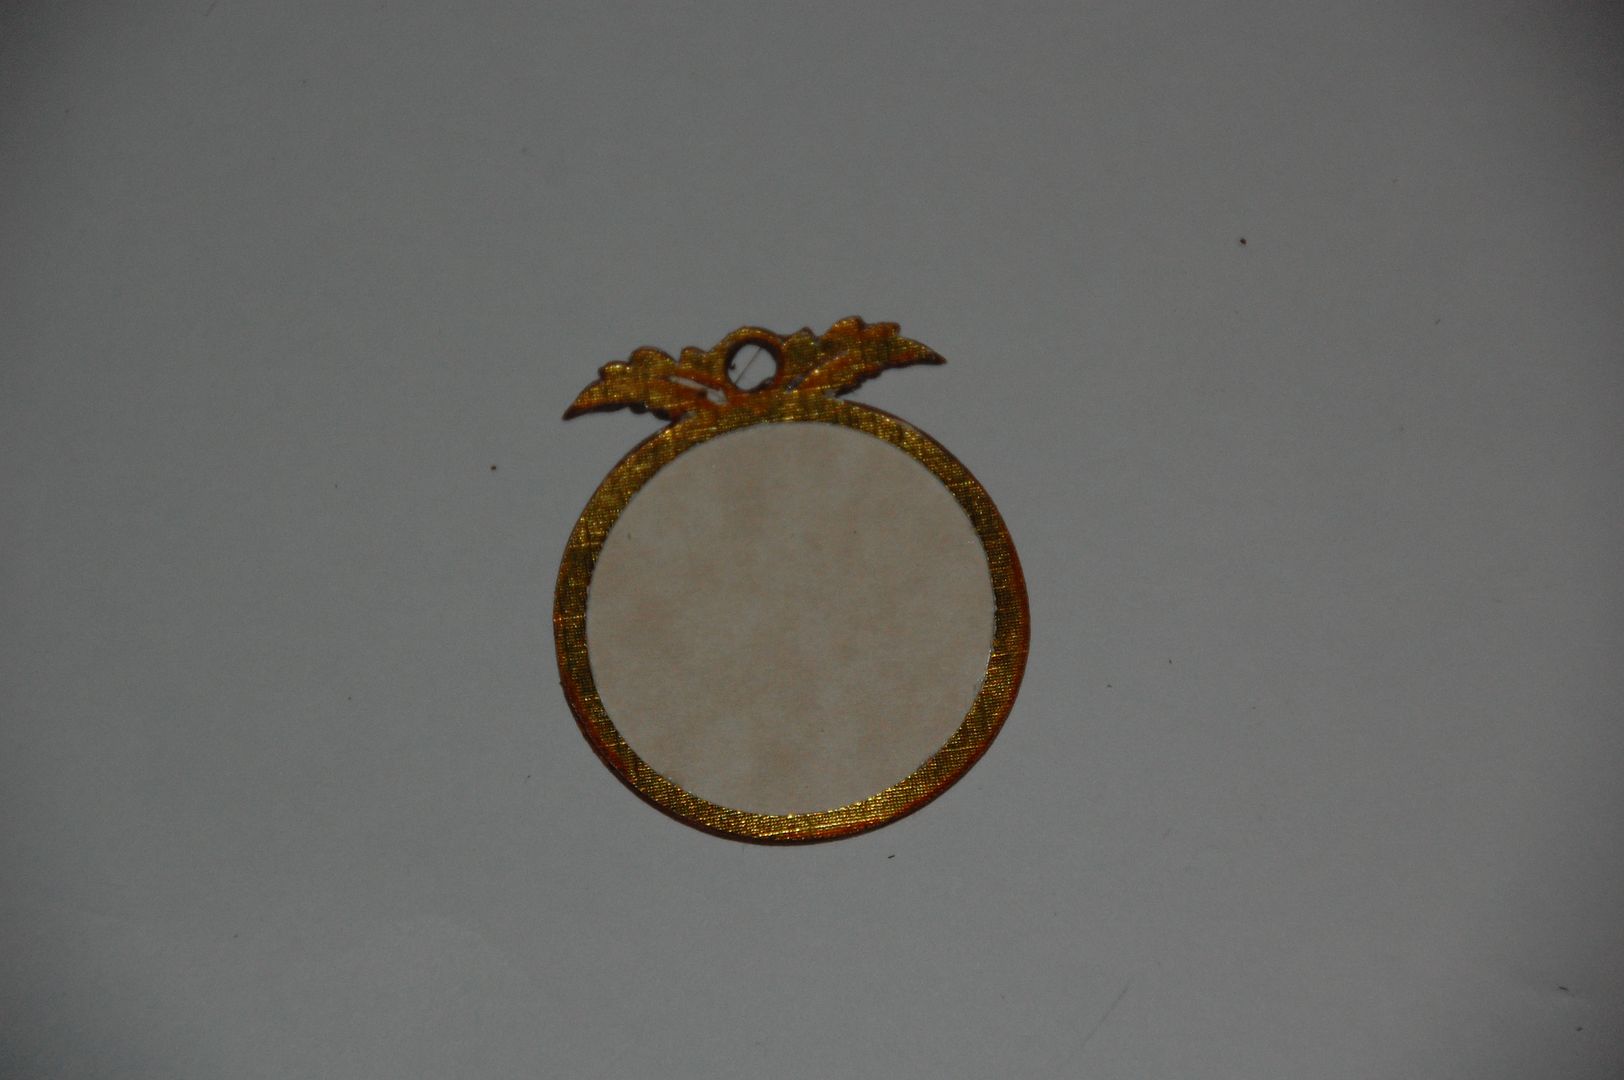
The charms are cut at 2.06 inches. I was careful to cut a front and back for the charm by flipping the image.
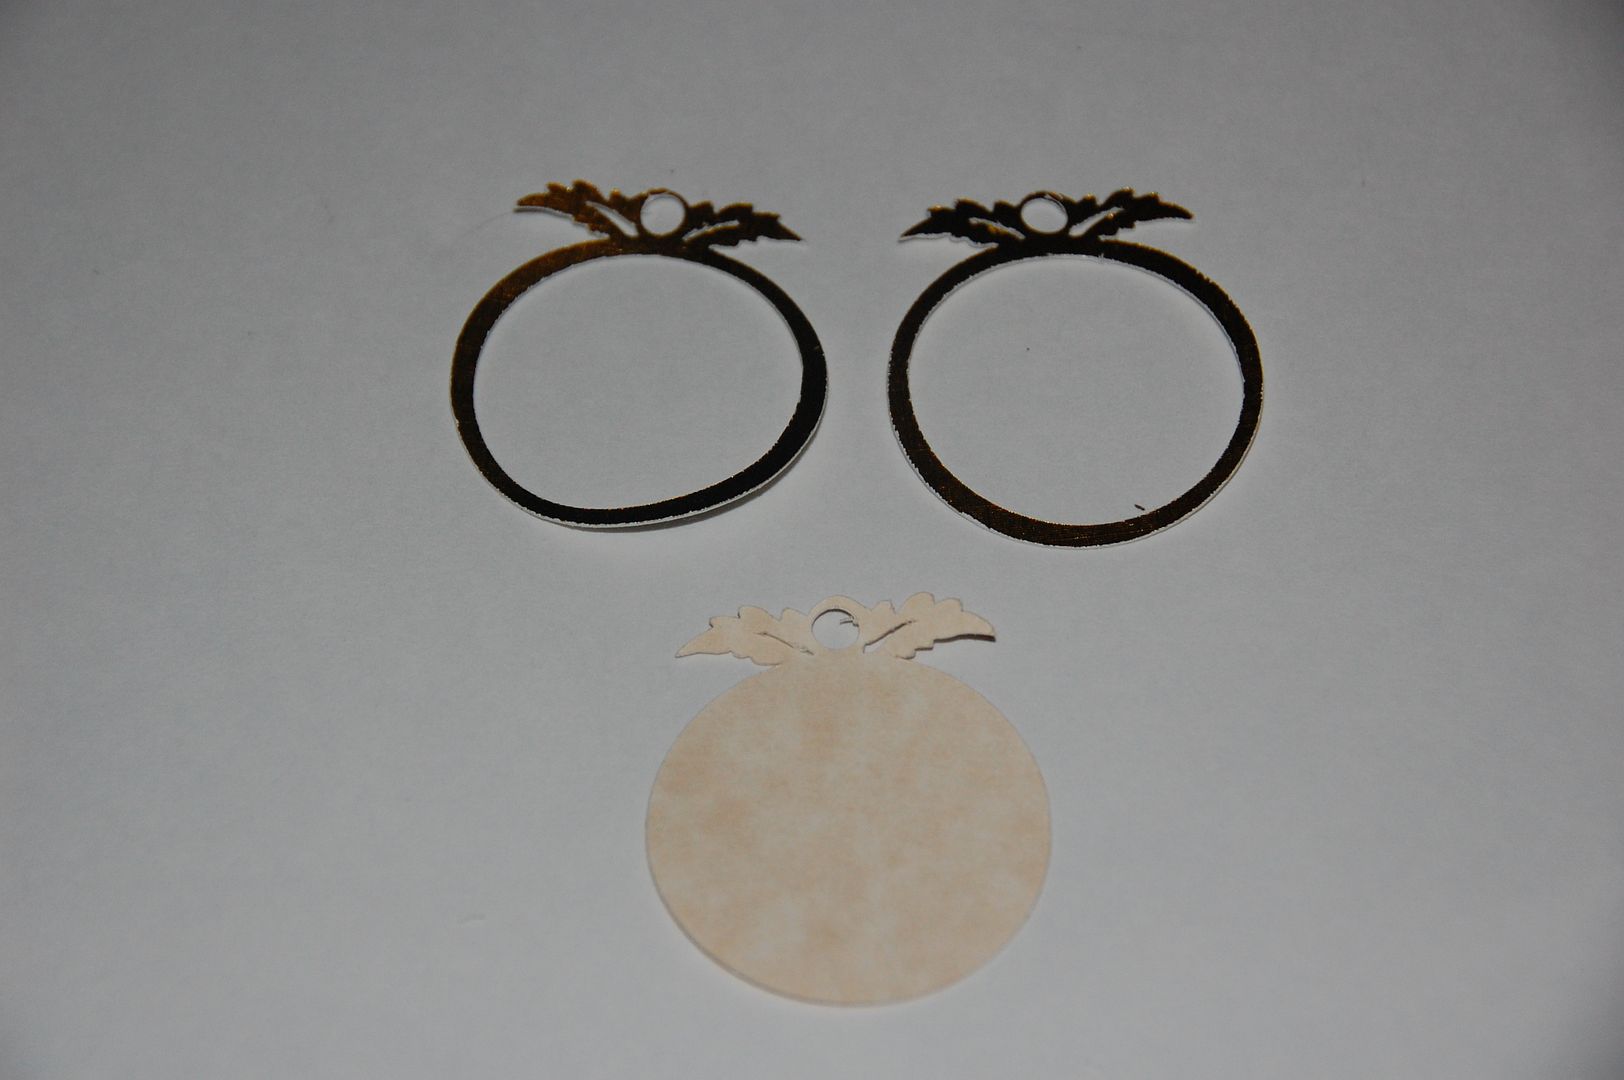
I also cut a blackout for each charm. The letters are from Plantin Schoolbook and are cut at .89 inches out of black chipboard.

The edges were inked in Chestnut Roan. I used Wild Honey Frayed Burlap to ink the centers.

I then wrapped a jump ring to the top so it could hang on the tree.
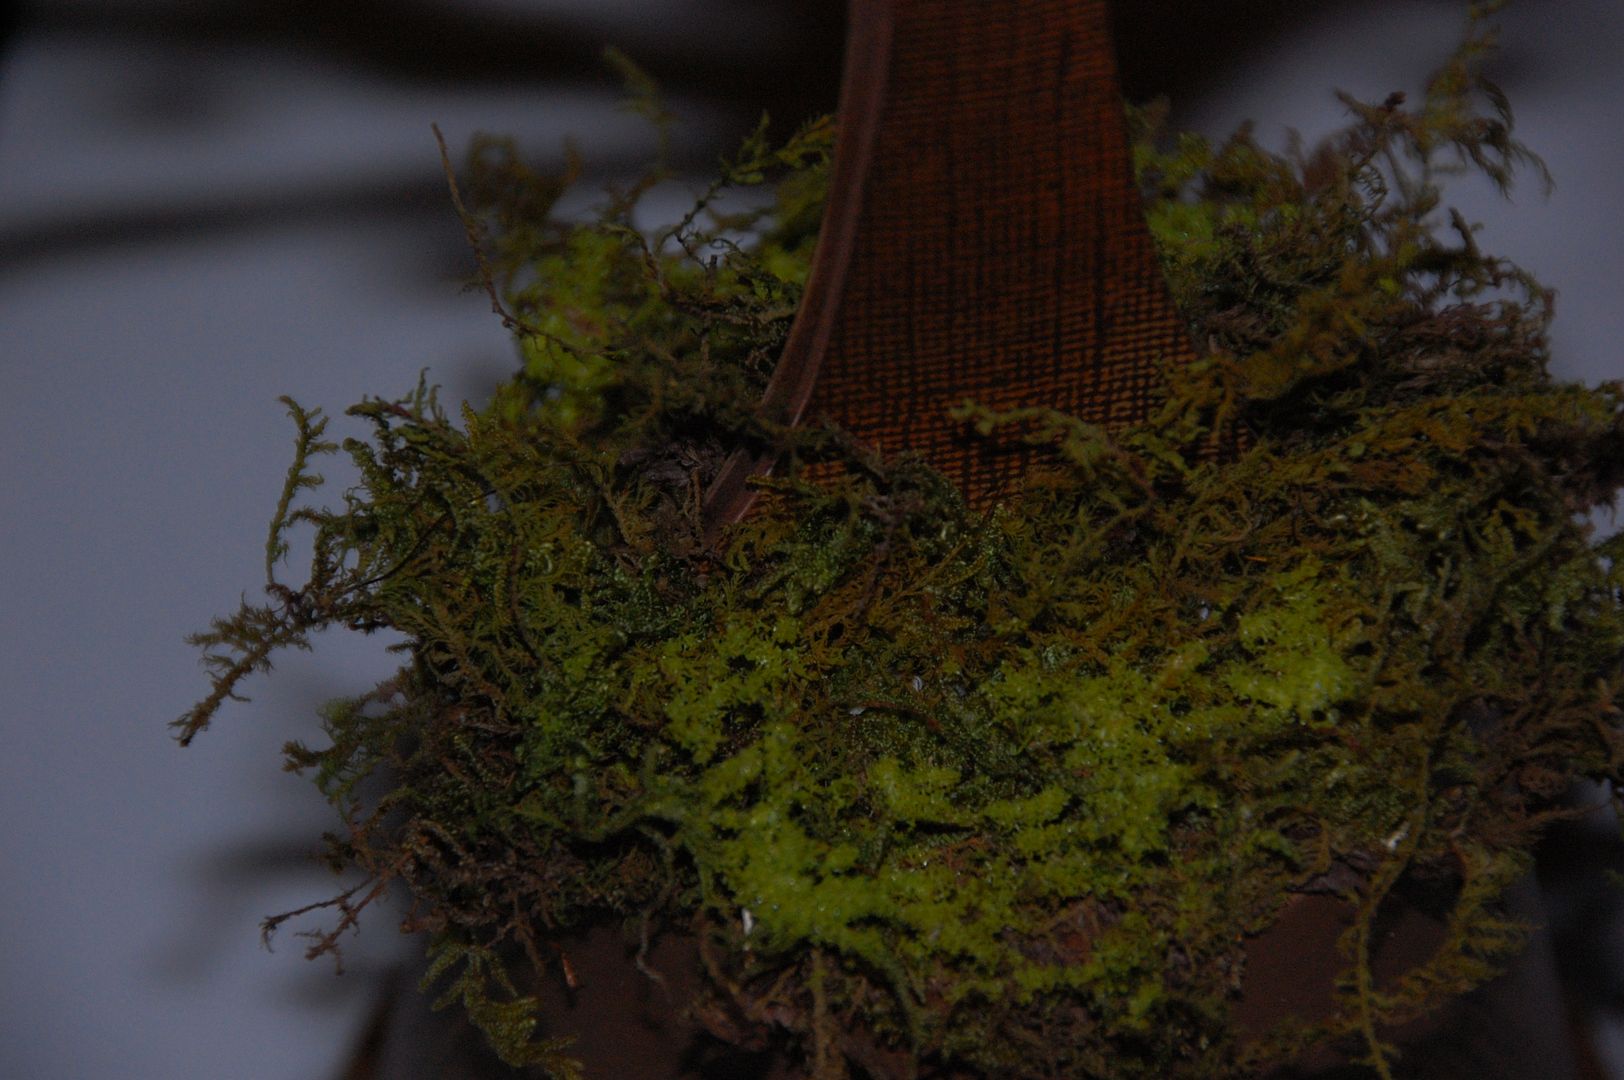
The Embellishing
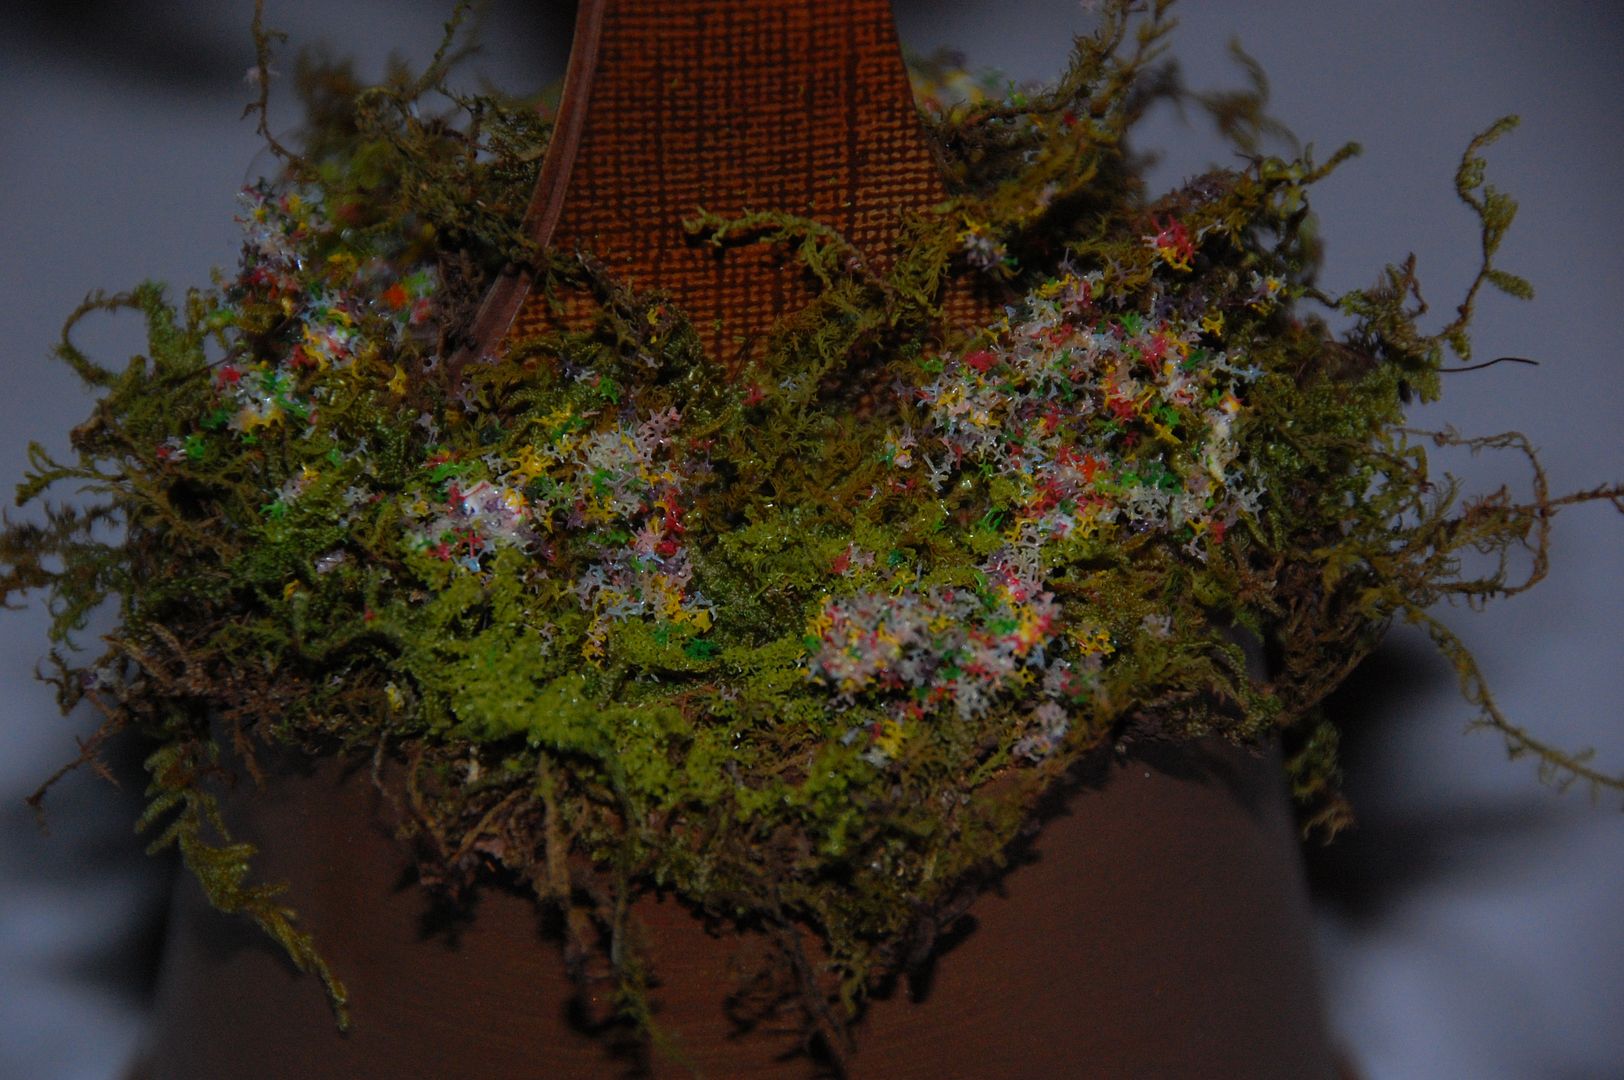
To hide the white base and the top of the flower pot, I hot glued Sphagnum Moss to the top. To add a bit more dimension I took a sponge brush an tapped some Aileen's quick dry glue and sprinkled Sage Flower Soft into the glue.
I let that layer dry and then tapped a little more glue in a few spots and then sprinkled in the Spring Flower Soft. The bird is hot glued on top.
I cut the phrase "Our Family" at 3 inches out of black chipboard.
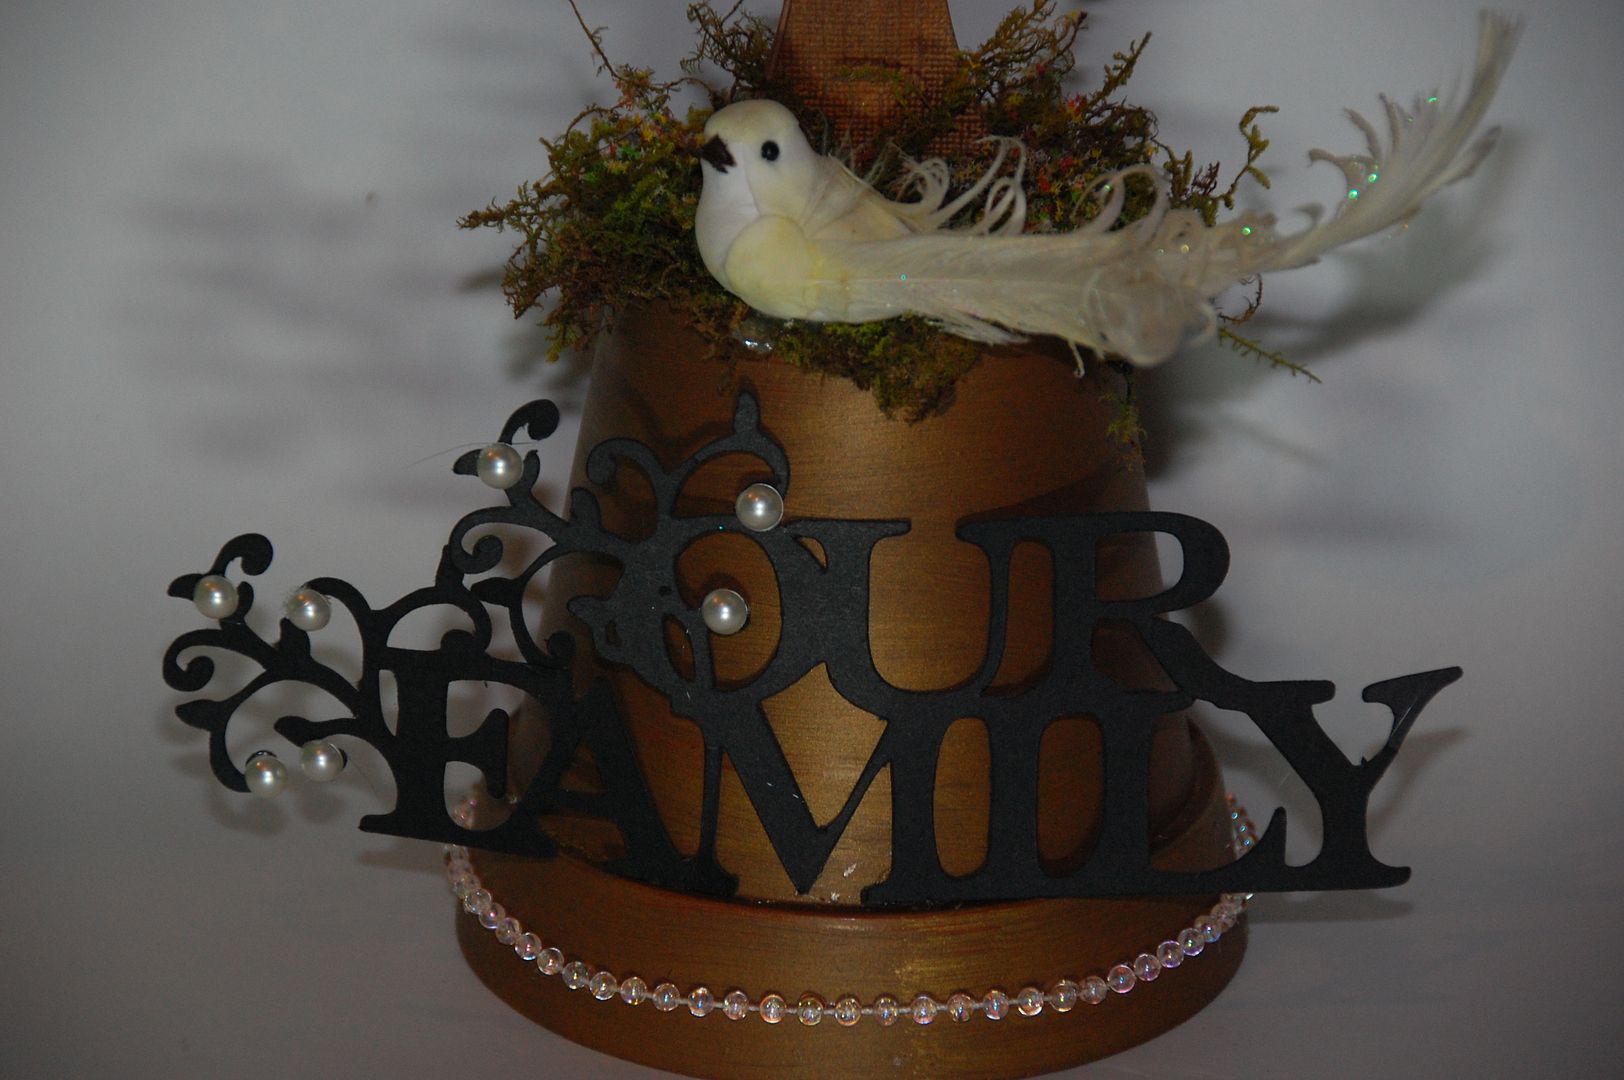
These were two different images, both from Heritage, but I welded them together to create this solid image. The bottom pearls are from a trim in the fabric department at Hobby Lobby. I found this little bird in the floral department at Michaels.
I hope you enjoy this video to see some of these fabulous features in action!
To download this Gypsy File, please visit my blog 217 Creations.