f The Bugbytes: Home Tweet Home

Welcome - Copyright & Disclaimer

Welcome to The Bug Bytes a site/blog mainly for Papercrafting and some photography and other stuff thrown in here & there. Add in some die cutting machine, scrapbooking tools, cameras, scissors , glue and...... My name is Pam. If you have been redirected from Papillon Digital Design you have come to the right place.Hope you get inspired by the projects, videos and files. Would love it if you could leave comments and become a follower. (Word verification is turned ON to avoid spam. Sorry for that inconvenience.) Would love it if you would also share your project here . If you find a linky under the post do share your project by posting link there or if you do not find a linky post your link in the comments.Thank you for visiting. The website Papillon digital designs has changed to Papillon Digital Design so if the link gives and error or takes you to page with chinese characters then please drop the 's' in the link at the end of papillondigitaldesigns and try . That is change papillondigitaldesigns to papillondigitaldesign and try the link.

September 7, 2010

Home Tweet Home

Hi everyone! This is Elizabeth from 217 Creations and today I am your guest designer.  I love using my Gypsy and Cricut to alter unfinished items.  This whole project cost less than $2.00 to make and will be a great present for my mom's birthday. 
 I started this project with an unfinished wooden birdhouse.  I bought it at Michaels for 10 CENTS! I painted it with Gold Acrylic paint.  I chose to one do one layer so it would not look too metallic for the project.
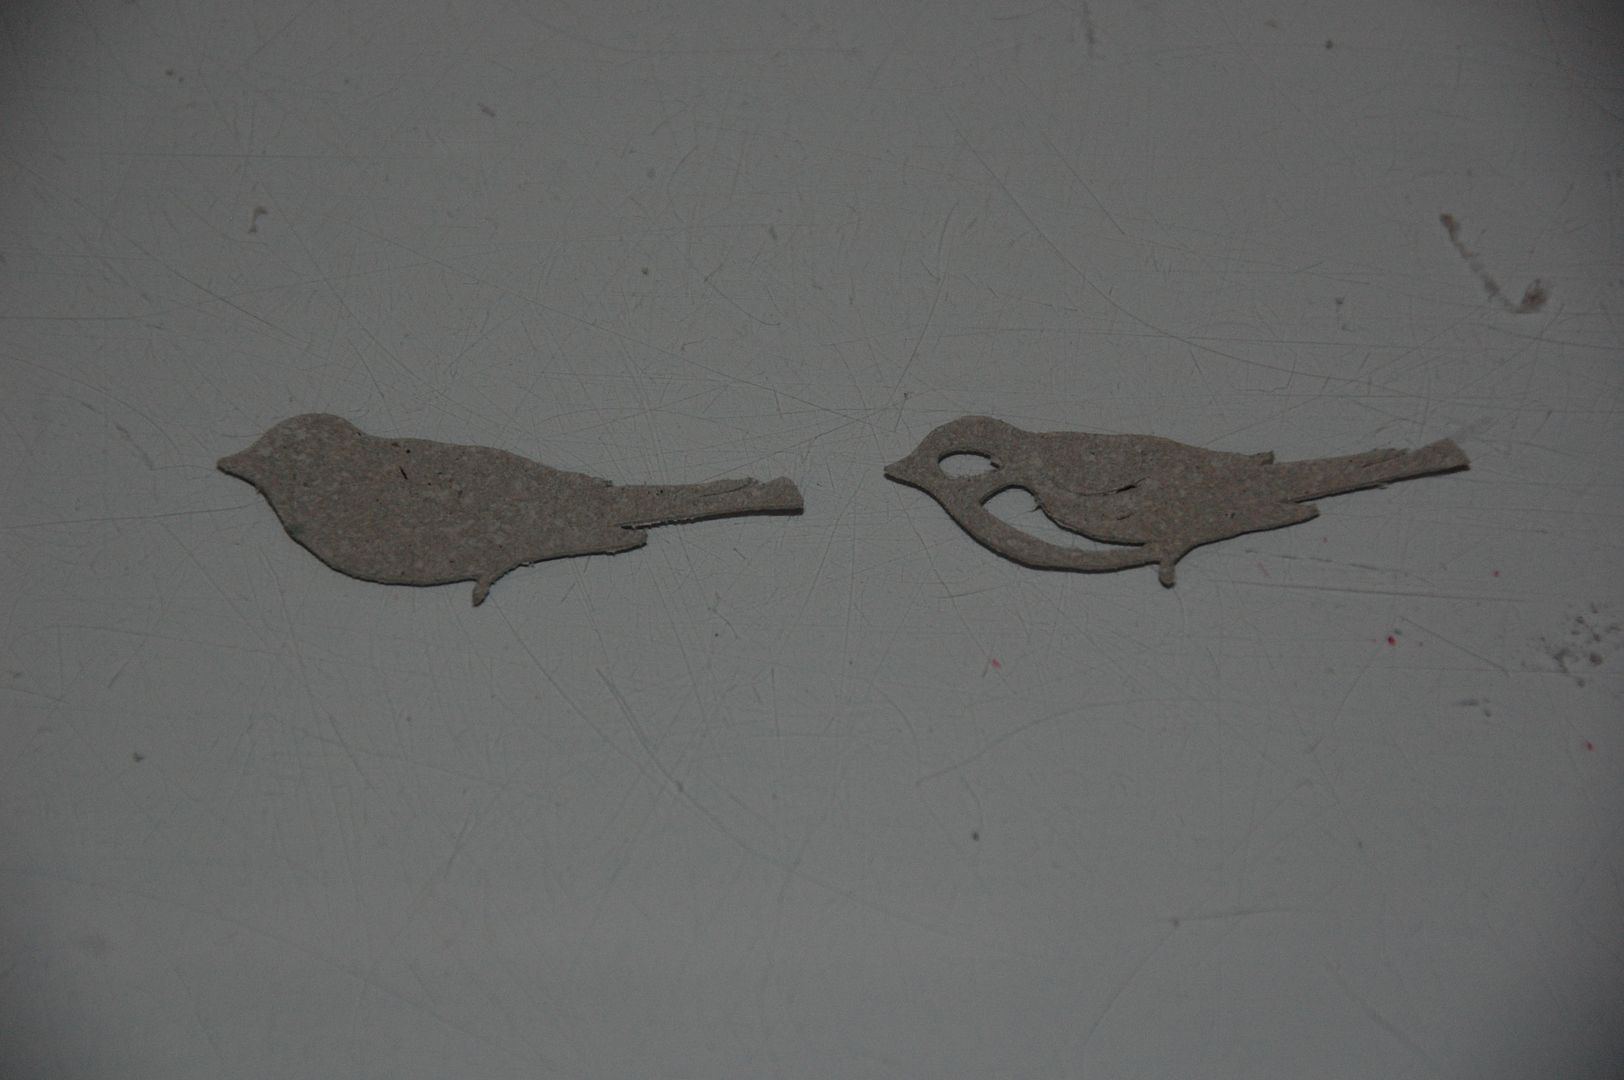
While that dried, I used my Gypsy to choose the bird from Home Decor.  I cut the bird and its blackout at 1.35 inches from Grungepaper.  The settings I used were Depth 6, Pressure High, Multicut 2.
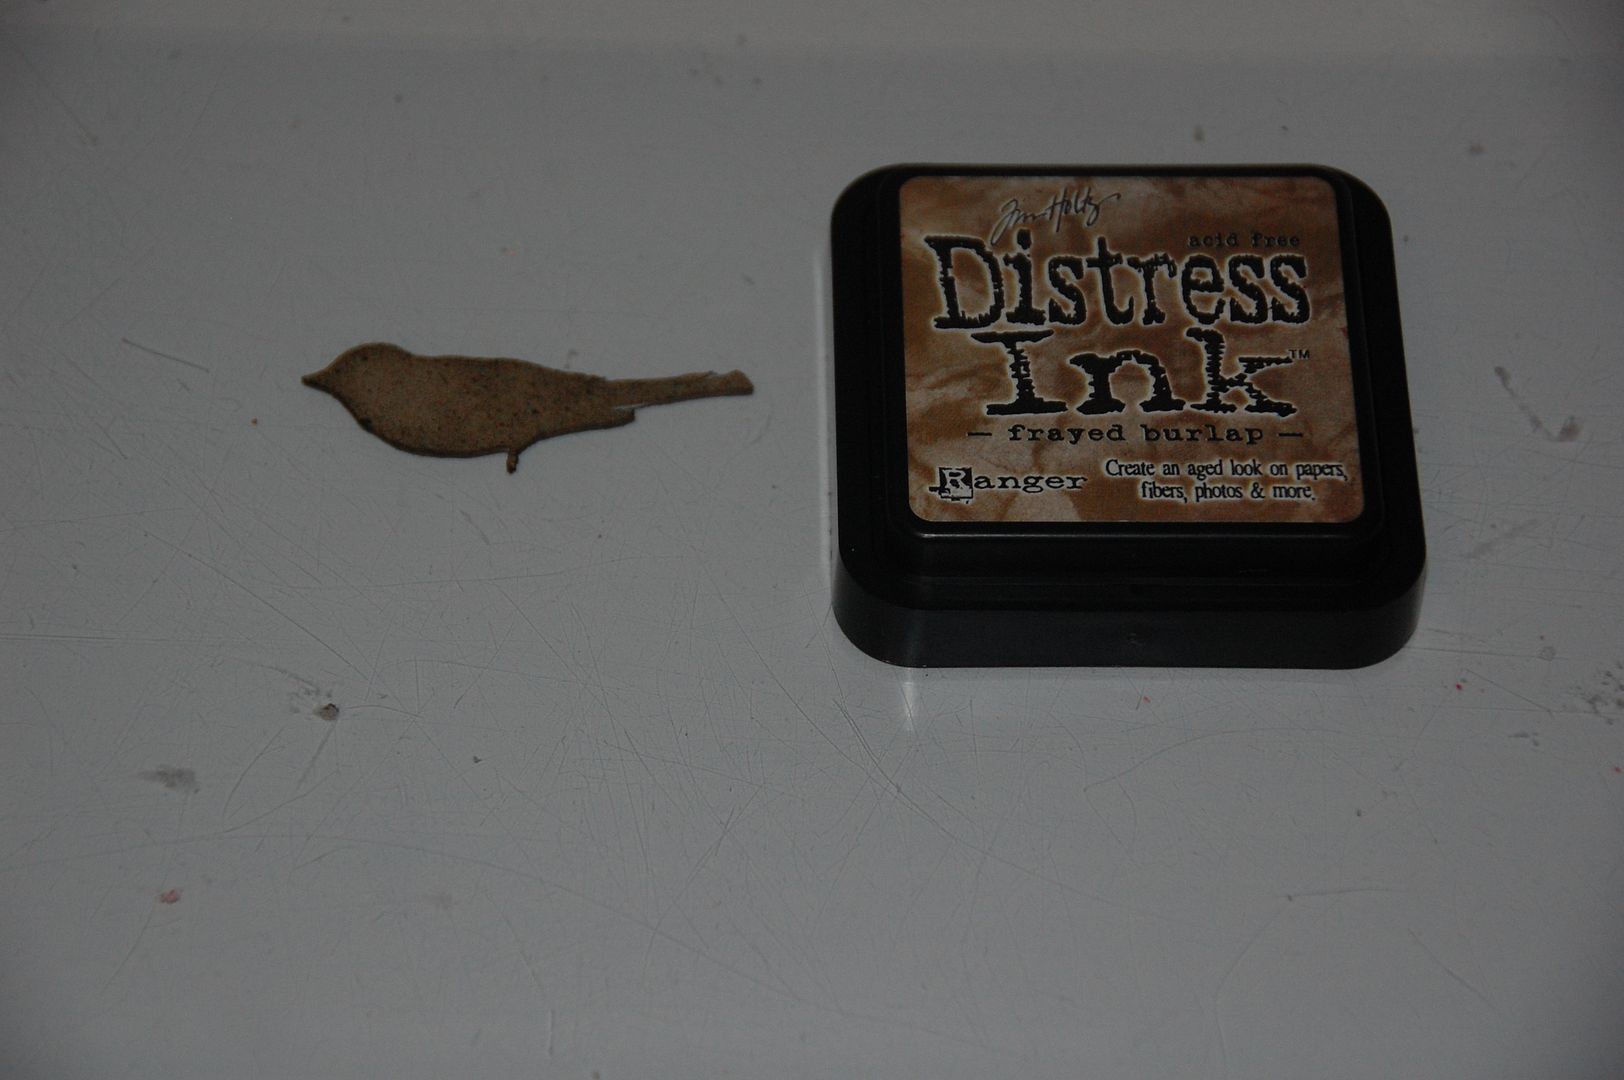
  I started with the blackout.  I inked it with Tim Holtz Distress Ink in Frayed Burlap.  I let it set for a bit.
Then I took Tim Holtz Distress Ink in Crushed Olive and taopped it into the Frayed Burlap.
 Once the inks were dried, I took a small fan brush and lightly applied a thin layer of tattered Angels Hay Ride Glimmer Glam.

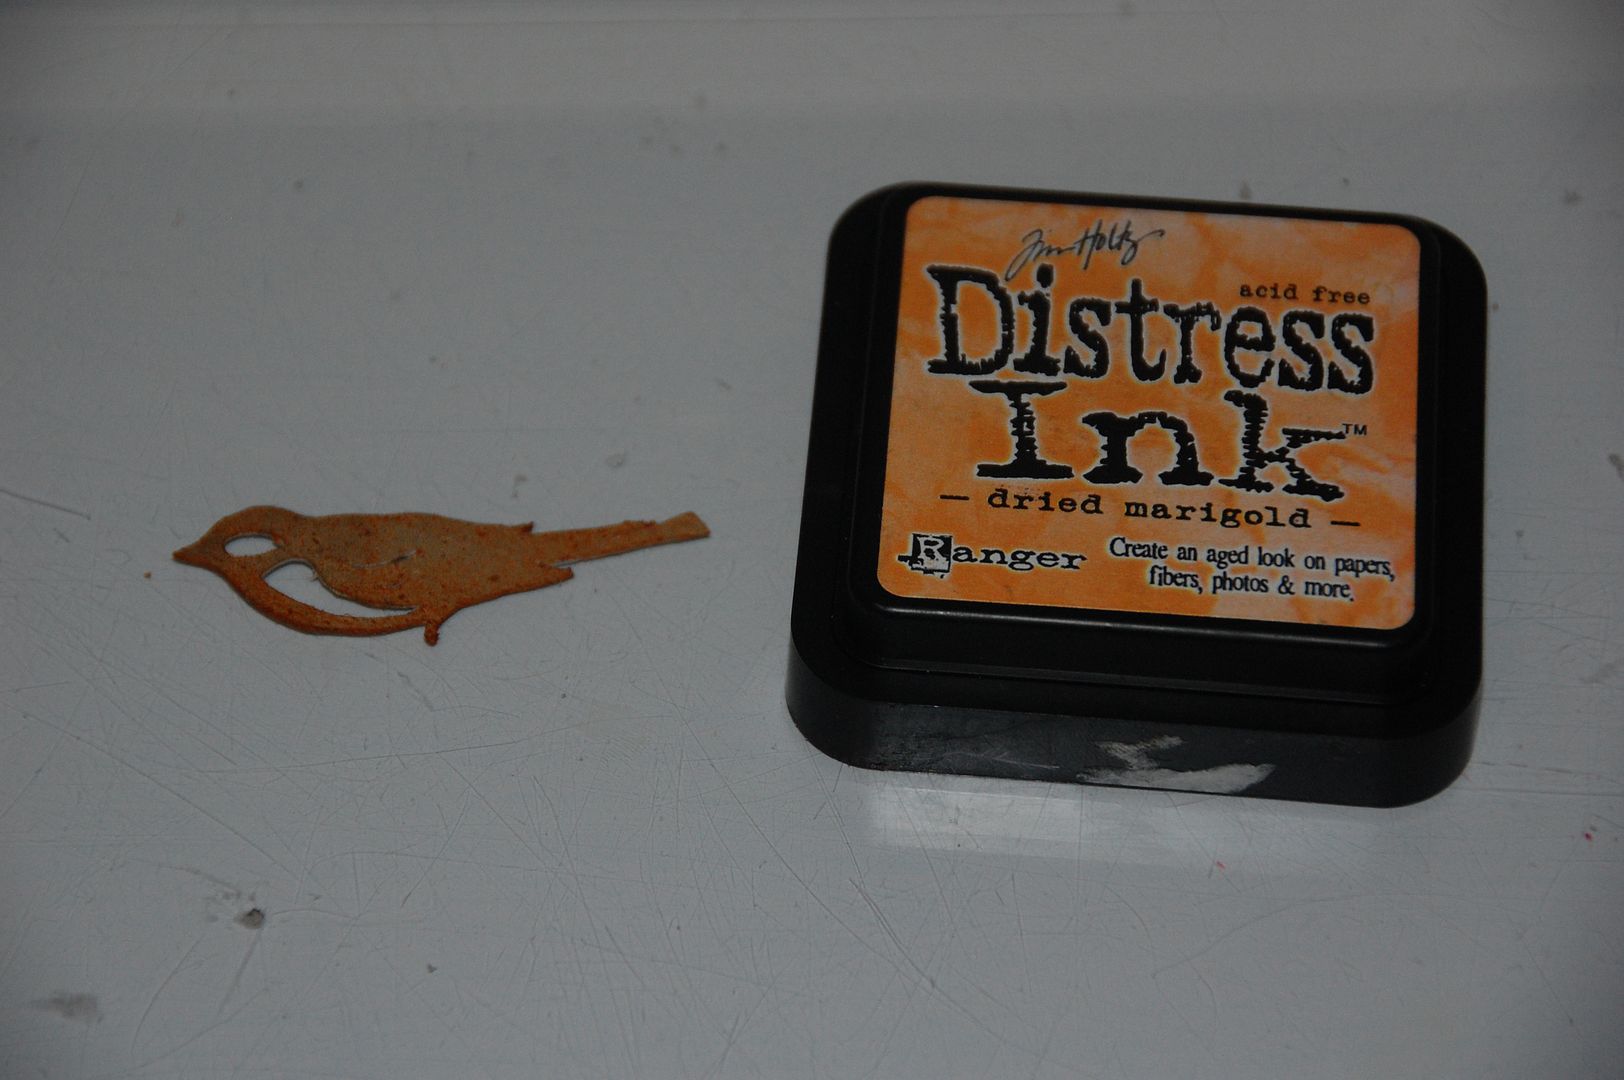
Next I inked the top layer.  I used Tim Holtz Distress Ink in Dried Marigold. While it was still damp I tapped some Distress Embossing Powder in Walnut Stain into the wet ink.
Then I used my heat gun and melted the embossing powder. I then took my finger and rubbed the crystals off the embossing, leaving a speckled finish.  I love using Grungepaper.  It is very forgiving when it comes to handling.  It has a slight give to it.  It is also very reliant to embellishments.  
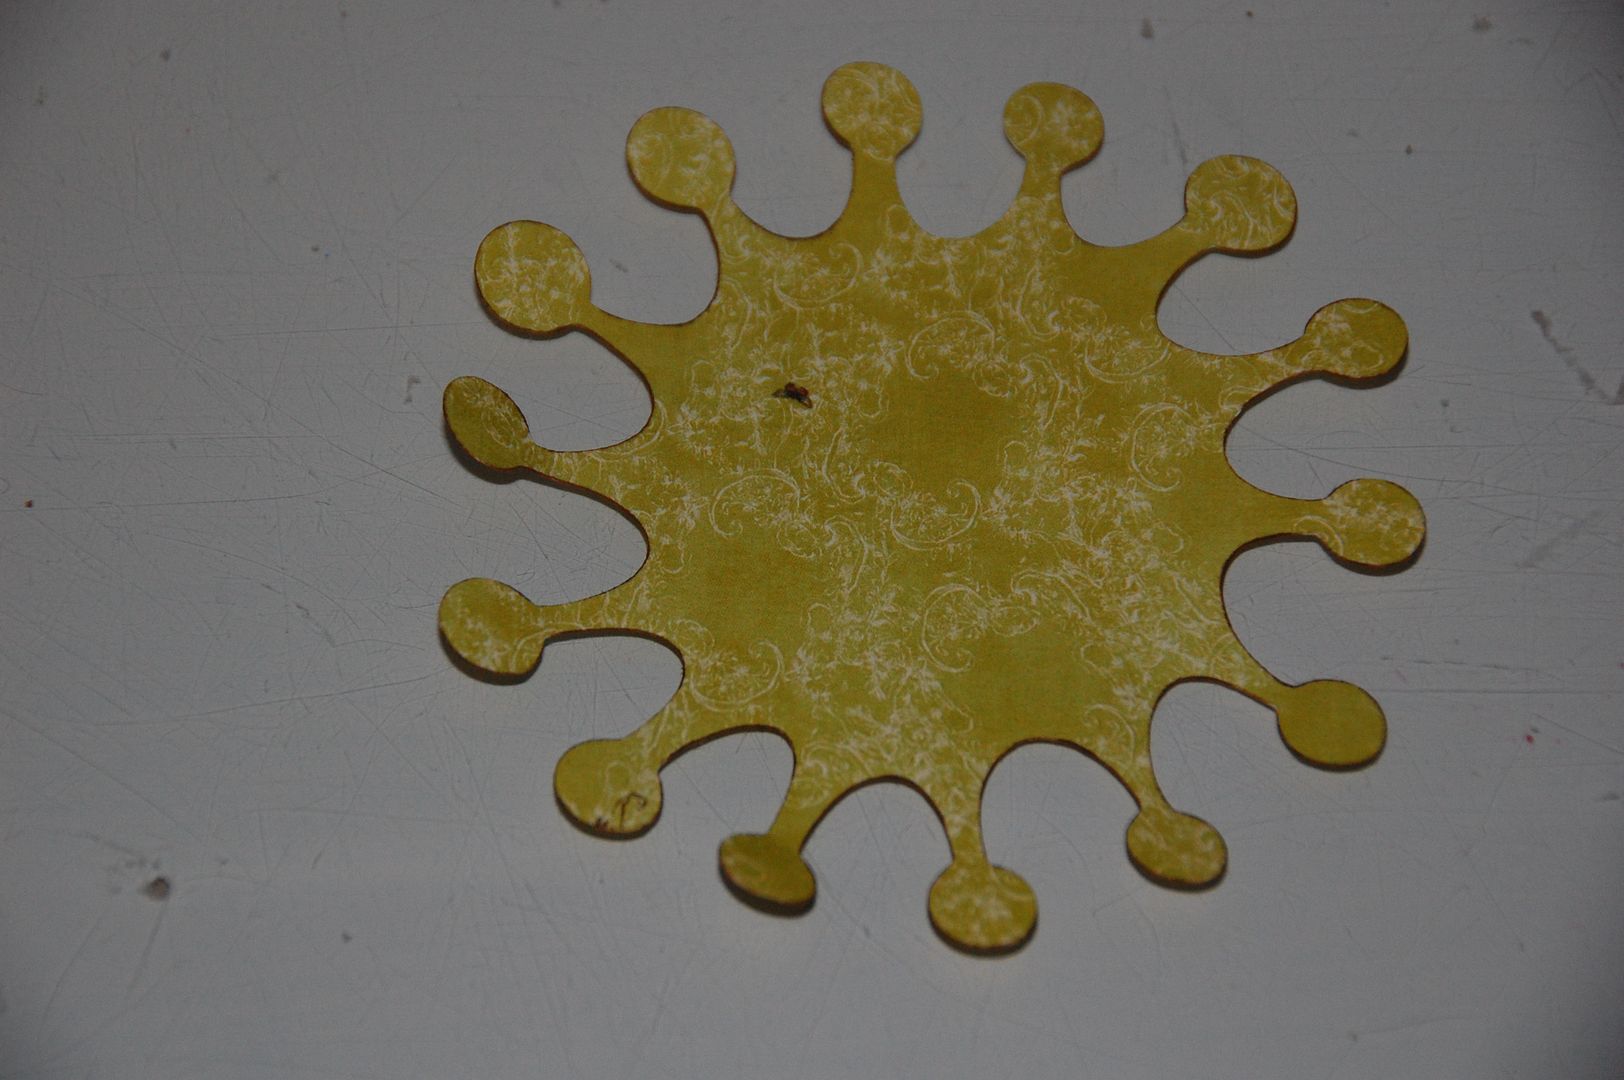
Next I cut the spiky looking flower from Accent Essentials at 4.18 inches.  I used Hide Selected Contour on my Gypsy to remove the center cut. I cut the design from both chipbboard and paper.  I painted the chipboard with a muted golden yellow and I inked the edges of both the paper and the chipboard very lightly with Fantastix Color Box Chestnut Roan Ink. (If you want to see the video on how to ink like this Inking Die Cuts ).  The paper is Webster's Pages Life Beautiful.  
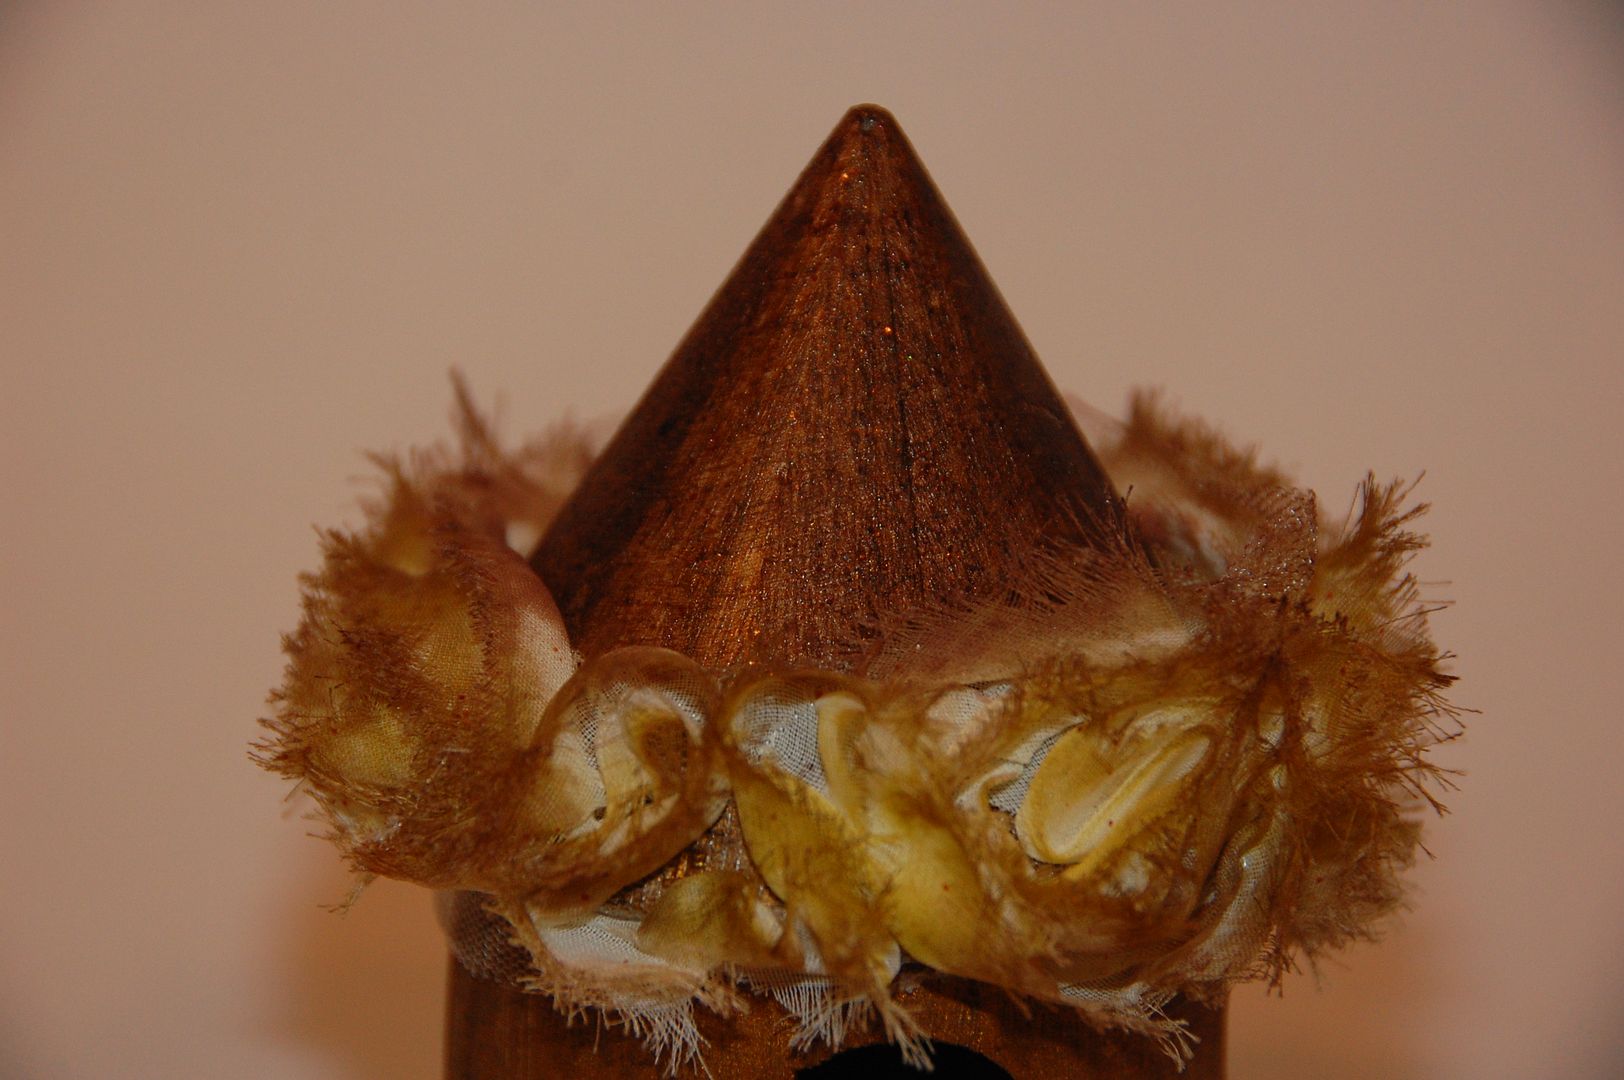
 To give the roof a more distinctive look, I painted a thin layer of Tattered Angels Glimmer Glam with a fan brush.  I used Espresso Bean.  Then I took some Raveled Rosette trim and hot glued it to the edge of the roof.  Tis ribbon started out cream, which was to stark.  So I used Tim Holtz Distress Ink in Crushed Olive, Frayed Burlap, and Tea Dye.
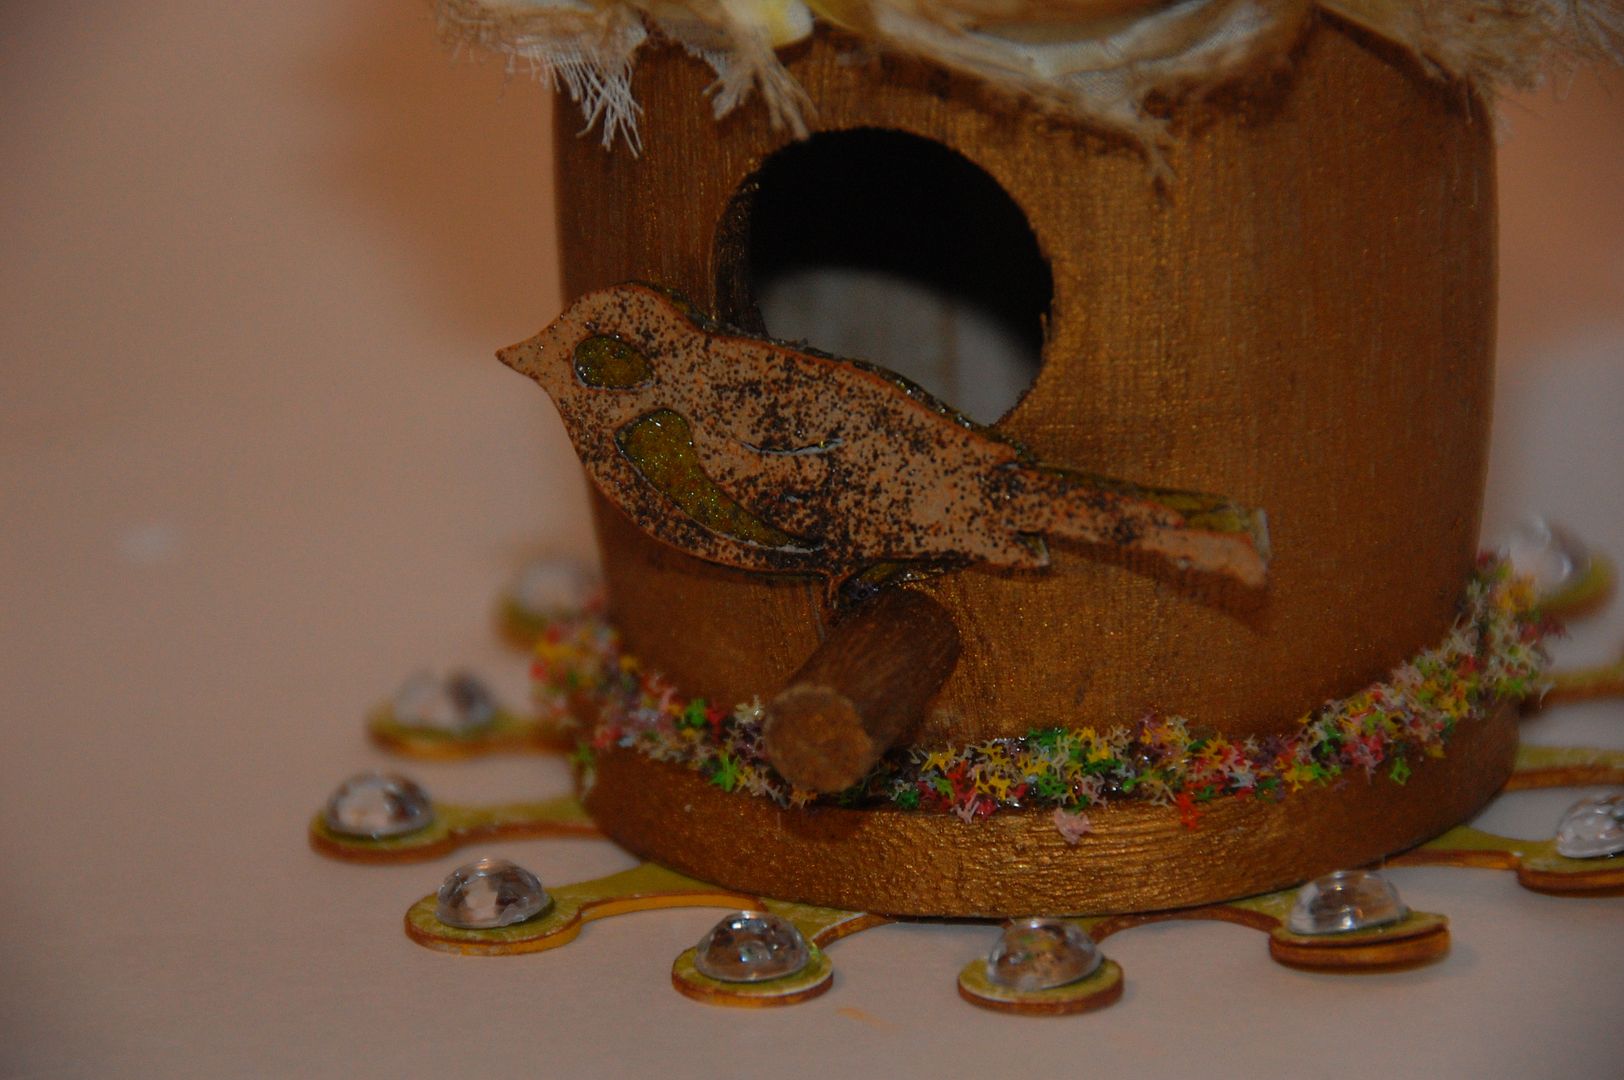
I hot glued the wooden birdhouse to the base of the spiky flower and added rhinestones to each point. Then I took a small thin layer of hot glue to the base and sprinkled Spring Flower Soft into the hot glue.  Finally I added the bird to the perch.
I love how it turned out. If you are interested in the file, please visit my personal blog at 217 Creations.Thank you comment and following us here at Tuesday Treats!


6 comments :

Sheila aka SassyLady said...

Elizabeth this little bird house is adorable!!! I love the colors and it looks so awesome. I love how you combined wood and paper to make and for the price, no one would ever think that it cost so little to make! Awesome.

Pam said...

Oh wow! It looks so cool! I love how you have altered it. Who wouldn't love a gift like this

Milamemories said...

I love this project so much!! You did an amazing job, i love the distress work on the roof trim, i just love everything about it, will definitely have to get some glimmer glam. Thanks for the enabling girl :)

Hugs,

Mila

Audrey Frelx said...

Girlfriend, I commented on your blog, but I had to leave a comment here that I love this and your mother will too!!!

Java Jen's Creations said...

Wow!! You did another awesome project once again!! This is so rich looking and beautiful!! Thanks for sharing!!

Lisa said...

WOW, that is so beautiful, I'm sure your mother will cherish that.

"kind encouraging and inspiring words"

I appreciate your comments so much. They are treasured and such an inspiration. Thanks for leaving them.