

Hi everyone! This is Elizabeth from 217 Creations. My niece Shyloh is obsessed with pirates! She loves them! So for her birthday I broke out my Buccaneer cartridge for my Imagine. Today I am the Guest Designer here at the Bug Bytes. I started on the T-Shirt. I chose to use Wilton Ink Jet Printer Iron Ons. Next time I am going to try another brand because I had a hard time getting this brand to cut nicely on my Imagine. The setting I finally got to use were Depth 3; Pressure: 3 Speed 4: Multicut 2. The color is vibrant and clear!
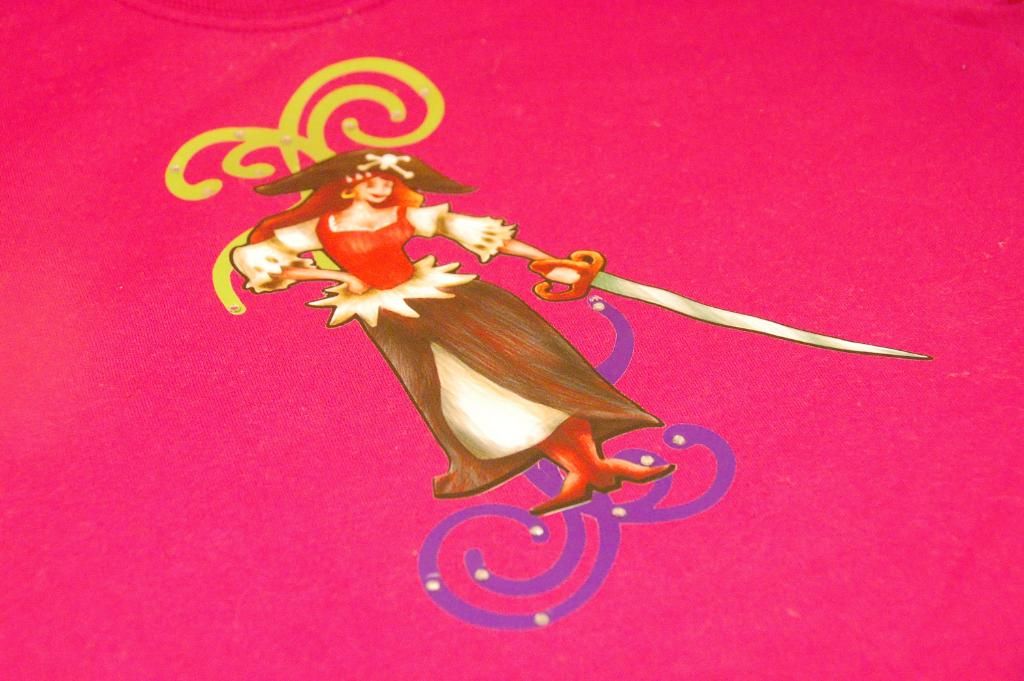
I cut this female pirate at 6.5 inches. I also cut the swirls from Cindy Loo at 2.70 inches (real size on). I followed the instructions and ironed the transfer to a pre-washed T shirt. Once the iron on cooled, I used my I-Rock to bling it up a bit!
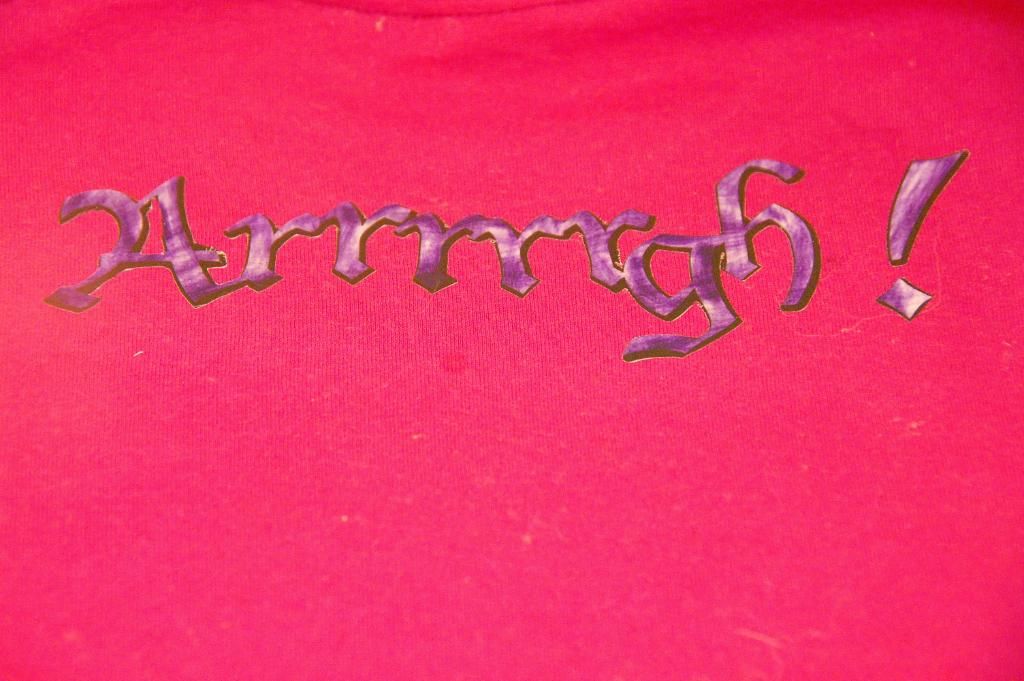
On the back I cut ARRRRRGH! at 5.0 inches using the same settings. This coloring is the default on the image! Isn't it cool!?!
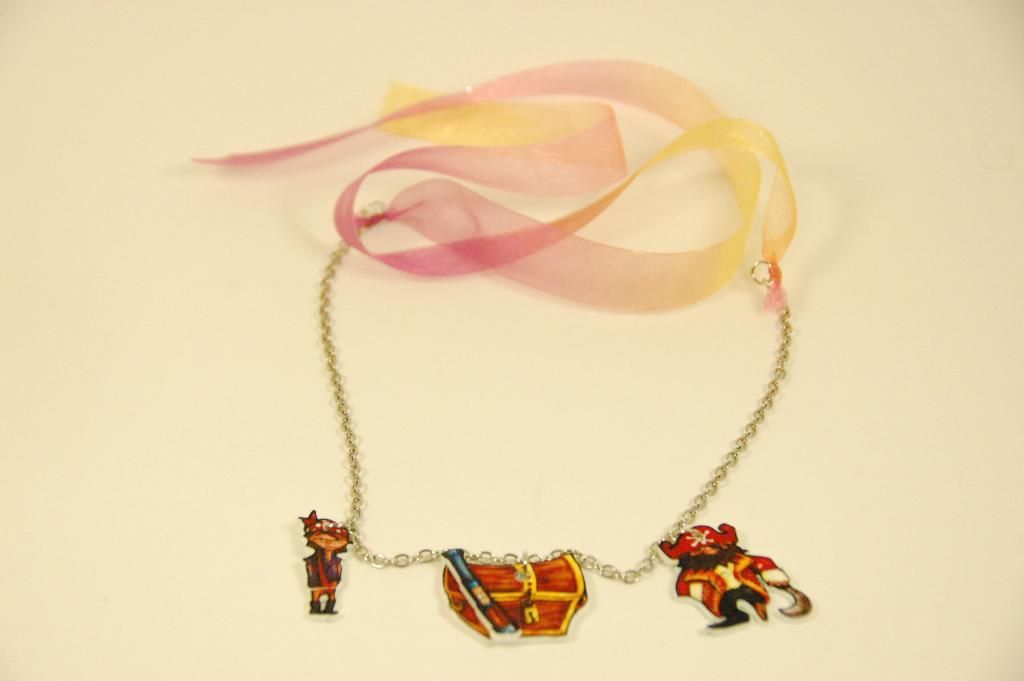
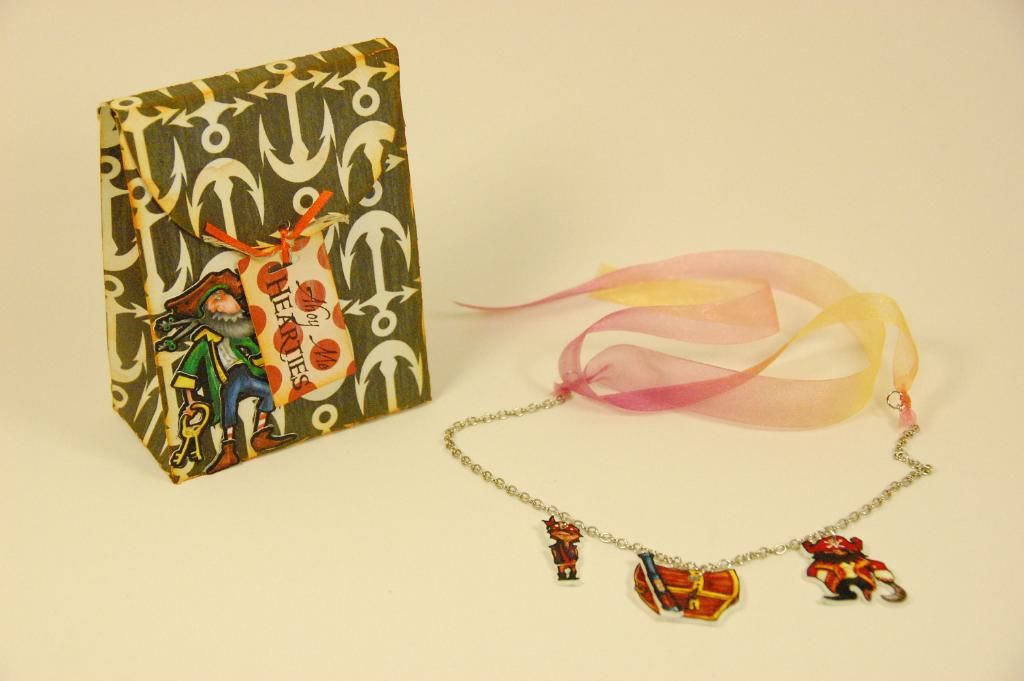
So I couldn't just give her a T- Shirt! I decide to whip her up a cute little necklace! I so love using Shrinky Dinks in my Imagine! It is so easy! Using the inkjet Shrinky Dinks, I printed and cut these images at 3.0 inches. Shrinky Dinks shrink down to 1/3 their original size. So starting at 3 inches means I will end at 1 inch.
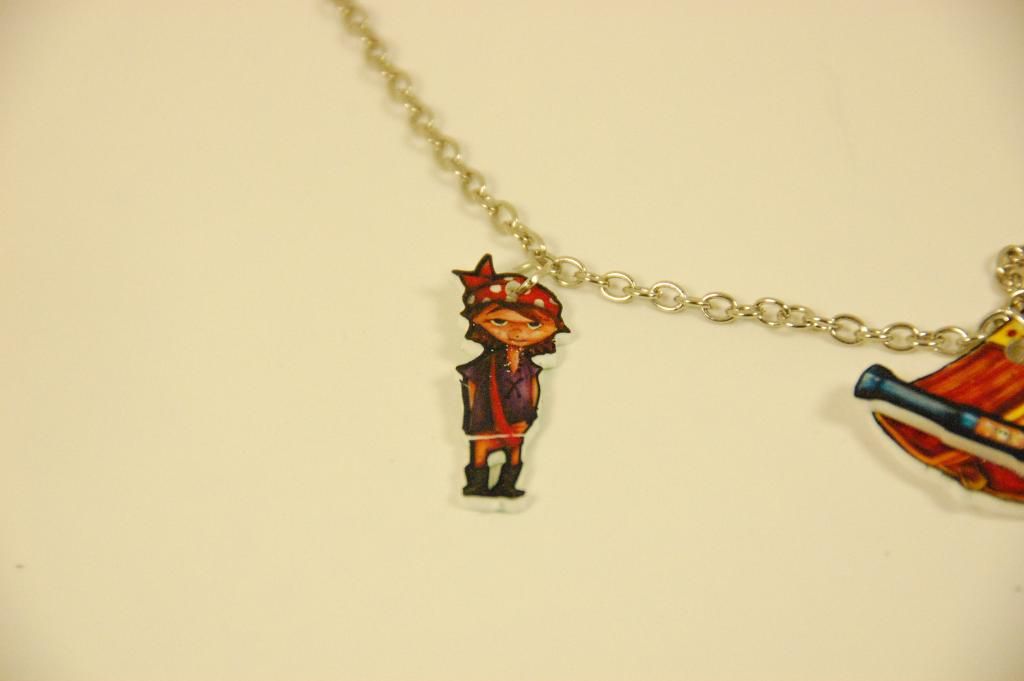
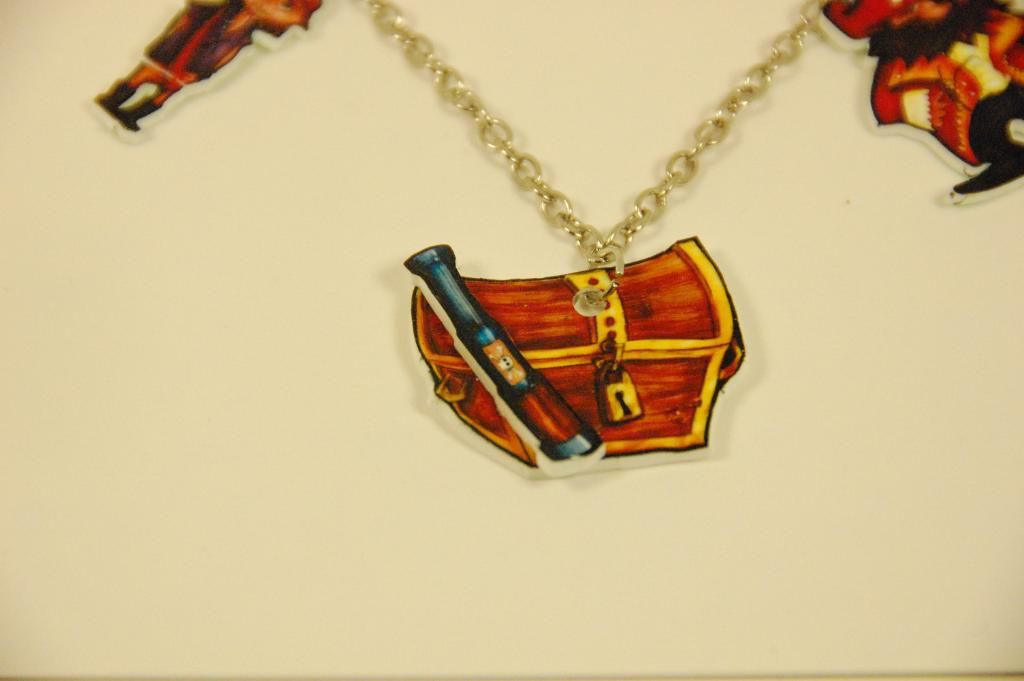
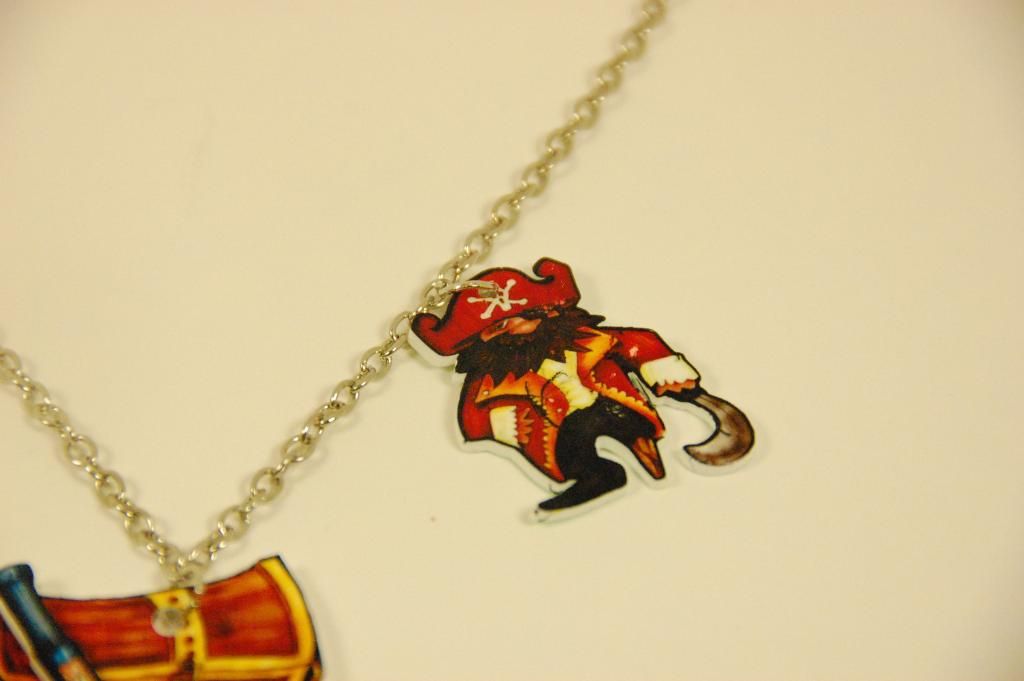
I did print and cut using Speed 5, Depth 6, Pressure 5, Multicut 2.

I punched a hole in the top of each charm. Heated with a heat gun and used a jump ring to attach the finished charm to the chain. So it would be easy to put on and off and to add some girly flair, I used some ribbon instead of a claw clasp. If you want a step by step on how I do Shrinky Dinks, I have a full photo tutorial HERE.
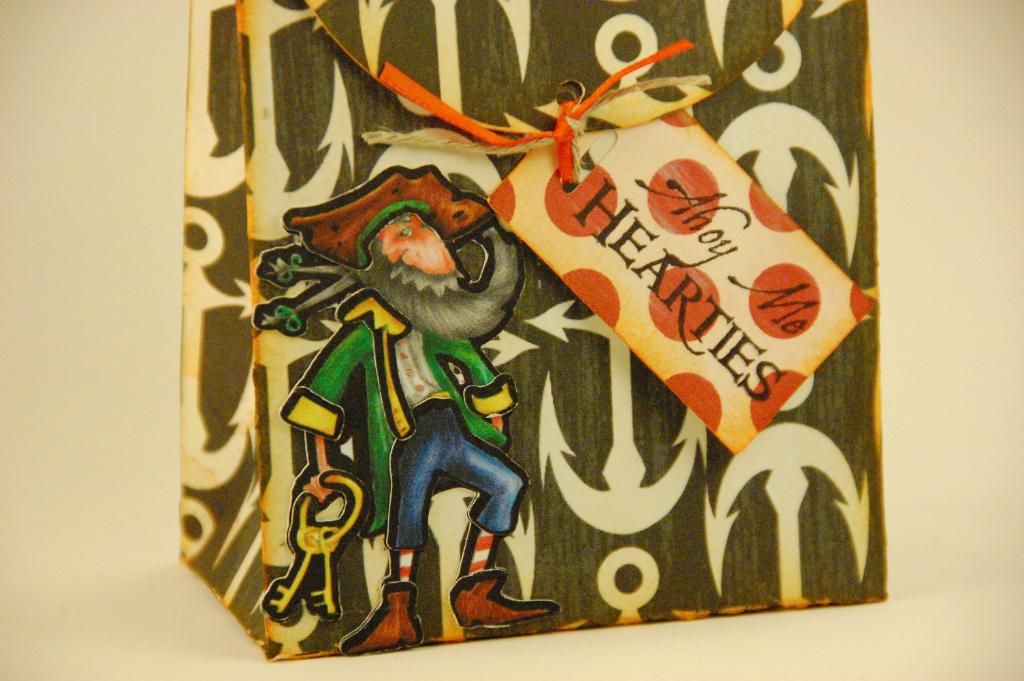
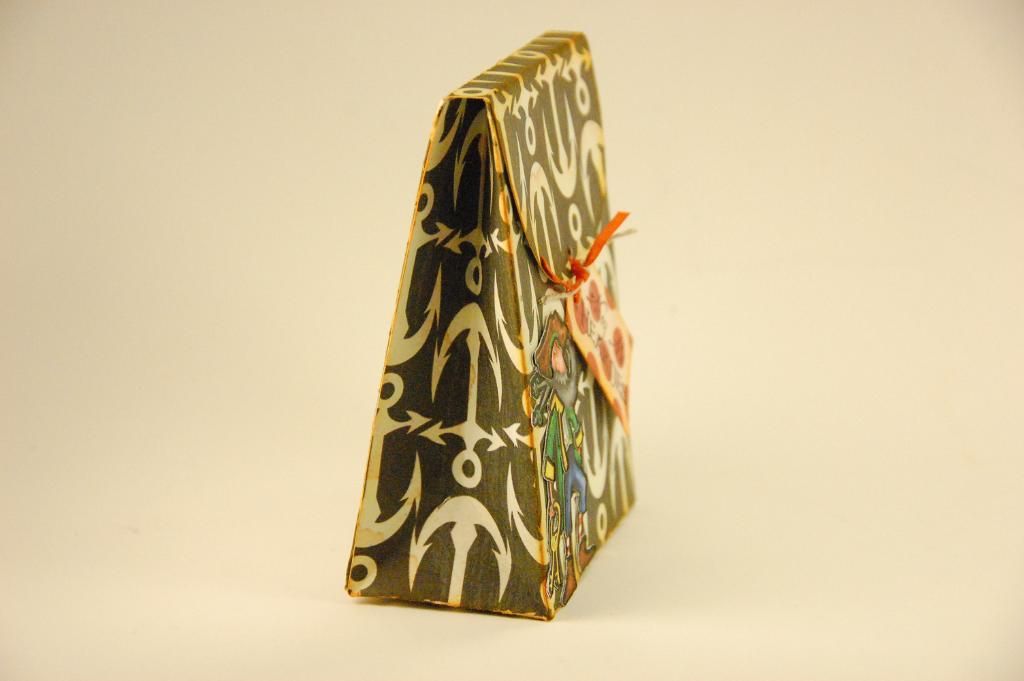
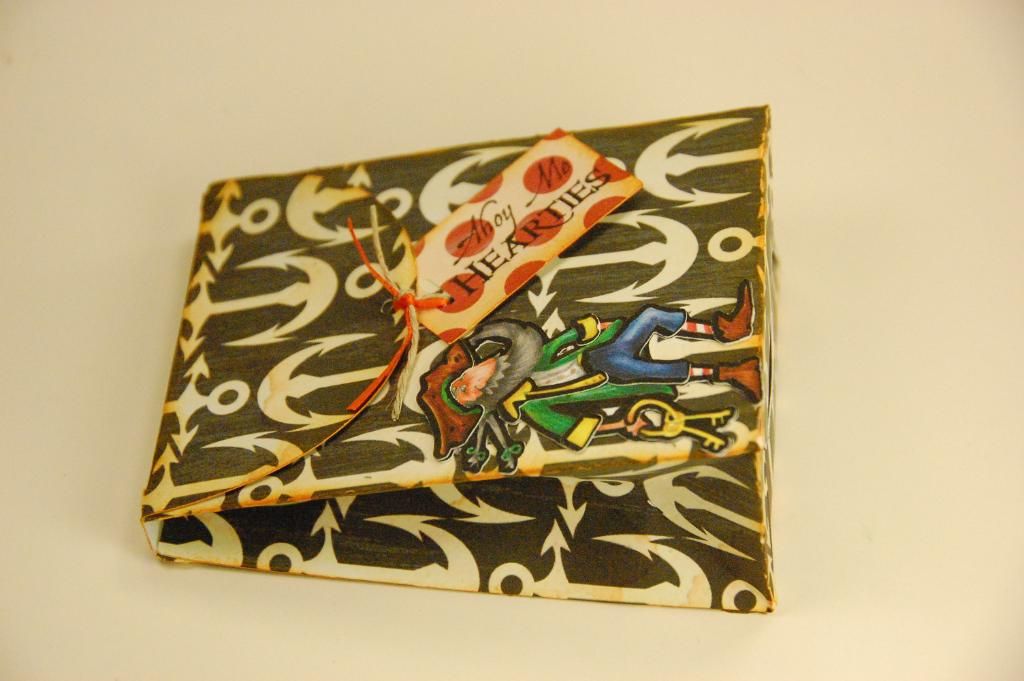
I put her necklace into this goodie bag I made with Life's A Party and Buccaneer.

I made this bag last month for you HERE.
I have added the video for a demonstration on how to fold this bag/backpack.
It can be a little tricky but I have a few tips and tricks on how to fold this adorable and functional bag.
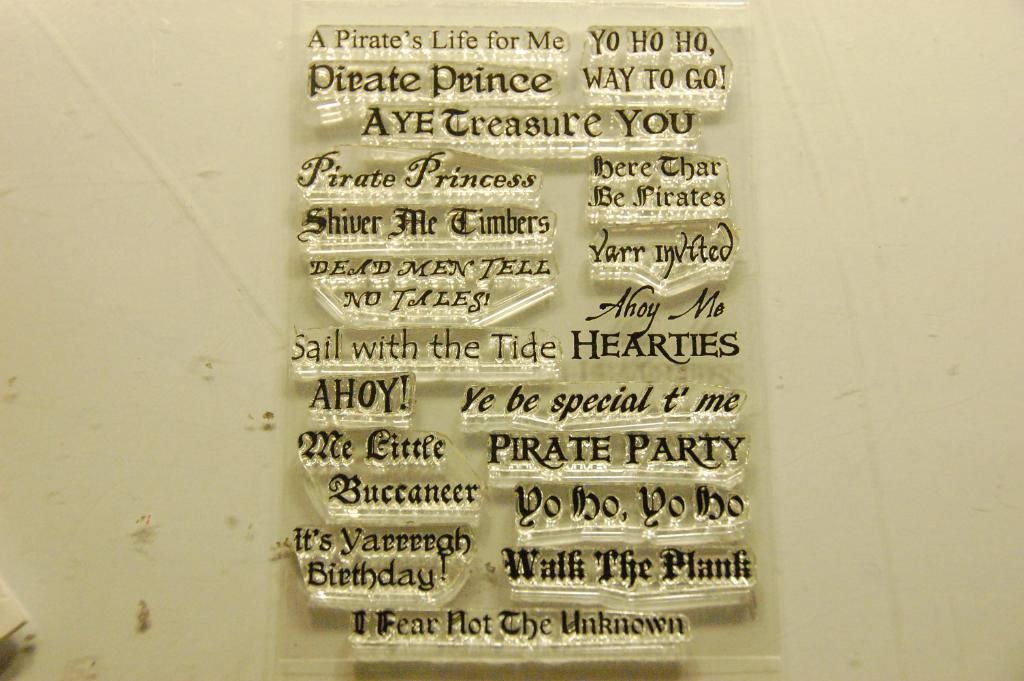
This is what the stamp set looks like. Remember you can click on an image to enlarge. Look at that font set and sentiments!

Thank you for leaving comments and following here at the Bug Bytes and on my personal blog at 217 Creations.
