f The Bugbytes: July 2011

Welcome - Copyright & Disclaimer

Welcome to The Bug Bytes a site/blog mainly for Papercrafting and some photography and other stuff thrown in here & there. Add in some die cutting machine, scrapbooking tools, cameras, scissors , glue and...... My name is Pam. If you have been redirected from Papillon Digital Design you have come to the right place.Hope you get inspired by the projects, videos and files. Would love it if you could leave comments and become a follower. (Word verification is turned ON to avoid spam. Sorry for that inconvenience.) Would love it if you would also share your project here . If you find a linky under the post do share your project by posting link there or if you do not find a linky post your link in the comments.Thank you for visiting. The website Papillon digital designs has changed to Papillon Digital Design so if the link gives and error or takes you to page with chinese characters then please drop the 's' in the link at the end of papillondigitaldesigns and try . That is change papillondigitaldesigns to papillondigitaldesign and try the link.

July 29, 2011

Wrought Iron border

I decided to play with some shapes and borders. I love  iron decor and love even more when I integrate them as borders on papers. So here is one


The files - svg, knk and studio are available under the respective tabs from the menubar


post signature

July 25, 2011

Following A Scrapbook Layout

Hi scrappers, this is Kate from Sassy and Scrappy and I'm so excited to be here today. I was thrilled when Pam asked me to join her design team! For me first post I thought it would be fun to work with a sketch, so I chose the layout below from Page Maps. This is my take on the layout, of course there are multiple variations. The great thing about sketches is that you can switch things up to make it work for you.

Below is a picture of the sketch:


This is a picture of my finished layout...well finished as it can be without my pictures and journalling added. I normally include both of those, but this page was made in anticipation of the photos I'll take on my vacation. I'm really looking forward to spending a week at the beach with my family!


Alright, here you can see the die cut pieces I created for my layout. On the right is a rough idea of how I thought I would lay out my page. I didn't end up using the flip flops and sunglasses (but they are too cute and I know I'll use them for something) because I just couldn't find a good place for them.


I tried something new on this page. I stamped the sentiments on my journalling page and then colored them in with some Copic markers. I really like the idea of combining coloring and scrapbooking, so you'll probably see more of this from me.


To create another embellishment I used my circle punch to cut out one of the pattern circles. I love this paper and will probably use a bunch of these circles in the future to create a funky background for another layout. I have to admit that cutting up this paper was kind of difficult. I'm sure some of you can understand how difficult it can be to cut up paper you really like.


Okay, so my take on the sketch...I cut a similar "top note" shape to mat my pictures on. I placed my journalling card on the right just like the sketch, and stamped my title. Instead of using a scallop-edge on the horizontal piece of cardstock, I chose to use more of a wave shape, this helps to continue the beach theme of the layout. I added two embellishments, same as the sketch. A sticker page was included in this paper pack and it had a wonderful blue flourish, so I added that to the top of my page. Again, this image reminds me of water and continues the beach theme.


Details:
  • Brown Polka Dot Pattern Paper-October Afternoon "Fly A Kite"
  • Pattern Paper-Simple Stories "100 Days of Summer"
  • Solid Cardstock-Papertrey Ink
  • Pack Your Bag Cricut cartridge Seagull cut at 3-inches, Whate cut at 2.5-inches
  • Elegant Edges-Top Note shape cut at 6-inches
  • Peachy Keen Critter Face Assortment (medium size)
  • Brads-My Mind's Eye
  • Twine-Papertrey Ink
  • Stamps-'Perspectives' by Technique Tuesday and Ali Edwards, 'Kite Tails' by October Afternoon, 'Schoolhouse Backdrops' by Lawn Fawn
  • Ink-Jenni Bowlin
  • Copic Markers-R27, R29, Y15, Y19
  • Glossy Accents
  • White Sakura Gelly Roll Pen
  • EK Succes 1 3/4-inch circle punch

Thank you for taking the time to look at my scrapbook page today, and thanks to Pam for adding me to your incredibly talented design team! Please visit my blog to see what else I'm working on.

July 21, 2011

Cricut....stencils.....paint....oh my!

Hello there! Amylynne here.....it's my turn again to share something with you all! I must say.....I have had this on my mind for weeks! And could not wait to do this post! Thanks so much Pam for letting me post on your blog! I have much to share.....hopefully you will find it quite interesting and fun! About 2 months ago I took an art journaling course and loved it! One of the things you can use is stencils.....well I could not afford to buy everything so I had to be creative. I had never cut stencils with the cricut but thought hmmm.....there are so many designs that would make cool stencils! So I got to work and found Provocrafts stencil material and also Plaids. Provocrafts has a repositional sticky on the back which is excellant if you are stenciling on walls and such but is not easy to find without ordering online. I did find Plaids stencil material at Walmart....easy! I like the way they both cut but I must say I am more partial to Plaids. For all my cuts the settings on my machine were the same......Multi cut 3, Pressure high, speed medium to low and I did find that the deep cut blade set at 6 works best for my machine.

Here is a photo of both.

Any way pick your designs{which was quite hard.....too many!} Lol And then cut....here are just a few and notice the positive and the negative images....you will see both used today.

For this project you will also need Molding paste and a spatula.


Lay the stencils onto your project....in my case I have 2 cards and the beginnings of an art Journal page......the paste is like icing.....ice your stencils so the paste is even with the stencil.


Then carefully lift and set aside to dry.......depending on where you live it could take around 30 minutes to an hour.


When dry you can decorate with stamps and paint or glimmer mist.


Oh remember the cut out from the stencils? You can use those as masks! So double the duty! And fun! Here I layed the images down and used glimmer mist and misted! Cool!!


Then I just outlined the images with a black Pitt pen and a sentiment stamp. Done!!

The art journal page isn't quite finished or I would have that too......but I think you are getting the idea! Oh and one more thing.....why stop with paper....here are some other images on canvas fabric.....with some glimmer mist! Wow!

Could you just see these on cards.....scrapbook pages....or art journaling! The possibilities are unlimited!!

I hope you all were inspired to make some stencils and increase your creativity! Thanks again Pam for letting me play on your blog! Have a great day all!

Amylynne
www.amysscrappyspace.blogspot.com

July 20, 2011

Coool Chick Layout

Good morning! This is Beatriz from Amazing Grace and today I am a guest designer for the The Bug Bytes. 
Thank you Pam for having this great site! I made this layout using Country Life Cricut Cartridge. Love all the images this cartridge offers.


Here's the instructions for this project. Enjoy!

Color
Page
Item
Size

Control

Quantity


Black

32

Tractor

5”

Shadow

1

Black

43

Cool Chick

3”

Phrase

1

Black

63

Wind Mill

5”

Normal

1

Black

38

Horse

4”

Normal

1

Apple Green

72

Country Side

5”

Shift

1

Apple Green

43

OL    HC

3”

Phrase Shift

1

Olive Green

72

Country Side

5”

Layer 1

1

Dotted Green

72

Country Side

5”

Layer 2

1

Light Green

72

Country Side

5”

Layer 1 Shift

1

Brown

38

Horse

4”

Layer 1 Shift

1

Brown

32

Tractor

5”

Layer 2 Shift

1

Light Brown

58

Barn

6”

Layer 1 Shift

1

Light Cream

32

Tractor

5”

Layer 2

1

White

58

Barn

6”

Shift

1

Red

32

Tractor

5”

Shift 1

1

Red

58

Barn

6”

Layer 1

1

Blue

32

Pants

5”

Layer 1

1

Blue

63

Windmill

5”

Shift

1

Yellow

72

Country Side

5”

Normal

1

Yellow

32

Tractor

5”

Layer 2 Shift

1

Yellow

32

Tractor

5”

Normal

1


July 19, 2011

Basketfull of Thanks

I enjoy playing with the silhouette so much
This is especially so great for cards with print and cut.
Match it with dover and oh so fun.
Here is a card using dover greetings for central image and silhouette pattern for card base (printed on white cardstock - 8 1/2 x 11 - the ones you get from walmart). Some border patterns from silhouette store.


Don't you love it?  The flower on the envelope was a punch but rest all silhouette and dover.
Here are flowers on basket have been layered with foam dots and stickled.

Here are some more views of the card


And the inside of the card


Here is a screen shot of the file in silhouette


and the cut lines view


Now just a brief steps on how I got the dover image from AI to silhouette and layered it. There maybe
easier ways to do this but well this is how I did it and like to do it.. I am sure as I use the software more I'll find easier methods. Nothing like hands on experience.
I might make a video later but for now some pictures and a summary

Here is the image in AI. The image is just the basket of flowers. Since wanted additional layers I got the rest of the flowers by clipping with outline.

I used the pencil tool to outline shapes I wanted instead of tracing as sometimes it is easier and less nodes and less messy. You can always keep adjusting so easily in AI.
I filled the outline with black fill and no stroke.


Then I copied (duplicate and then set the opacity of only the path around 0) the outline on to a new layer and placed on top of a copy of image ( note the image has full opacity and only copy of the path has opacity 0 so that you can see the image) and aligned the outline perfectly on top of image and clipped. Repeated for each outline.


Then I saved the file and also exported a png copy so that I can open it in silhouette.

Now to silhouette where almost the same thing is done using the silhouette studio


Then I traced each black outline as this is a simpler trace from AI's solid black outline to silhouette or else you should do some node editing. I like the trace feature in AI better and use that for intricate edged images and pencil tool for simpler images like this.

So ope trace window the butterfly like tool at the top right (5th group). Select area and then trace edge


Move the outline out of the way and repeat for each image in case you need layers like I did. They add dimension to your project. Now here are screenshots with my description in the image itself


Now to get the images  so that we can get cutline and crop and set it all ready to import to library you have to crop the image on png and use the outline as cut line . So bring all the red traced outline to the front of the base image.


Use modify


Yeah! Lovely cropped images of flower


set the cut lines from the cut window


Well that's it.
end result a - beautiful image which I can use over and over and print and cut (with registration mark turned on)


Here is the cut line view


I then saved the file and imported to library and yes made a lovely card playing with software more


That was for sure a long post. Do leave comments if you find it useful :)

post signature

Summer Fun Goody Bags!

Hi everyone! Allison here from GoodyBag Diva, and I decided to bring  you what else? Some goody bags that I created for my daughter's kindergarten class. The last two years I have been fortunate enough to find enough good deals on books that I could provide every child in her class with 5 books to take home for the summer, and these are what I designed to house them! (Can you tell I really really believe in summer reading?) And of course I threw in some other summer fun goodies like bubbles and mini paint kits and various other goodies.

This post must come with a disclaimer - do as I say not as I do! Why you ask? Because while cutting sandpaper is a good idea in theory - in actuality it is not only a PITA, it killed my first machine. She never quite recovered and no amount of resets could save her. *bowing head for moment of silence*


The details:
Now that I have given you the official disclaimer, you should know the sand castle is cut at 4 inches from Create a Critter, with the top layer being sandpaper (really people - steal it out of the kids sandbox and xyron it) and the bottom being craft paper. The whole thing is on an action wobble - because that made the packaging fun!


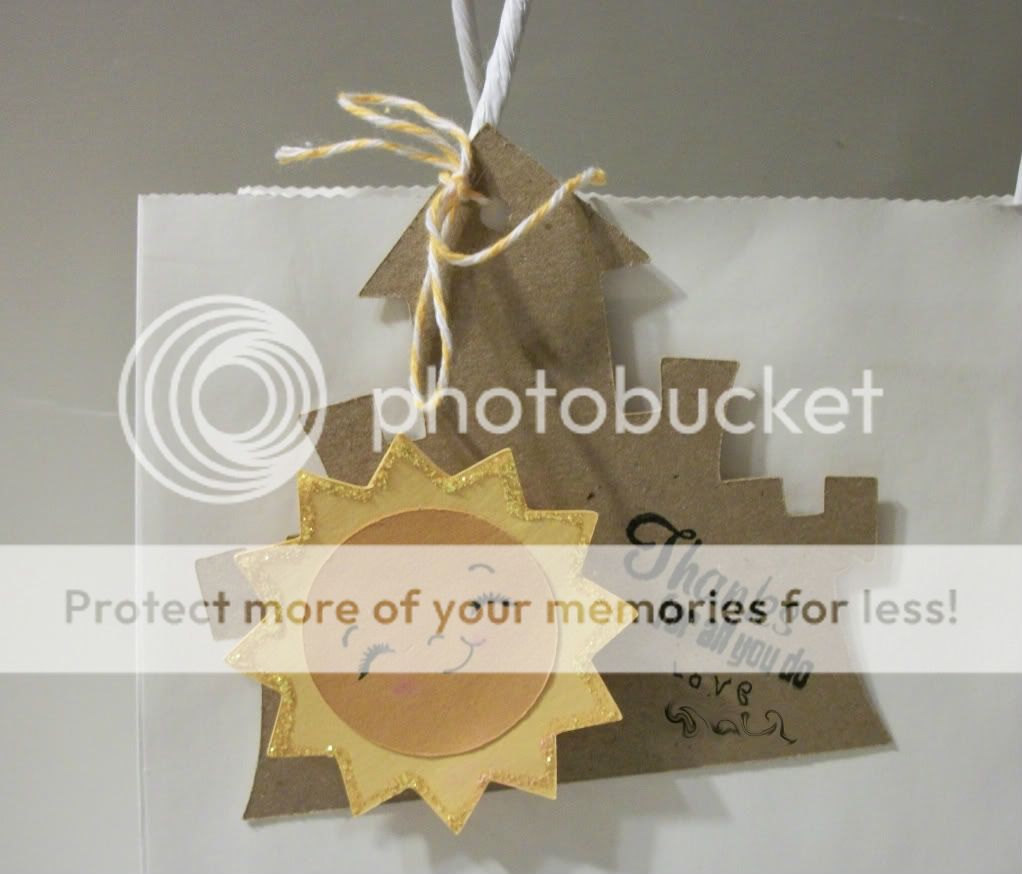
The wobble in action!

The sun is also from Create a Critter cut at 2.50 inches, except I replaced the top layer with a 1.5 inch circle from George and a Peachy Keen Stamp. I chalked the cheeks of the sun and also used stickles around the the outside layer for the sparkly effect. I finished the bags off with some MS word art printed on clear labels and adhered to the bag.

The best part is that I loved these bags so much I made coordinating tags to go with the teacher goody bags - which contained a class picture candle and a mini spa kit full of items to help the relaz and rejuvanate!
In the case of the tags, I only used the bottom layer of the sand castle cut on kraft paper (I was tired of fighting with sandpaper - remember -good for distressing, bad for machine) and I put the sun on an action wobble - because I really do love those things. They provide me with so much joy and entertainment! I finished the tags with a Fiskars stamp and had my daughter sign them and attached with some baker's twine. Easy and adorable! That's all for me this month at The BugBytes - see you in August!