
Hi all,
I thought I'd share with you how to make some fun embellishments that you can use on cards and in mini albums. You could use ready made flowers but I like making my own.
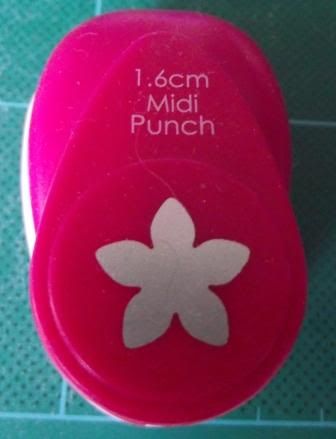
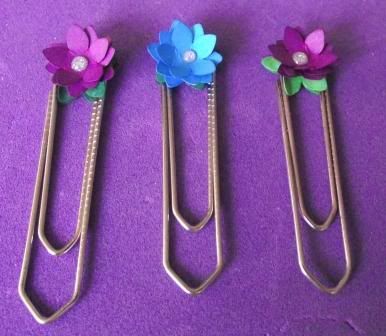
machine for your flowers. You just need to remember that you don't use too big a flower shape as this wouldn't look right on the paper clip. I used the large 50mm size of paperclip.
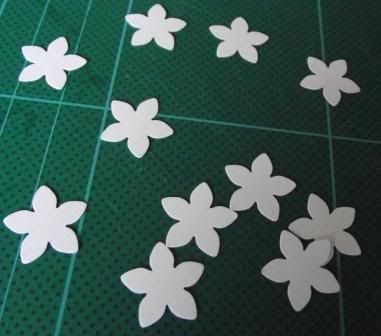
I then cut my flowers out. I used white card so I could then colour them with my promarkers (or copics). This means I can custom make my flowers to what ever I'm doing.
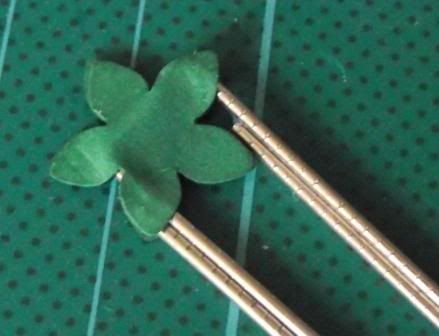
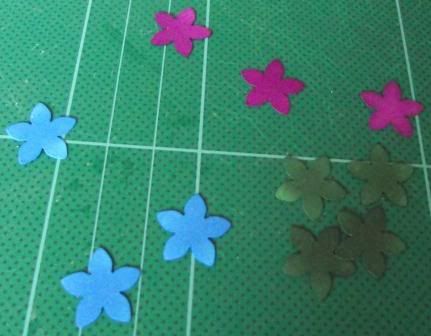 You need three of the colour you would like your flower to be. You also need to colour two green per flower/paperclip. You now need to shape your flower and build it using the three in blue for example in the picture.
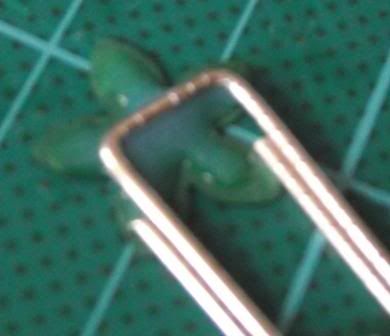
I then used glossy accents on one of the green flowers. I placed the paperclip on top.
I then added some glue to the paperclip and placed the second green flower on top. I used my embossing tool to push it down so the two flowers sealed. I waited for this to dry (didn't take long with Glossy accents), then I glued my made flower to the top green flower.
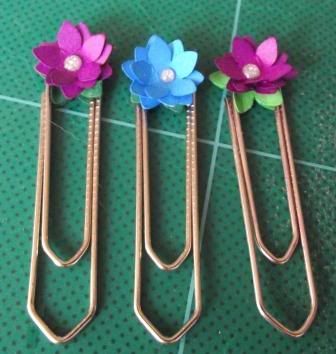
Here are the finished paperclips. Next time I'm going to coulour the paperclips with alcohol inks so they co ordinate even more.
I hope you like this quick tutorial. You could use all sorts of different things not just flowers.
Thanks to Pam for having me today as a guest designer.
Kelly :)
www.kamscraftyplace.blogspot.com
www.kamscraftyplace.blogspot.com