
 Hi all,
Today I thought I'd share with you a quick card. If you need something that's fairly quick and easy, have a go at this. I used my Expression and Gypsy to make the basic shapes. I used pocket of posies cardstock, bazill basics cardstock, Neenah card and a sugar nellie stamp.
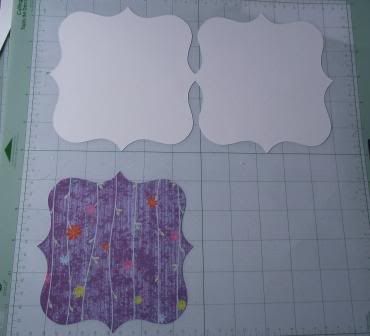
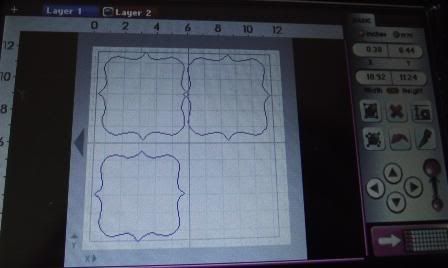 First I made my card shape. Top row. I used the elegant edges cart. I then took a third shape but made it smaller than the card shape as this is going to be the first layer.
 On layer two I then took two more shapes, sizing them so they would fit into the above shape and nest inside each other.
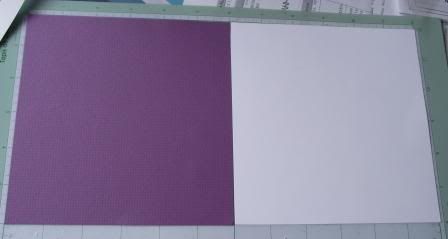
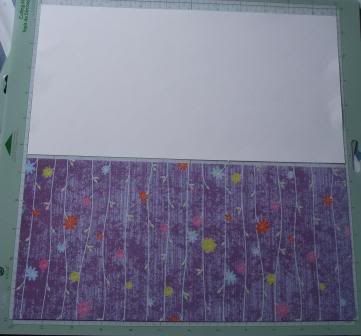 This is how I put my paper on the mat for the first layer on the Gypsy.
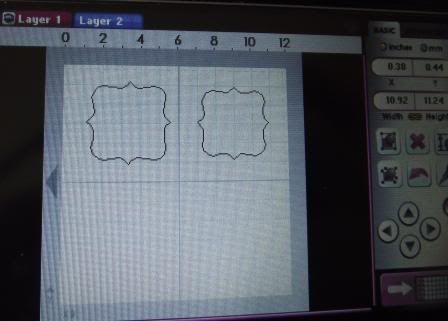
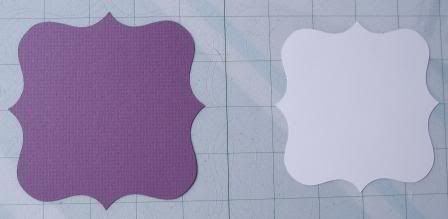
 Here are the shapes cut out.
Here is the how I laid the card for the second layer on the Gypsy. You need to make sure the card you want to stamp and colour on is the smallest shape. I used the card I would normally use my promarkers, copics or spectrum noirs on.
 Here's the shapes cut out. You then need to assemble the card as you would normally. Stamp and colour your image. I coloured this image in with my Speccies.
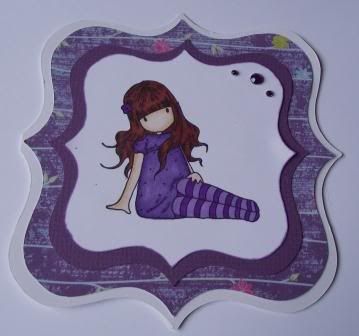
Here is the finished card. I think the colouring in of the image took the longest. Also Now I have it as a save file It'll be even quicker to make. The only thing I would change is I would put the two sides of the card closer together.
Here's the shapes cut out. You then need to assemble the card as you would normally. Stamp and colour your image. I coloured this image in with my Speccies.
Here is the finished card. I think the colouring in of the image took the longest. Also Now I have it as a save file It'll be even quicker to make. The only thing I would change is I would put the two sides of the card closer together.
Thank you to Pam at for having me as a guest designer today.
Kelly x