f The Bugbytes: Concertina fold card

Welcome - Copyright & Disclaimer

Welcome to The Bug Bytes a site/blog mainly for Papercrafting and some photography and other stuff thrown in here & there. Add in some die cutting machine, scrapbooking tools, cameras, scissors , glue and...... My name is Pam. If you have been redirected from Papillon Digital Design you have come to the right place.Hope you get inspired by the projects, videos and files. Would love it if you could leave comments and become a follower. (Word verification is turned ON to avoid spam. Sorry for that inconvenience.) Would love it if you would also share your project here . If you find a linky under the post do share your project by posting link there or if you do not find a linky post your link in the comments.Thank you for visiting. The website Papillon digital designs has changed to Papillon Digital Design so if the link gives and error or takes you to page with chinese characters then please drop the 's' in the link at the end of papillondigitaldesigns and try . That is change papillondigitaldesigns to papillondigitaldesign and try the link.

November 5, 2012

Concertina fold card

Good Morning!

This is Jen from 3 cats and a bug!  I'm excited to be here at the BugBytes again this month.  I will admit, it's getting harder and harder to come up with projects, Pam's DT is so talented I can't keep up with them!  So, for my project, I decided to do a concertina fold card that I found over at Splitcoaststampers, (here) by Cherie Franklin.

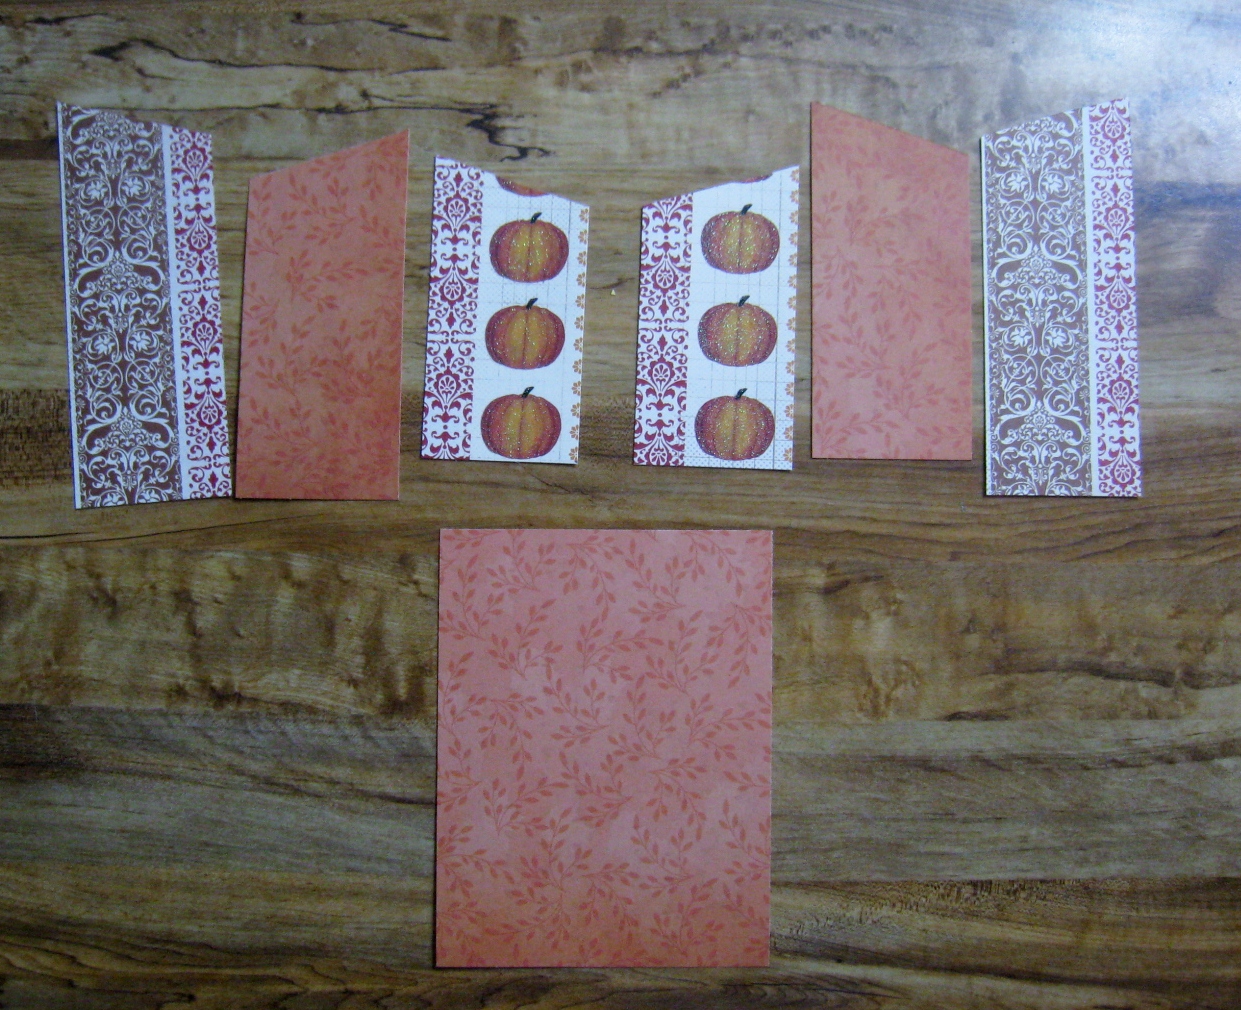
I started out with 2 pieces of 5.5 x 8.5 of cream colored card stock and 1 4.25 x 5.5 brown card.  You can make these with just a card base (that doesn't open), but I prefer my cards to open.


On both pieces of cream paper, I scored them at 2 1/8, 4 1/4 and 6 3/8.

From the 1st score line I lined up to the 2 inch mark and cut.
Next I folded each piece accordion style.
I attached each accordion piece to the front of my card using my pink atg gun.

Next I cut all the patterned paper, cutting it just a hair smaller than what I needed, again, that's just what I prefer.  The large piece is shy of 4.25 x 5.5.  The other pieces are 2 inches wide, I used a pencil to mark where to cut them.

 I glued everything down with my atg gun.
 
I used my spellbinders and cut a scalloped oval to hold the two pieced closed and added some left over stickers to decorate.
For the inside of my card I added patterned paper, leaving a large enough space so I can add my Thanksgiving verse later on.
Sassy gave her seal of approval on the finished card, but she didn't like the mess left over on my (her!) table.

Be sure to stop over a splitcoast stampers for a much better tutorial!  :)

5 comments :

Michelle said...

Beautiful card, love the papers you used. Glad Sassy gave her seal of approval :)

MelodyR aka Ry&MysMom said...

Gorgeous card! I have never tried making one of these and you made it look so easy to make! TFS!

Karons Krafty Korner said...

Fabulous card - love all the colours and how it was made. Great tutorial:-) TFS

papillon digital design said...

This is so gorgeous! Love the paper and image. And love love the folds. You know I am always so excited by interactive cards. Thanks for hsaring with us on TheBugBytes.

Sheila aka SassyLady said...

What a wonderful little Card this is love the detail in the fold

"kind encouraging and inspiring words"

I appreciate your comments so much. They are treasured and such an inspiration. Thanks for leaving them.