

Hi Everyone! This is Elizabeth from 217 Creations. I am huge fan of buried layers and treasures inside my Cricut cartridges. Over the last month or so I have shown several projects using Ribbons and Rosettes. One feature that I found once I opneded the cartridge was "Rhiniestone" layer feature. I relish the opportunity to add bling to anything I can and since I have 3 boys- that does not happen very often. I decided to try this feature on a gift for my neices- Michelle and Shyloh. They are 3 and love pink, hearts , and BLING. This gift has all 3!

I started by cutting contact paper (or vinyl) using Kiss Cutting- 3 Pressure, 3 Depth , and 3 Speed. For some reason my E2 cuts a bit different than my Expression did- so I had to lower the Depth and Pressure to 2. I pressed the contact paper to my washed shirt. Next I began using a heat tool to set each rhinestone. I used my Tulip one for this project, but if you have an I Rock (I have both) you could use that too.
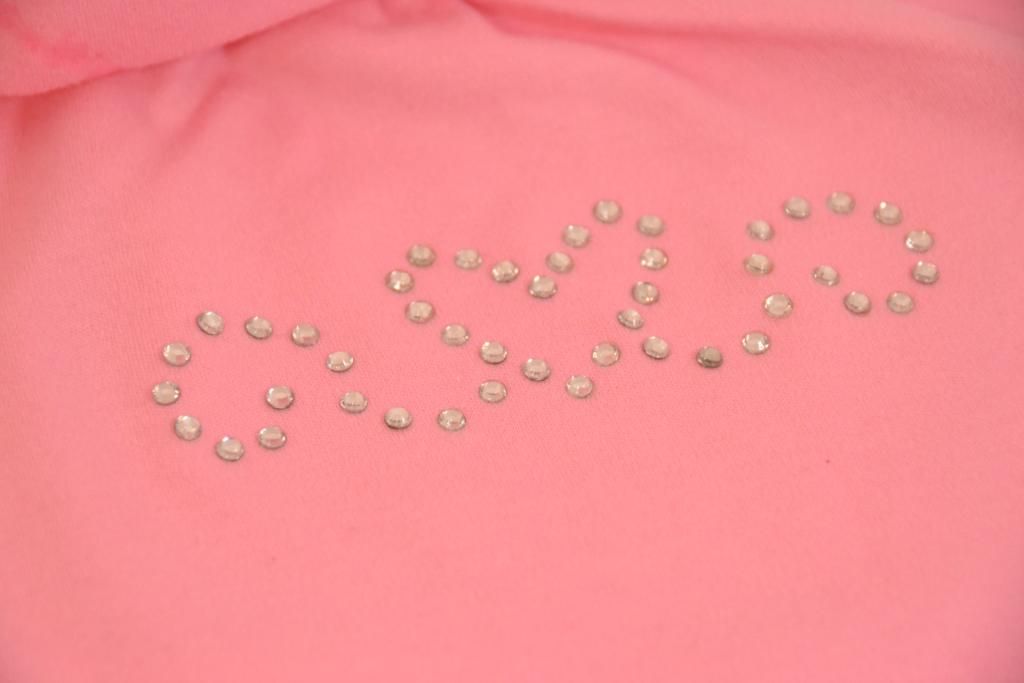 |
| Remember you can click to enlarge |
Once I had all the rhinestones in place, I gently pulled the contact paper up and revealed my design. This project was super easy and under $5 to make. The Ribbons and Rosettes cartridge has several borders as well as a font that is set for adding rhinestones.As always thank you for taking the time to comment and follow us here at The Bug Bytes and on my personal blog at 217 Creations.

