f The Bugbytes: Light Up Christmas Frame!

Welcome - Copyright & Disclaimer

Welcome to The Bug Bytes a site/blog mainly for Papercrafting and some photography and other stuff thrown in here & there. Add in some die cutting machine, scrapbooking tools, cameras, scissors , glue and...... My name is Pam. If you have been redirected from Papillon Digital Design you have come to the right place.Hope you get inspired by the projects, videos and files. Would love it if you could leave comments and become a follower. (Word verification is turned ON to avoid spam. Sorry for that inconvenience.) Would love it if you would also share your project here . If you find a linky under the post do share your project by posting link there or if you do not find a linky post your link in the comments.Thank you for visiting. The website Papillon digital designs has changed to Papillon Digital Design so if the link gives and error or takes you to page with chinese characters then please drop the 's' in the link at the end of papillondigitaldesigns and try . That is change papillondigitaldesigns to papillondigitaldesign and try the link.

November 17, 2010

Light Up Christmas Frame!

This is Nadia from With Glittering Eyes blog to share a holiday project with you!


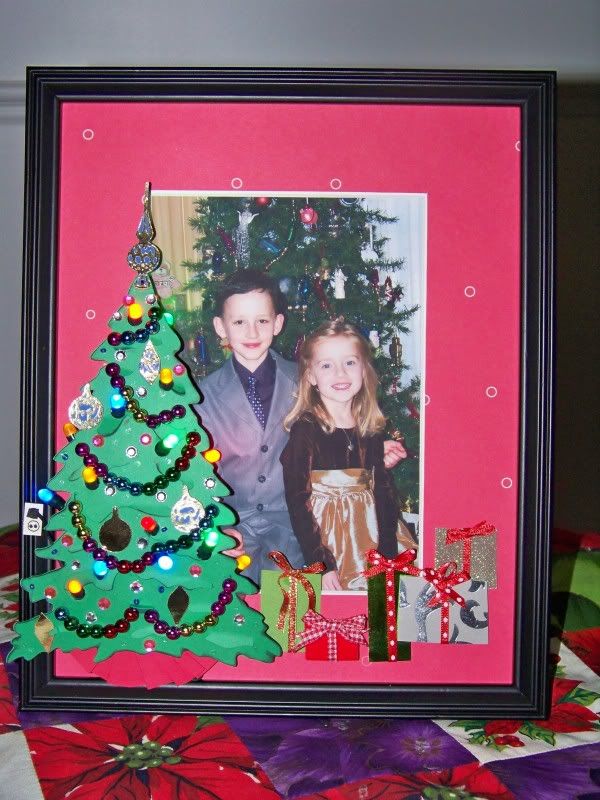
I created a light up photo frame for Christmas.  The idea of adding lights came a bit late in the project -- sometimes projects change while being crafted in my little world!


I started this project without the idea of adding lights.  I used the tree from Christmas (Solutions cart).  I cut two trees at 6-1/2" so I could put them together and lift up the branches on the top tree.  


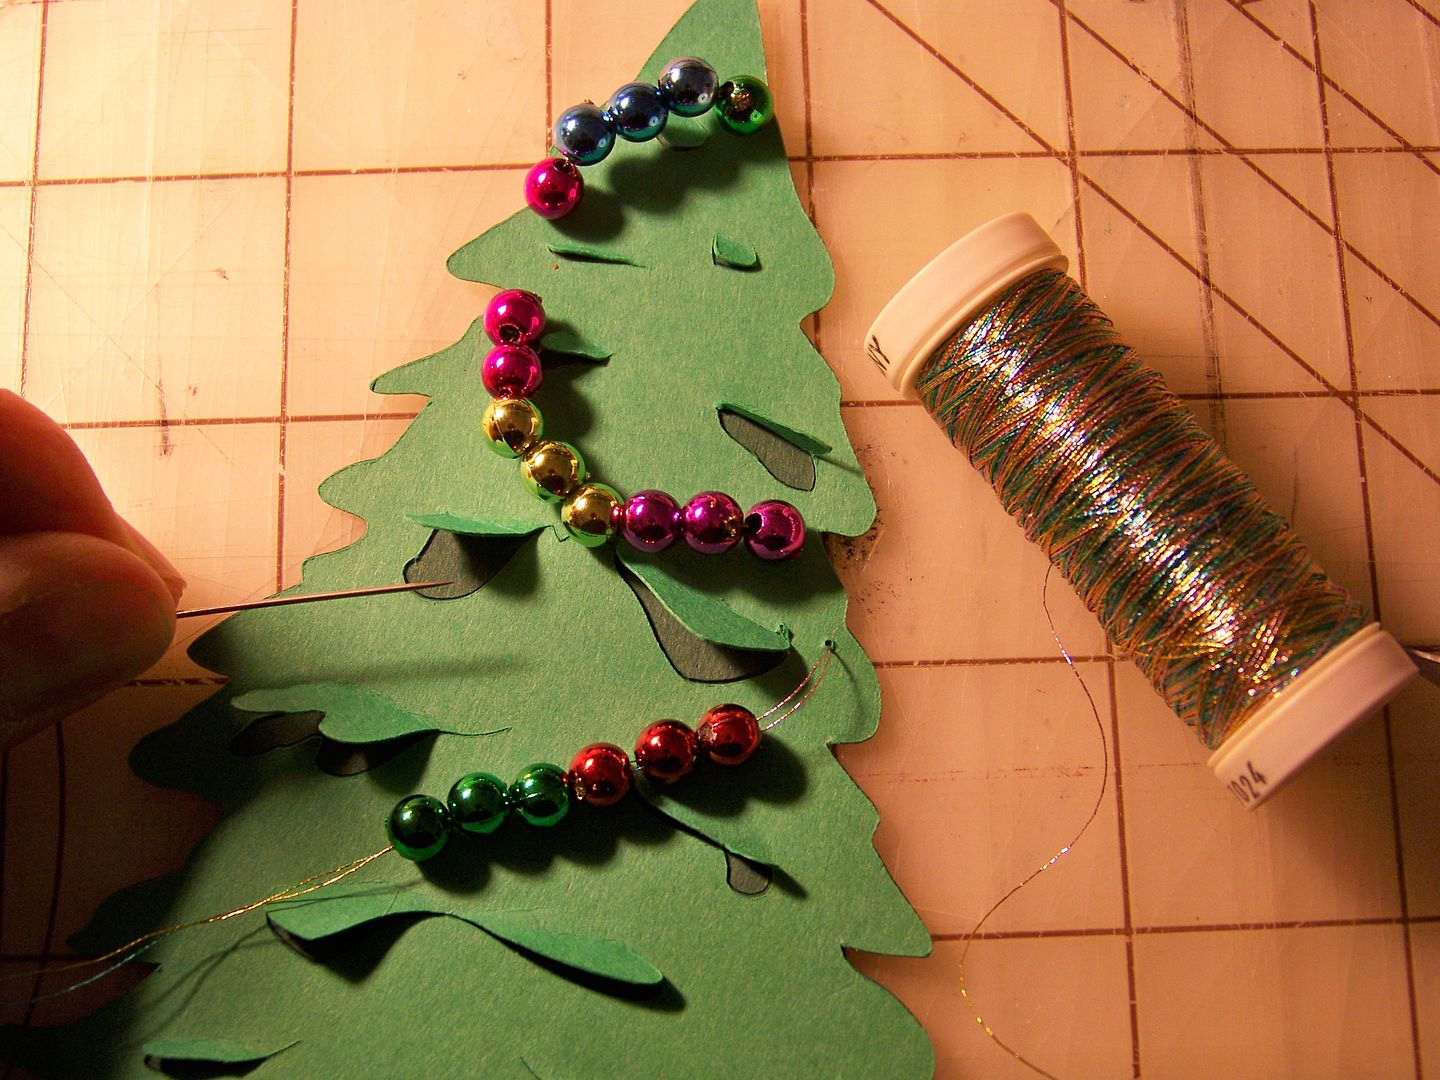
I created a garland by stitching on lines of beads with metallic thread.  Unlike gluing, stitching a long line of beads will allow them to hang, like real garland!


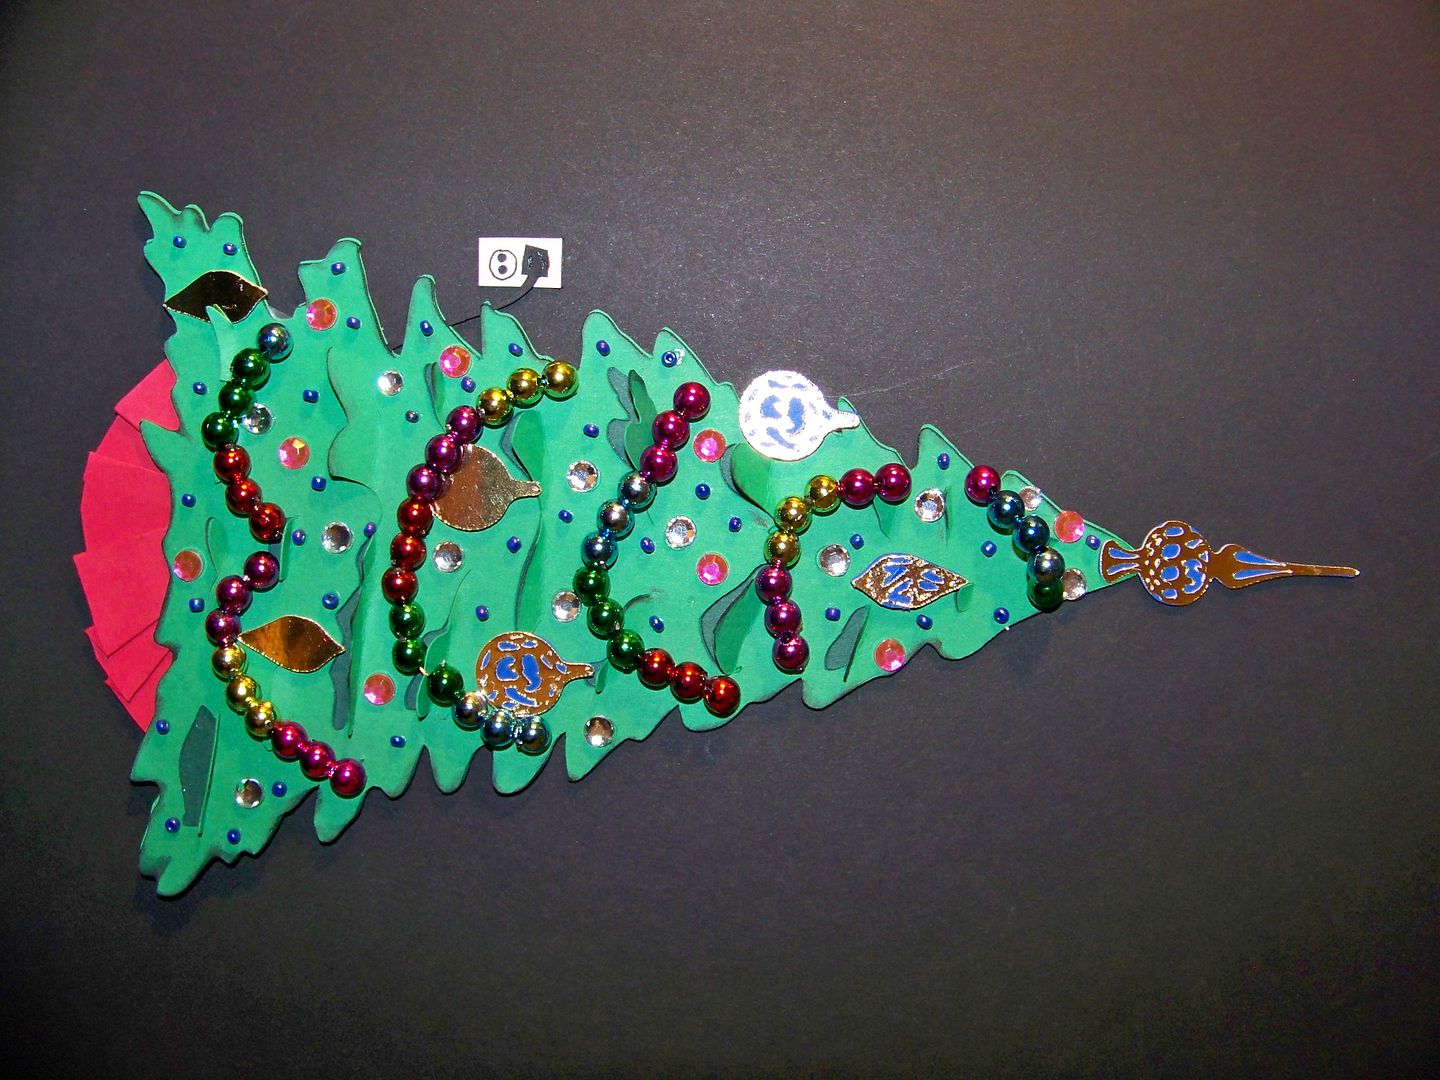
For fun, and to remind me of the silliness of our family, I added a paper electrical cord and outlet.  Keeping the electrical cord visible and clear was the subject of repeated lectures growing up as my sweet, paranoid mom dealt with the real tree that she always bought, despite her fear of it catching on fire. 

I decorated the tree with jewels, beads, and ornaments (cut at 3/4") and a topper (cut at 1-3/4") from the same Christmas cart.  I added a tree skirt that I hand-cut and folded.

...And then, an epiphany!  Why not add lights to make the tree really light up and play off the joke of the paper plug and outlet?!  I used a hole punch and Crop-A-Dile Big Bite (for the holes in the center of the tree), a task which would have been much easier before the tree was decorated! 


To assemble the project, I removed the glass from the inexpensive frame I purchased.  I cut a paper mat that I glued to the purchased frame's white mat with double-sided tape, while still allowing the beveled edges to show.  I printed off a copy of the picture I had chosen for this project and attached it from behind the mat with double-sided photo tape.  Using a mat knife, I cut a triangle out all the way through the picture and back so that I could feed the cords through from the back to the tree that will be on the front.


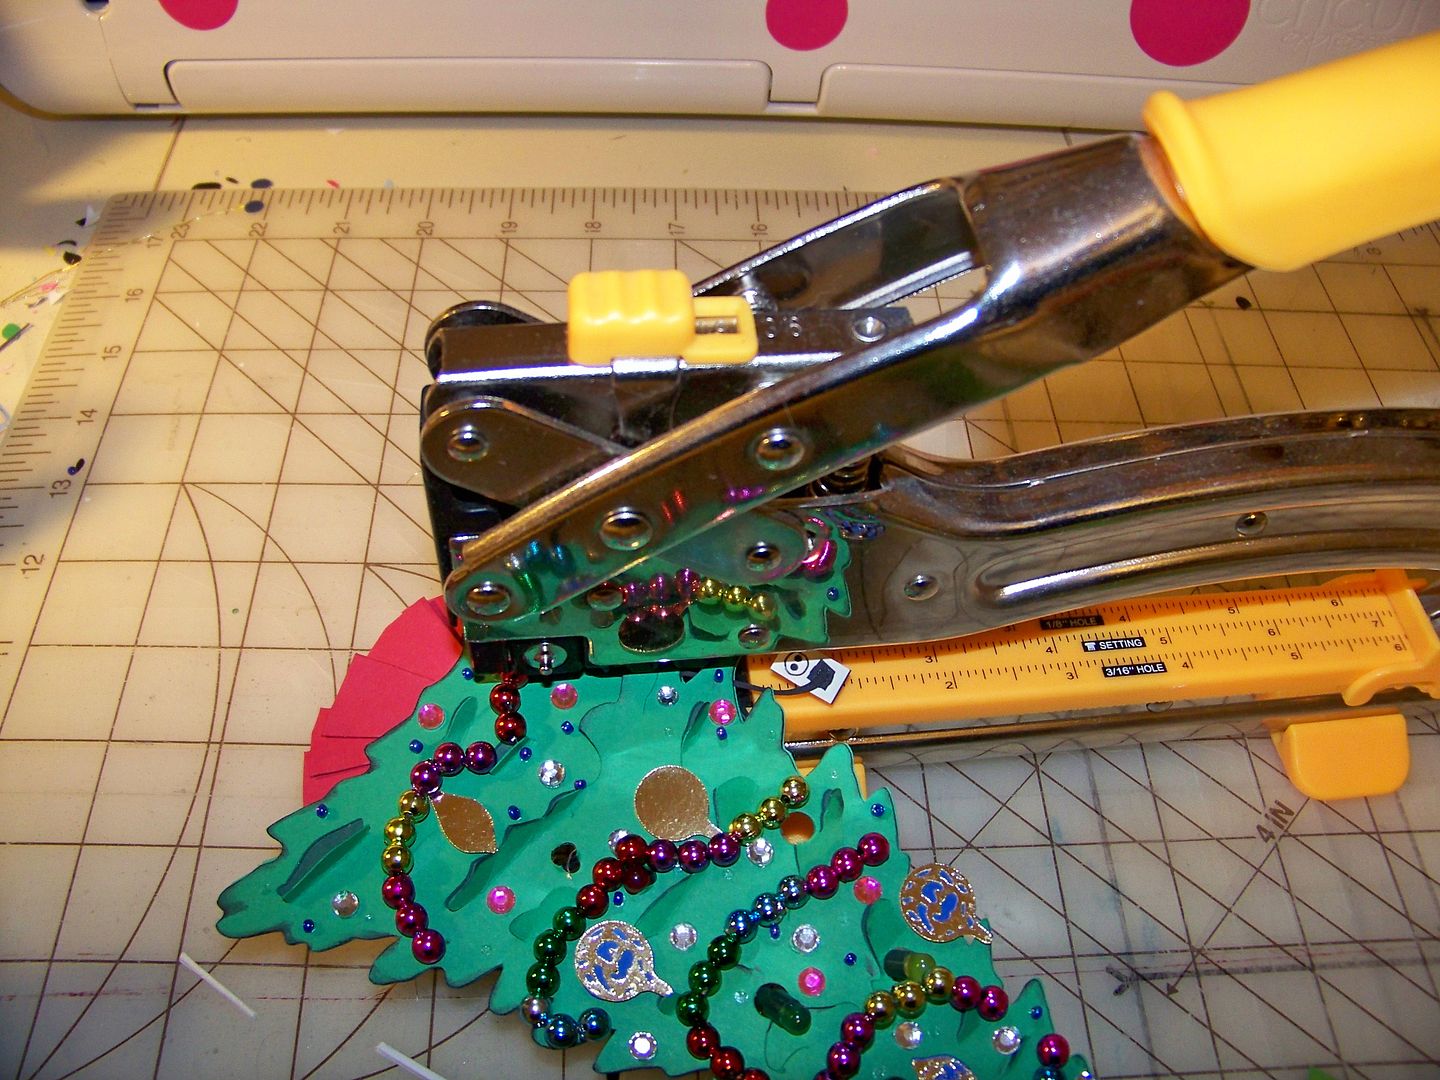
I applied the lights to the tree, keeping the cords on the back of it as flat as possible with tape.  I applied the tree with pop dots on the top and sides, attaching to the mat.  I glued the tree skirt flush, attaching to the wood frame.  A bit of glue was used to attach the paper electrical outlet to the frame as well.


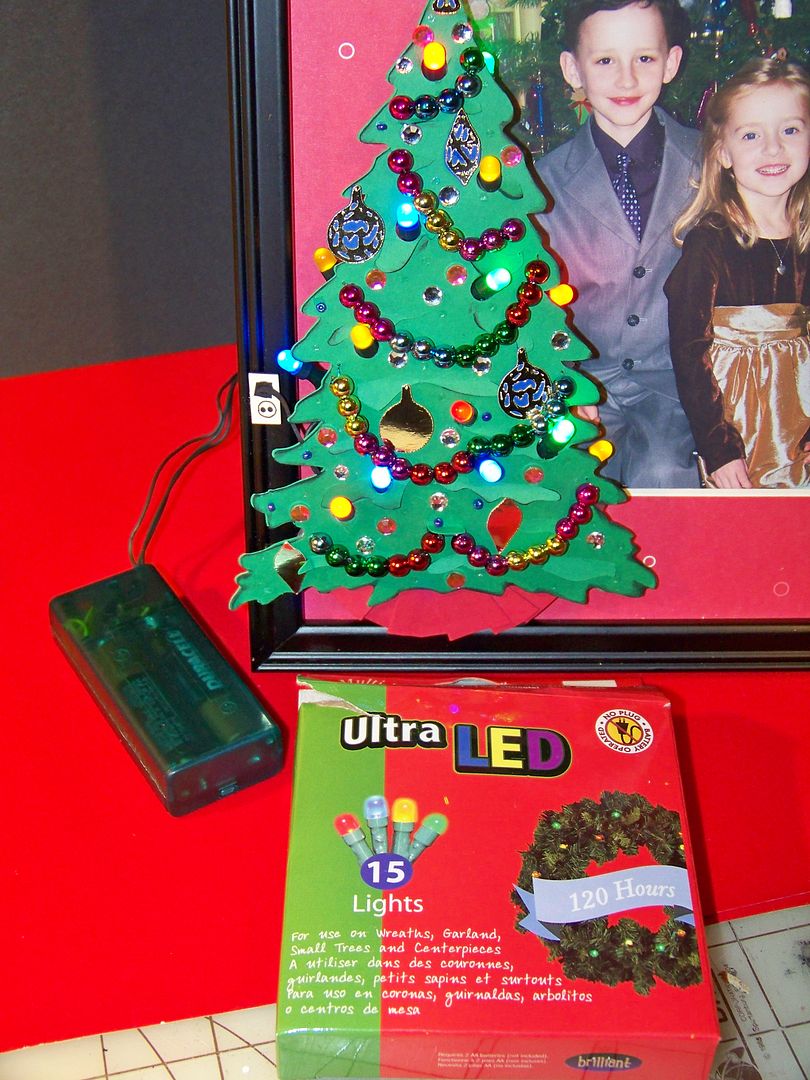
These are the lights I used.  I found them at Meijer for less than $4.

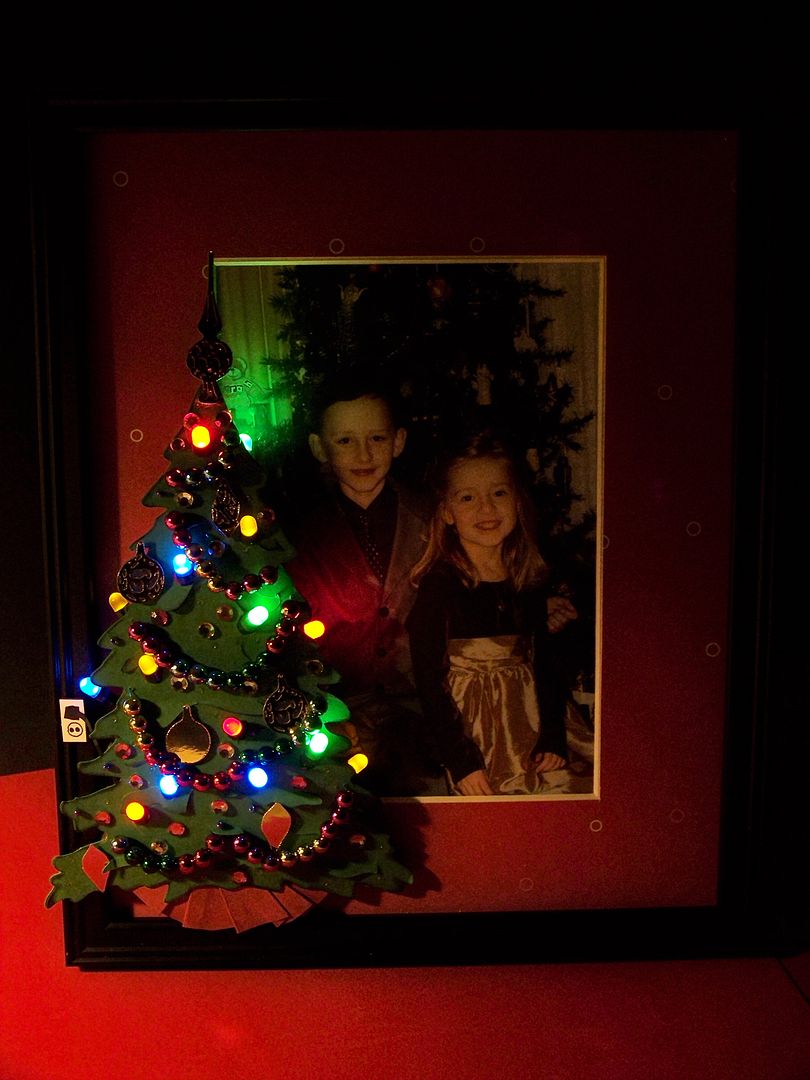
I had to test it... like a kid,  I just wanted to see it glow in the darkness!

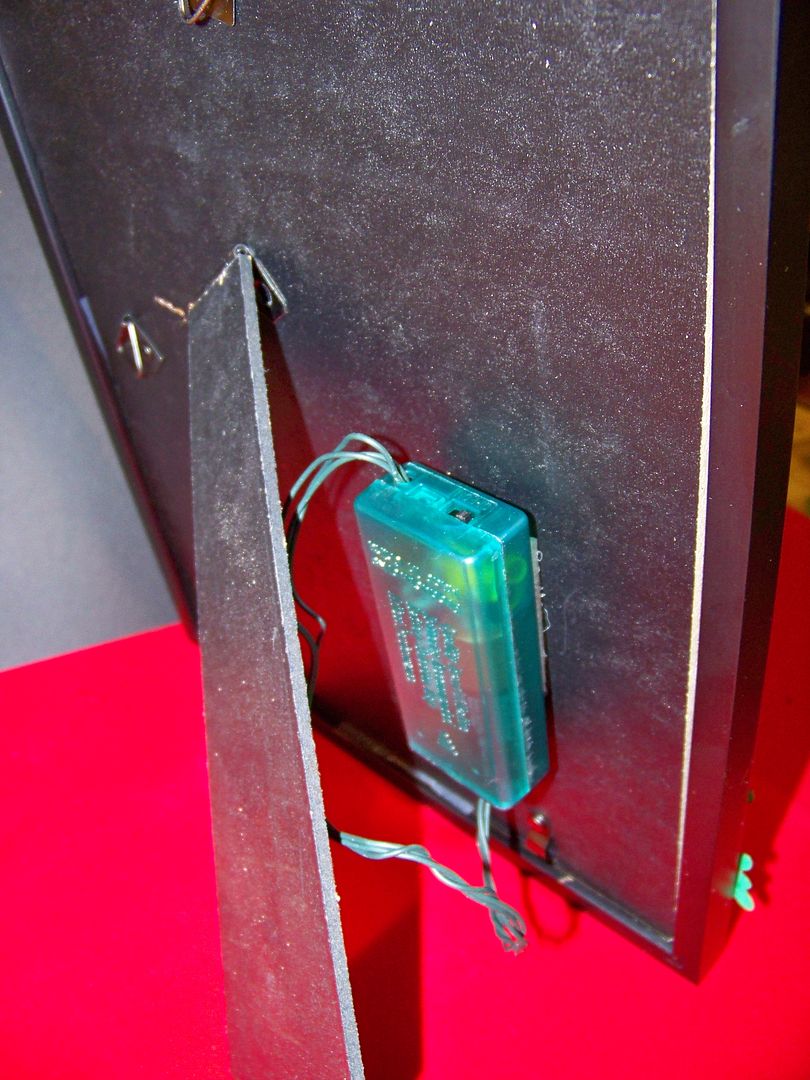
I used Velcro to attach the battery unit to the back of the frame.


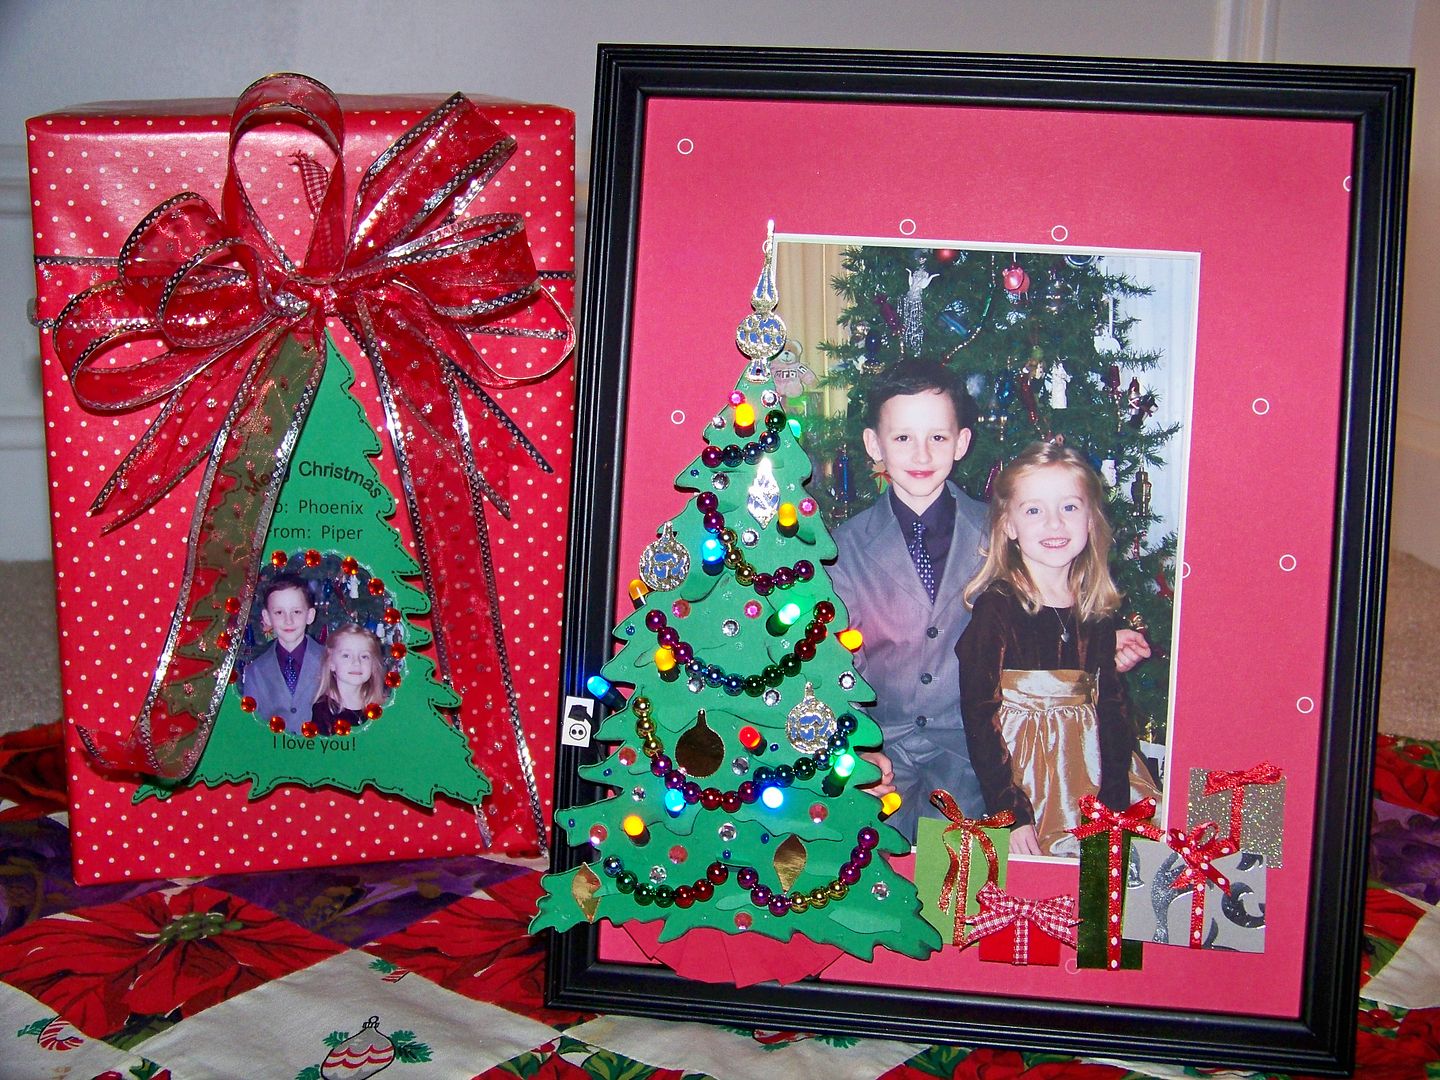
I added a few gifts that were simply rectangles, embellished with ribbon and bows I tied.  Some are popped up with pop dots to add a little dimension.


I hope you like my frame!  To carry on the theme, I created a tag using the same tree and photo, printing the tag on my computer, and cutting a window using Mini Monograms at 2-1/4" using the Centerpoint feature.


Thank you for looking at my project.  You are invited to visit my blog to see my other projects and past posts!

17 comments :

TR said...

I think I've decided that I want you as one of my REALLY GOOD friends! I love everything you create. Your mind works like mine. Create as you go kinda gal.
AND I just was playing with this very tree a couple days ago! I cut out the snow pieces that went with it and had so much fun putting them all on and then lifting the branches. :)

Again, great project you happened to make in your crazy busy life.

TR

Celeste B. said...

So creative!!!!!! I absolutely LOVE it!!! :)

Ashleigh said...

thats awesome! TFS!

Sheila aka SassyLady said...

Oh how creative is this... I just love this little frame. Thanks so much for sharing.

papillon digital design said...

You are one amazing talented girl!! your projects always make my mind blow up

Beatriz Farquhar-Guzman said...

ADORABLE! WHAT A CLEVER IDEA.

Nancy said...

OK - THIS is awesome!!! I love it!!!

MelodyR aka Ry&MysMom said...

You are one clever lady, Nadia! Thanks for sharing your project!

Melody aka Ry&MysMom

Unknown said...

Just brilliant!! TFS, Mary M

Nadia (WithGlitteringEyes.blogspot.com) said...

I am so glad you liked my project. Thank you for the nice comments!
Nadia

Carol Ric said...

So pretty and so creative!

Brens Designs said...

Nadia... you always amaze me with your talent and how original your projects are. This is so beautiful! TFS

Unknown said...

I totally love this tree!! My favorite part is the outlet story!

I love how your project took a life of its own!

Anonymous said...

This turned out lovely! What a great idea and I love that it shares family your humor too! Thanks for all of your inspiration and your cut files. Today was the first day I ever tried to use a cut file and it was yours that you shared. Thanks for helping me understand this little contraption better!
From,
Lostinscrap

Lisa said...

Ingenious!! I adore this creation!! Fantastic! Wooo Hoo!
Big Hugs!

flowerdisco said...

how nice!!!!!!!!!!!

Josie0602 said...

This frame is just fabulous! I love how it turned out!

"kind encouraging and inspiring words"

I appreciate your comments so much. They are treasured and such an inspiration. Thanks for leaving them.