
 Hi all, It's Kelly from www.kamscraftyplace.blogspot.com Today I thought I'd share with you a quick tag. Thank you Pam for having me back again. I got a new toy recently and though I'd share it with you aswell as the tag. The Tag doesn't take long to do, so you could probably do quite a few in a couple of hours.
 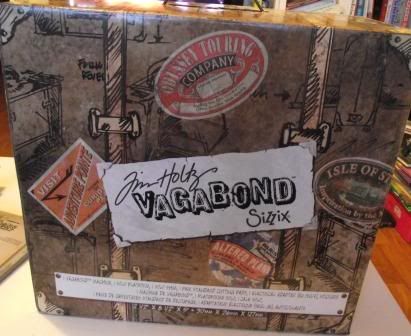 Well as you can see my new toy was Tim Holtz's Vagabond. It was a late birthday/christmas present from my dear Hubby and children. It's fab. I love it.
 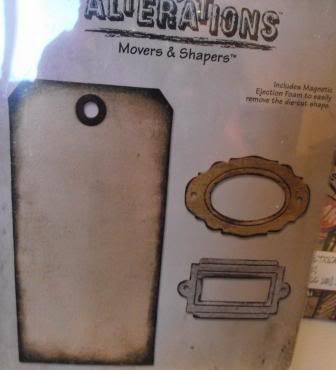 I use the alterations die tag and bookplates.
 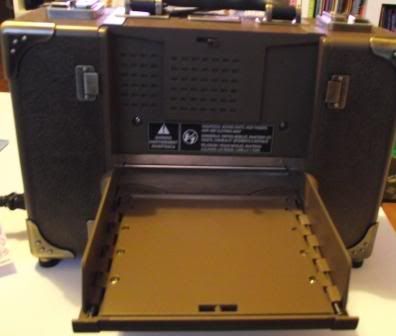 Here's the vagabond open. It has a switch on the top that you slide and this releases the sides. It's plug is stored in the side. It is a bit heavier than the cuttlebug (which I still have and wouldn't part with hehe), but it cuts through a lot thicker materials.
 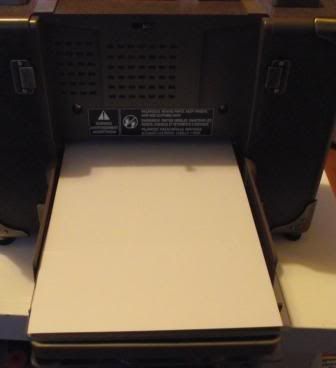 I stacked it as you would normally. B plate, die on top facing upwards, paper or card and the second B plate.
 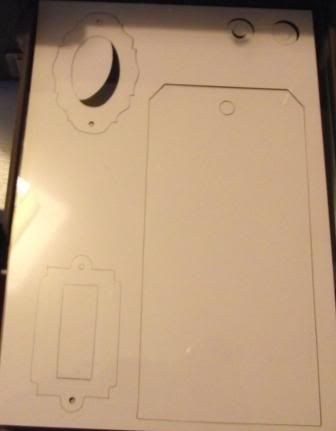 Here it is cut out. I cut it out using the card that I use for my promarkers. A thick, smooth cardstock. I also cut this out using one of the cricut clamshells. As it's see through I couldn't really photograph it easily.
  I got my alcohol inks out, my blending tool, archival ink pad, both tags and my mat to keep the table stain free.
 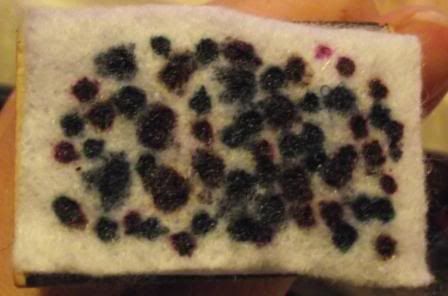 This is how I put the alcohol inks on my tool as you can see I've tried to make sure that each drop is a little way away from the next drop, although some have bled into each other.
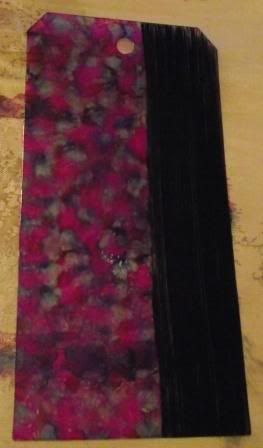
  I then tapped it all over the tags. I did reink when I finished the first tag. The one on the left is the card and the one on the right is the clamshell.
 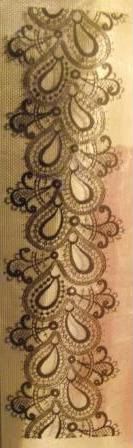 I then used my Anna Griffin stamp. This stamp was part of a set that had lots of lace stamps. It was very easy to line it up so it went all along my tag.
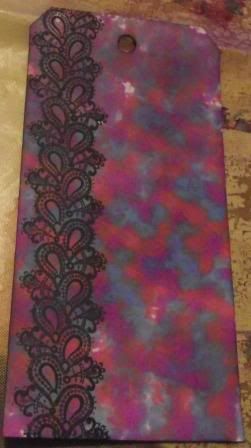
I turned my card tag over as the colours bled through and were a lot more vibrant on this side. I then stamped the image with the archival ink.
On the acetate (clamshell) I inked up one section of the tag with the archival ink pad. I then wiped this ink off. This takes the alcohol inks away and leaves it clear again.
 I then turned the acetate over and placed it on top of the tag. This gives a little window where the stamped image shows through.
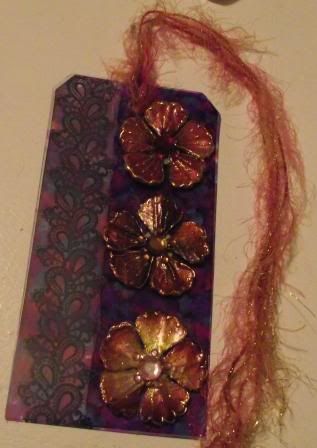
 I then used Prima Flowers ( Cloissone Bronze) and stuck them on the acetate. I then added some fibres.
Well that's the end of my tutorial today. It's very quick to make and looks quite affective.
I hope you enjoyed my project and will have a go.
Kelly x