
Hi everyone! This is Elizabeth from 217 Creations. One of my more recent cartridge purchases is All Wrapped Up. I held off buying this cartridge for awhile. After opening the box and studying the booklet, I cannot believe I waited so long to buy it! If you own an E2 or an Imagine, this cartridge is a must have. There are many 3D items but the cards and envelopes are awesome

I started by printing a full bleeed on the Imagine with this lime green pattern. When I am making cards or boxes, I frequently print the entire backside of the paper when using the Imagine. This eliminates the bright white paper and gives the project a more finished look.
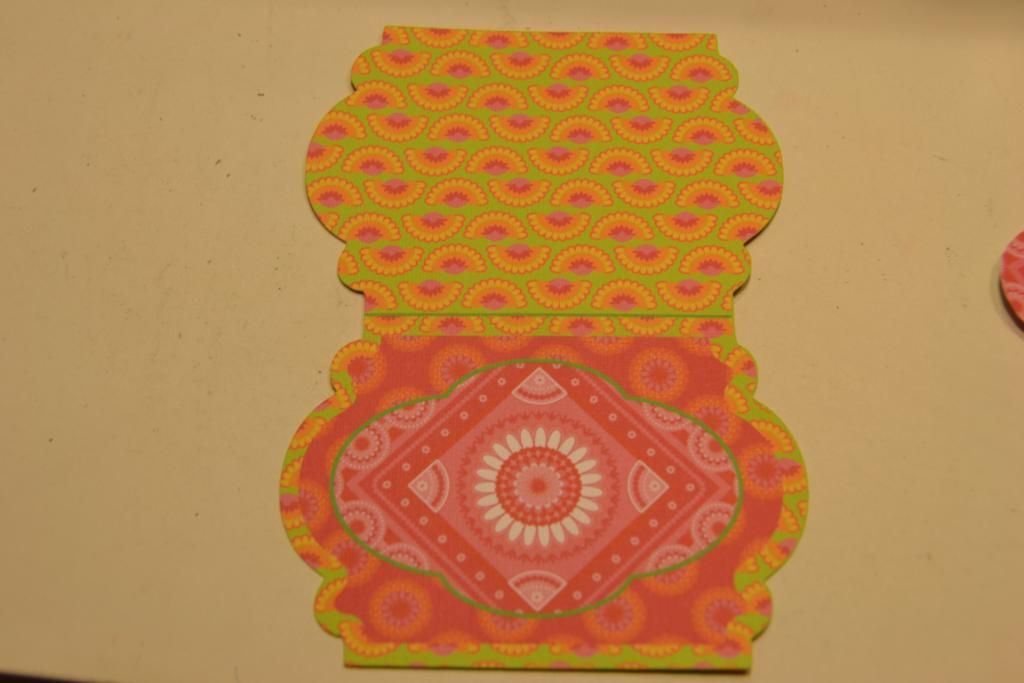
Once the printing was done, I flipped the paper over. I chose to cut and print the card at 5 inches (Relative Size/True Size).
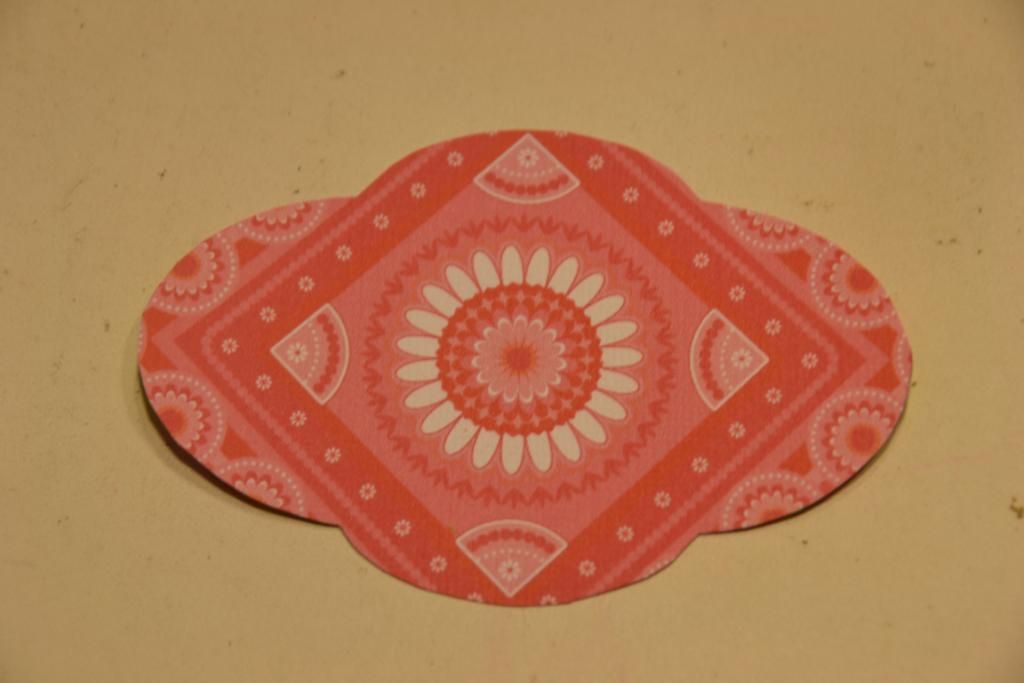
I also cut and printed these two layers. This layer originally had a green border. I did not care for it so I hand trimmed the green border off the cut.
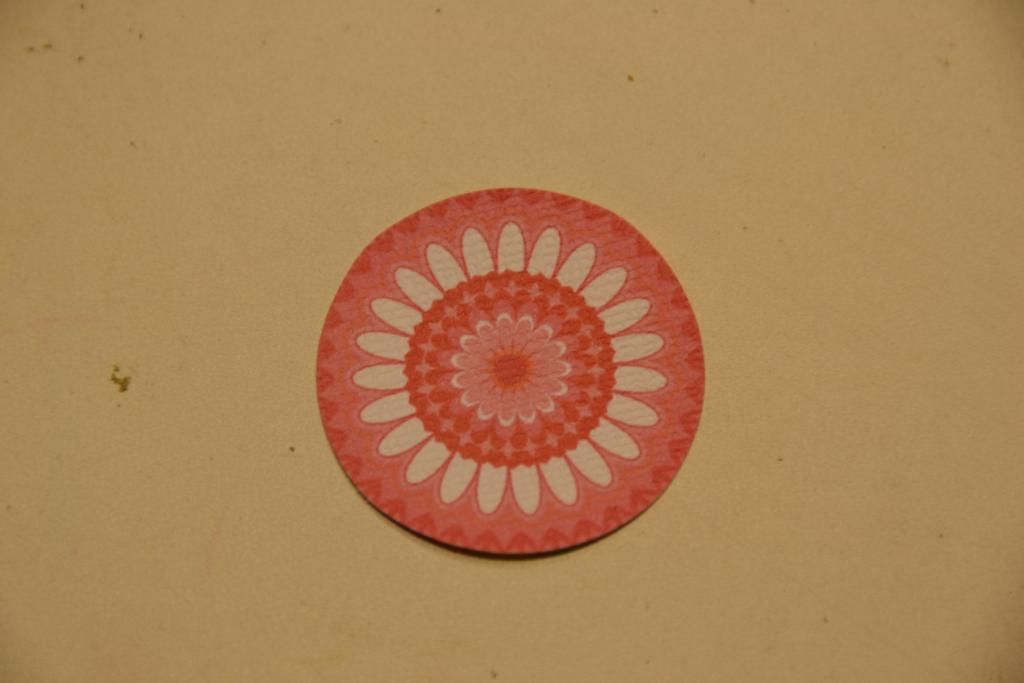
The built in layer for this image, to me, was odd. So I took a 1 inch punch and made it a circle.
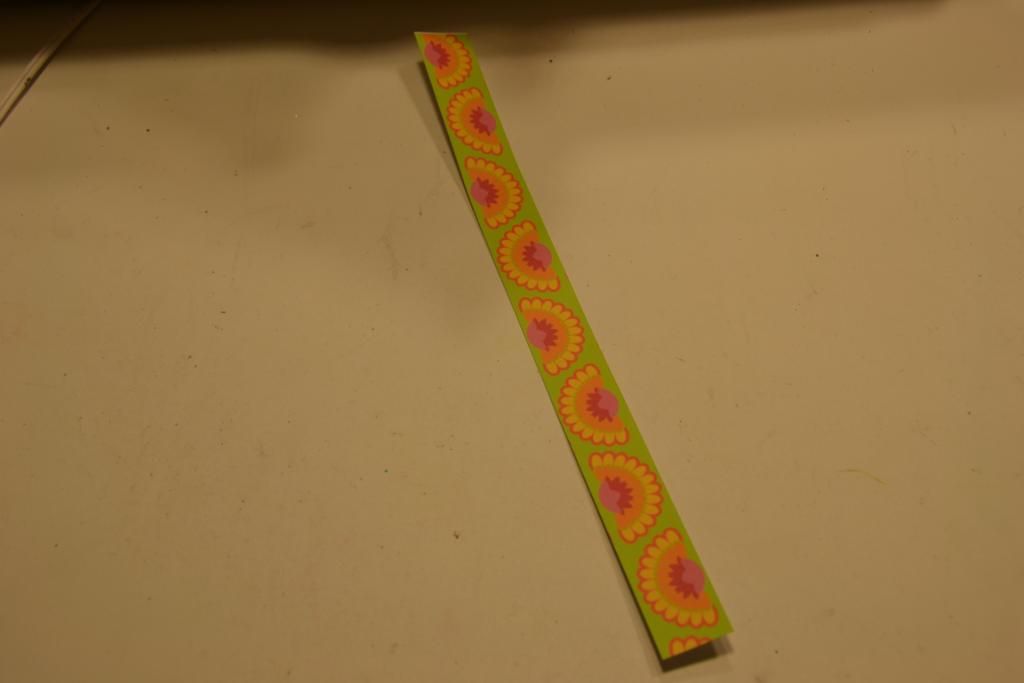
I set aside the layers and cut a 12 inch by 1 inch strip from the scrap of the full bleed.
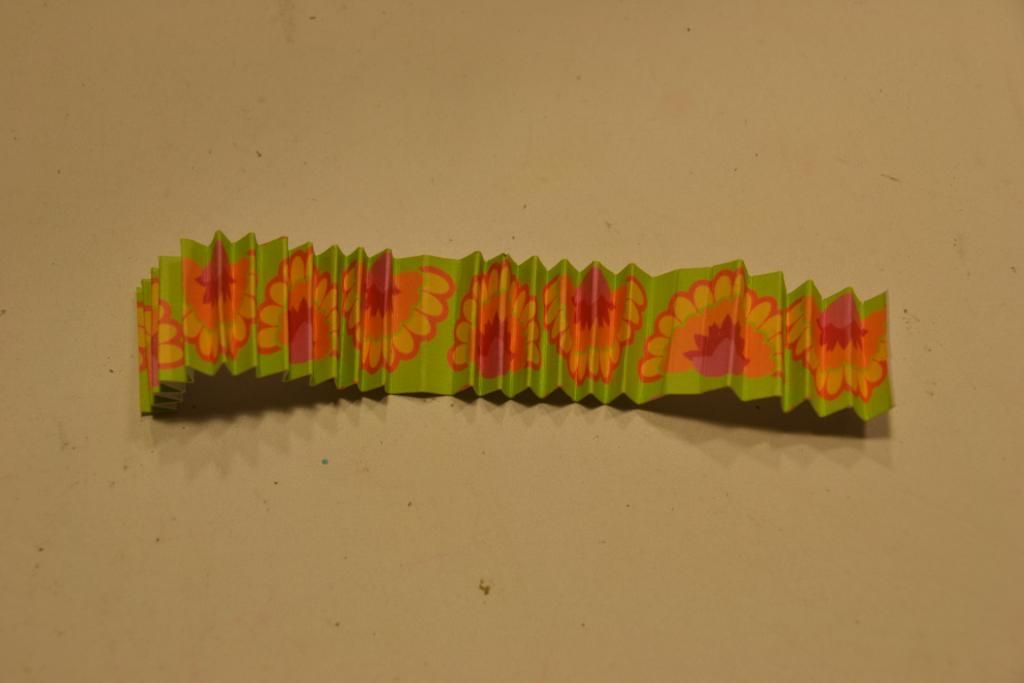
Using a scoreboard, I scored at every 1/4 inch. I folded the accordian of the rosette.

I then hot glued the ends together and then hot glued the center form my rosette.
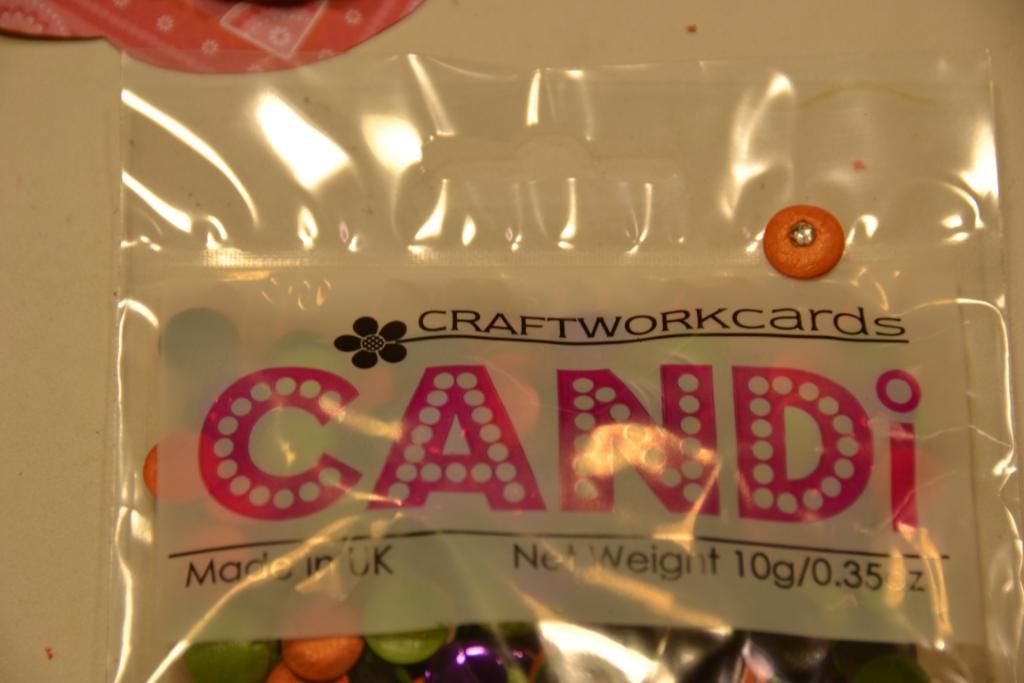
Next I started work on the center of the rosette. I used these fun little "Candi" embellishments I bought at Stamper's Ink here in Kansas City. I added a rhinestone with my I rock to the center.
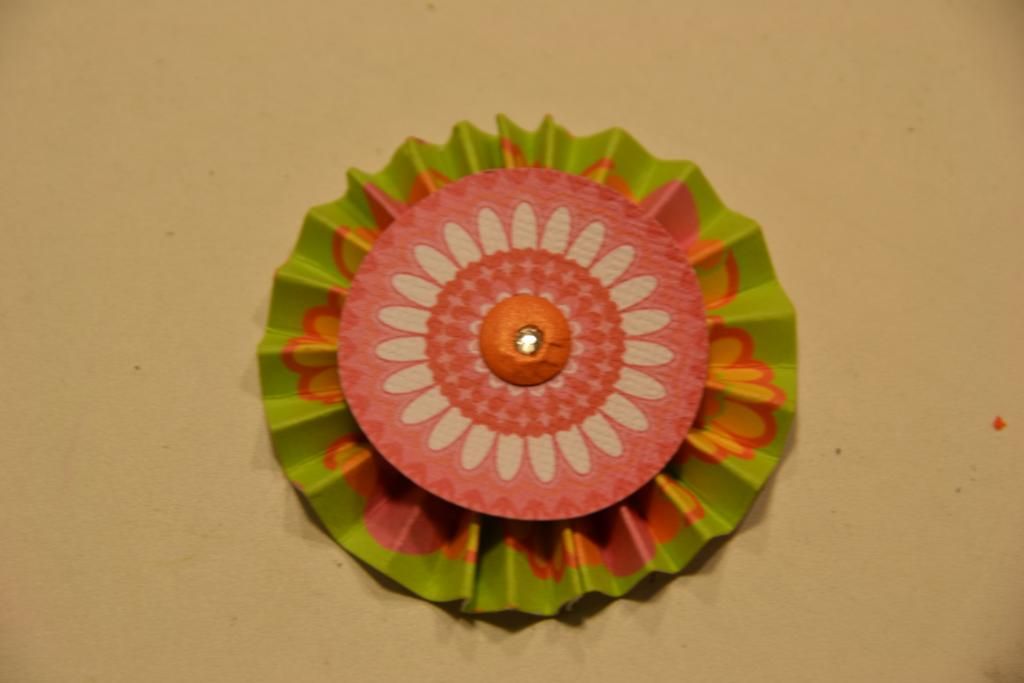
I then added the embellished Candi piece to the circle layer. Then I added the layer to the rosette.
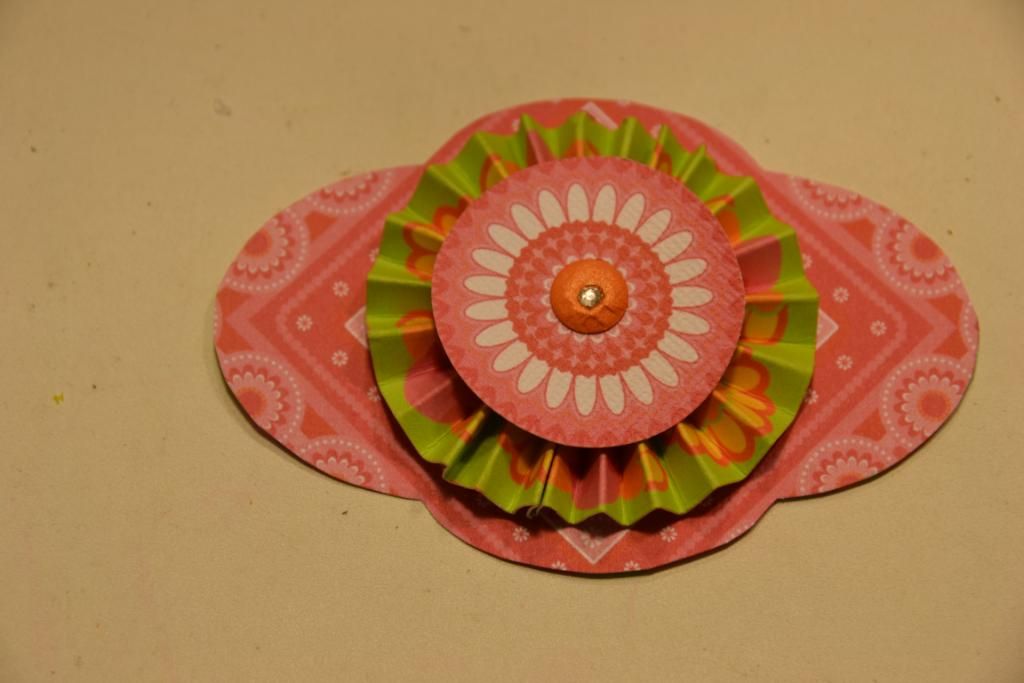
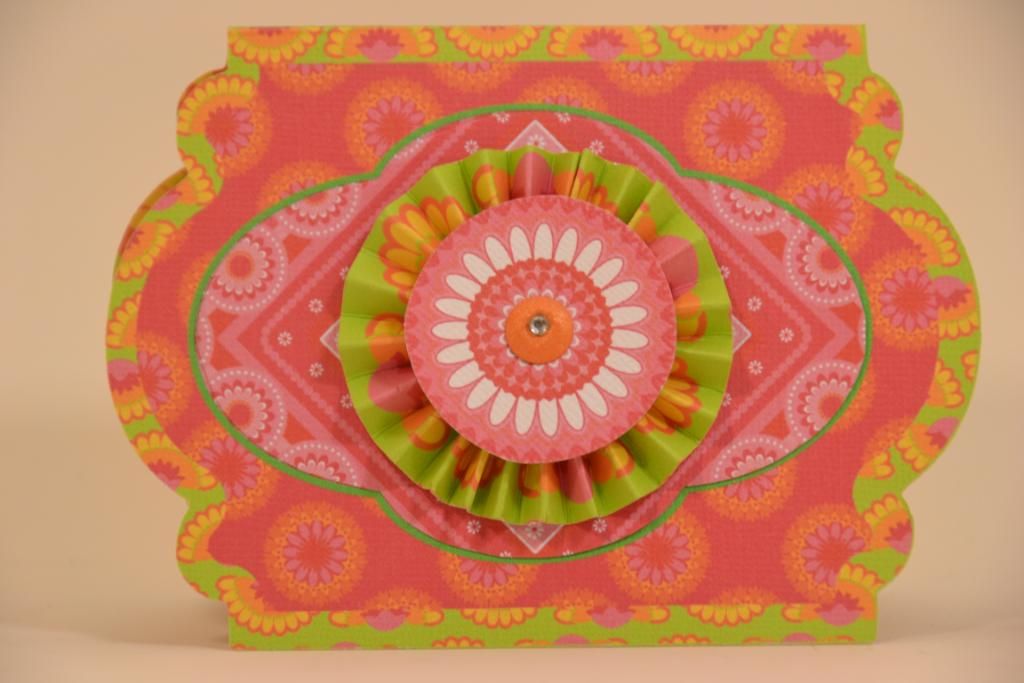
Finally I added the rosette to the base layer.
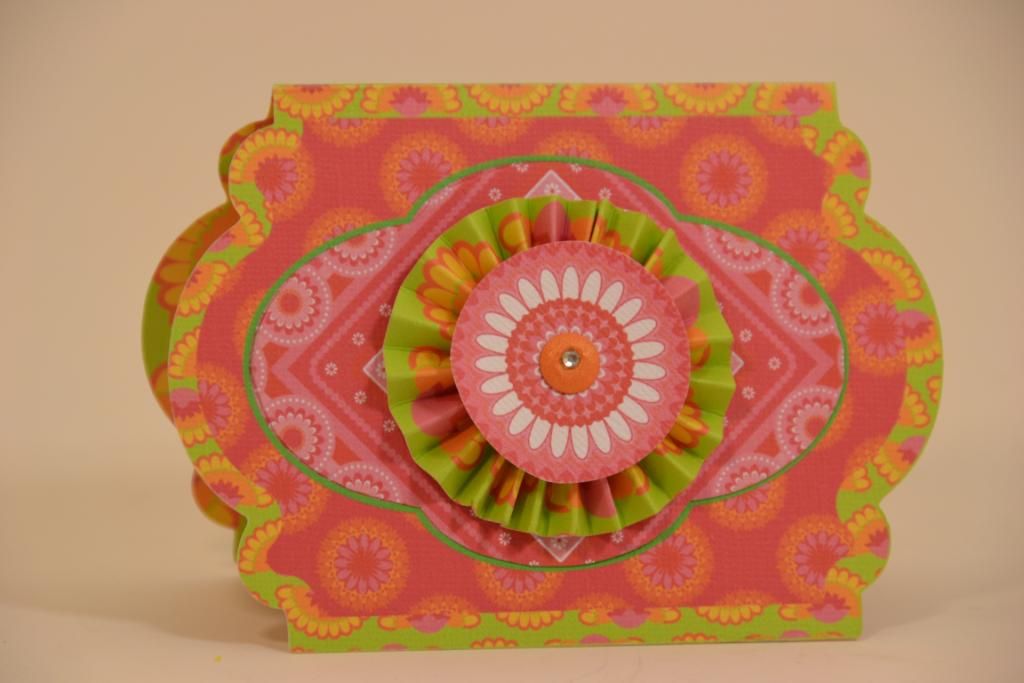
Then the entire embellished layer to my card base.

I definitely have a new favorite cartridge! I hope you are inspired to play with some cheerful bright colors. Have a creative day!

