f The Bugbytes: Bucket Full of Posies

Welcome - Copyright & Disclaimer

Welcome to The Bug Bytes a site/blog mainly for Papercrafting and some photography and other stuff thrown in here & there. Add in some die cutting machine, scrapbooking tools, cameras, scissors , glue and...... My name is Pam. If you have been redirected from Papillon Digital Design you have come to the right place.Hope you get inspired by the projects, videos and files. Would love it if you could leave comments and become a follower. (Word verification is turned ON to avoid spam. Sorry for that inconvenience.) Would love it if you would also share your project here . If you find a linky under the post do share your project by posting link there or if you do not find a linky post your link in the comments.Thank you for visiting. The website Papillon digital designs has changed to Papillon Digital Design so if the link gives and error or takes you to page with chinese characters then please drop the 's' in the link at the end of papillondigitaldesigns and try . That is change papillondigitaldesigns to papillondigitaldesign and try the link.

April 22, 2010

Bucket Full of Posies

How much do you love shopping the dollar spot at Target?!?!!? Hi this is Elizabeth, owner and designer at www.217Creations.blogspot.com.  I am honored to be a Guest Designer here at The Bug Bytes.  Thanks Pam for having me over to play!  
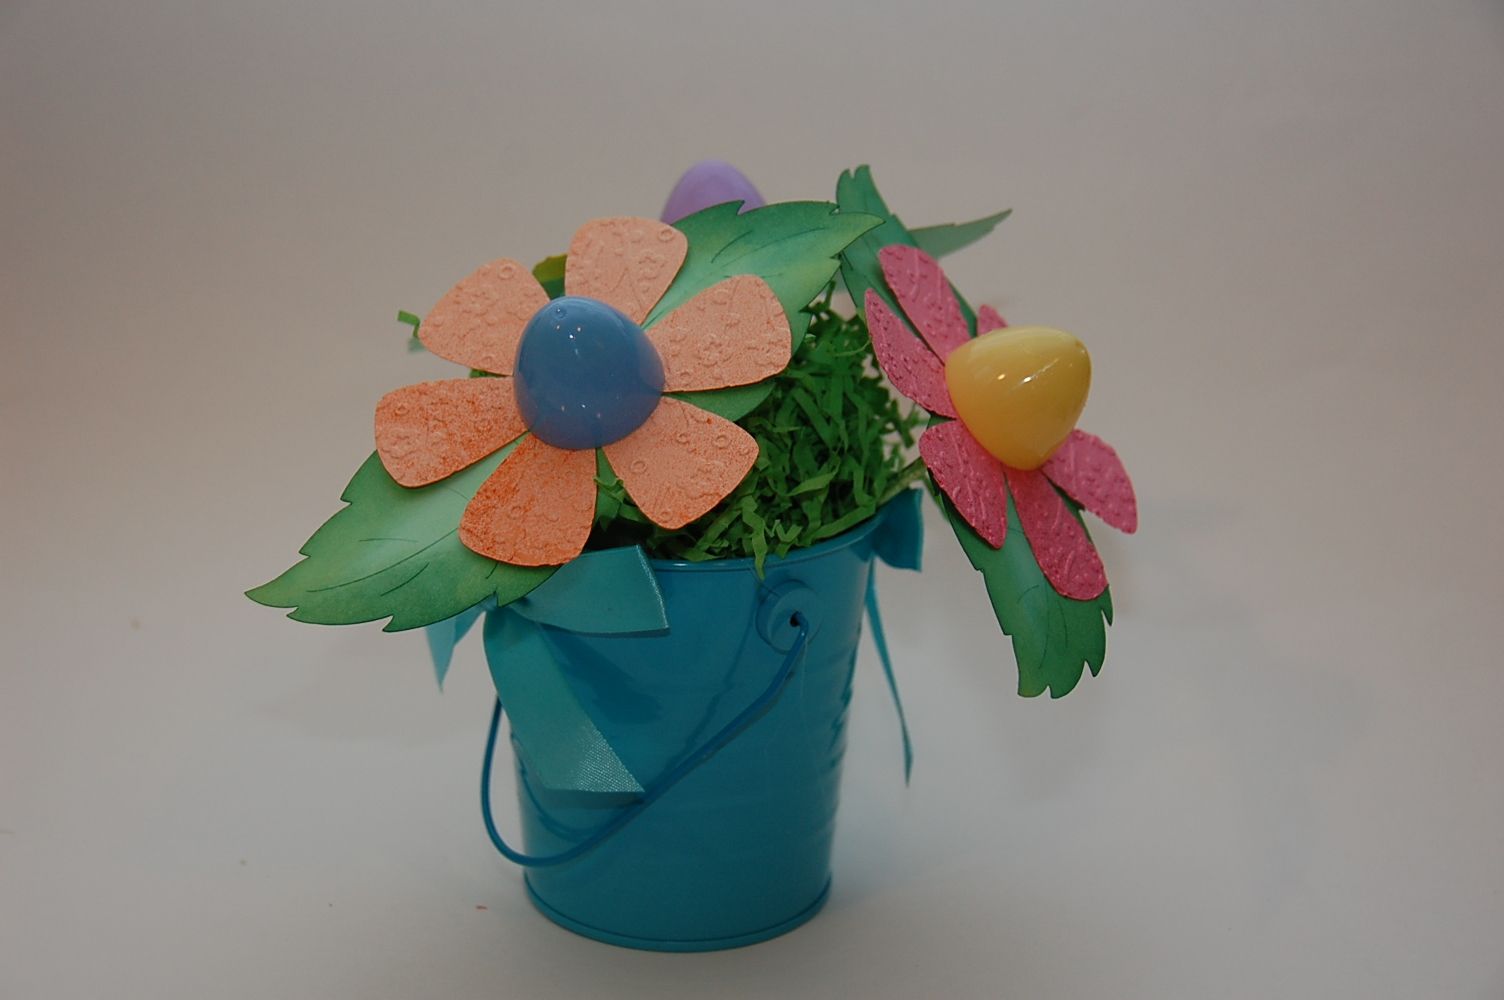
If you are anything like me, I cannot walk in the store without stopping in the $1 Spot.  These little buckets have been calling my name for weeks. 
So I bought a few to "Cricut-Up".  My other shopping obsession is holiday clearance time.  Easter is one of the best.  While at Hobby Lobby I picked up plastic eggs for 6 cents.  Yes 6 cents! Gotta love 90% off!
Here is a quick shopping list for this project:
  • Floral Foam
  • Lollipop Sticks
  • Forest Green Glimmer Mist
  • Sunflower Glimmer Mist, Pashmina Glimmer Mist, and Tiger Lily GlimmerMist (Optional)
  • Hot Glue (lots)
  • Plastic Eggs
  • Hole Punch
  • Little Bucket
  • Green filler such as Easter Grass, Shredded Green Paper, Floral Moss, etc
  • Tim Holtz Distress Ink in Shabby Shutters and Crushed Olive
  • Cuttlebug Cherry Blossom Folder from the Asian Bundle
  • Plantin Schoolbook- 3 flowers cut at 3.5 inches
  • Wild Card- 6 leaves cut at 4.25 inches
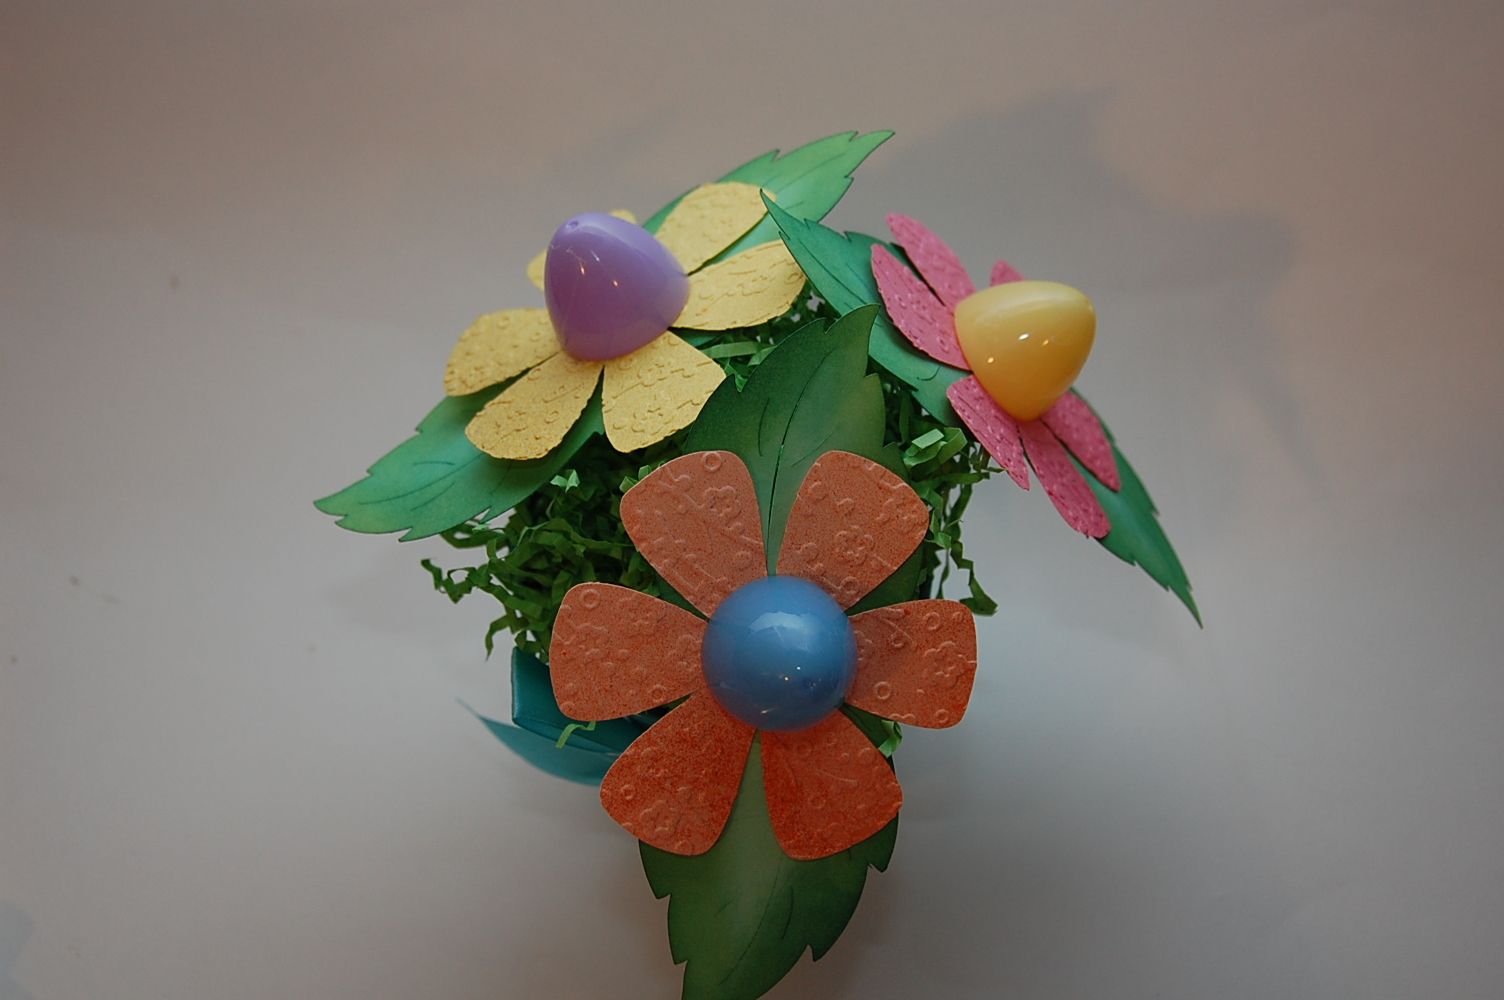
So between these super cute buckets and my super bargain of plastic eggs we are going to make a bucket full of posies! Of course my go to cartridge for so many things is Plantin Schoolbook.  I simply adore the flowers on the cartridge.  (If you don't believe me look at all the labels on my blog for this cartridge!)  I also used Wild Card for the leaves.  Now Plantin Schoolbook has a cute leaf also, but I am partial to this leaf from Wild Card.
I started by Glimmer Misting my lollipop sticks to tint them green.  
While those dried, I cut my floral foam to fit into the bucket.  I inked my leaves to give them plenty of definition. 

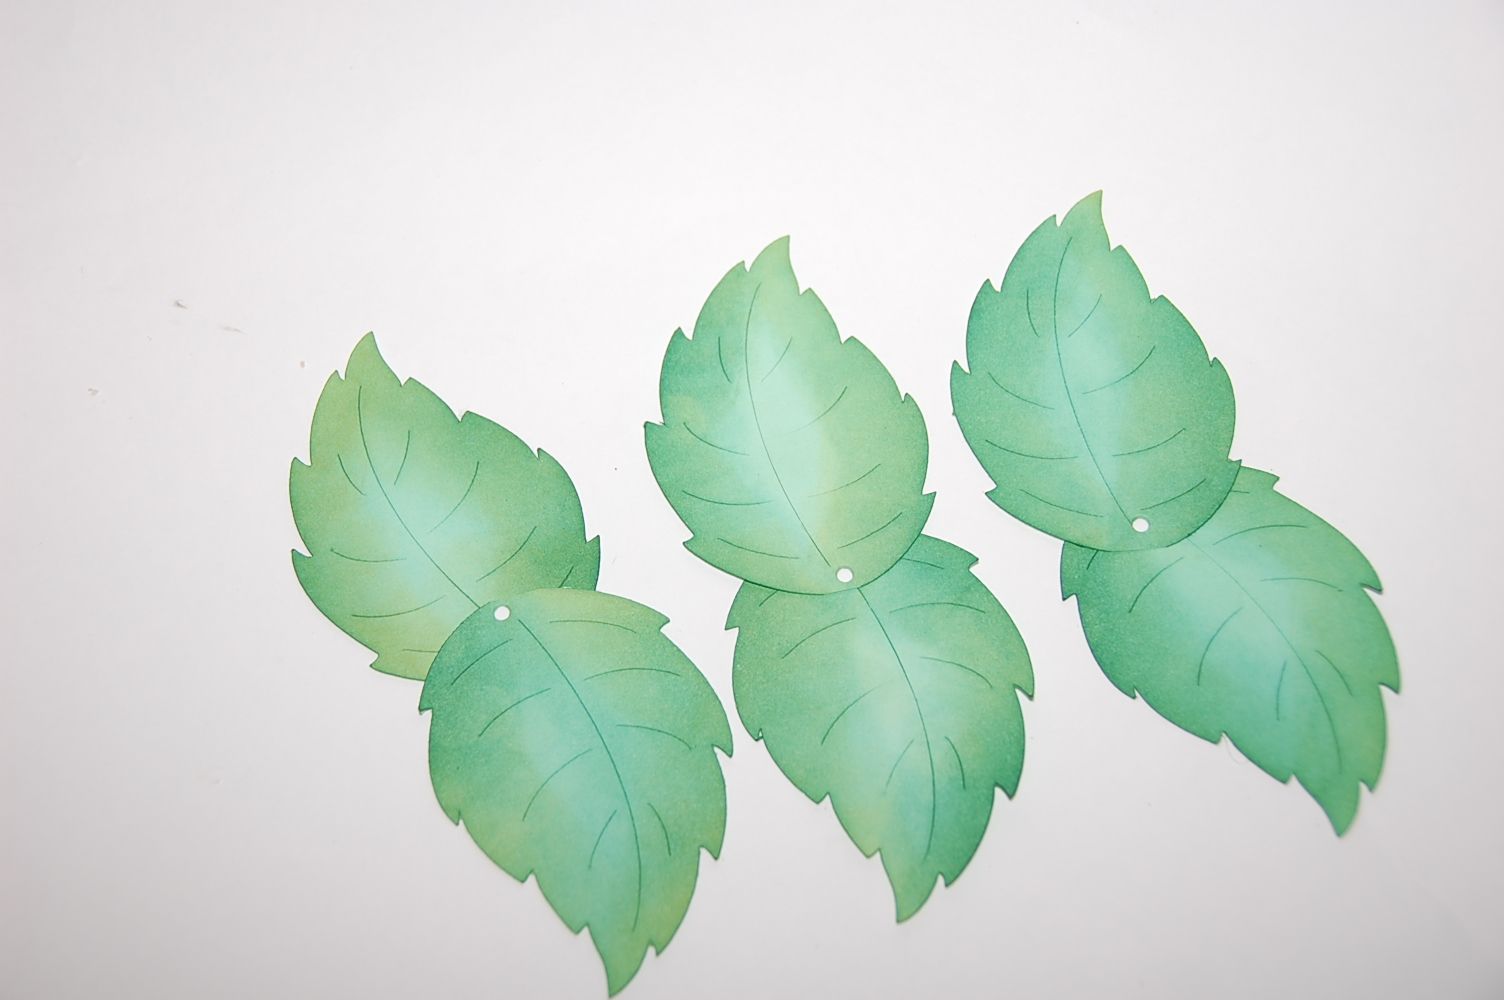
I started with Crushed Olive and them finished them with Shabby Shutters.
To assemble the leaves, I cut the stems off the ends and glued 2 of them on top of each other.  Then I took a hole punch from my eyelet setting tool and placed a hole in the middle of the glued leaves.
Next, I took my plastic eggs and separated them in half. 

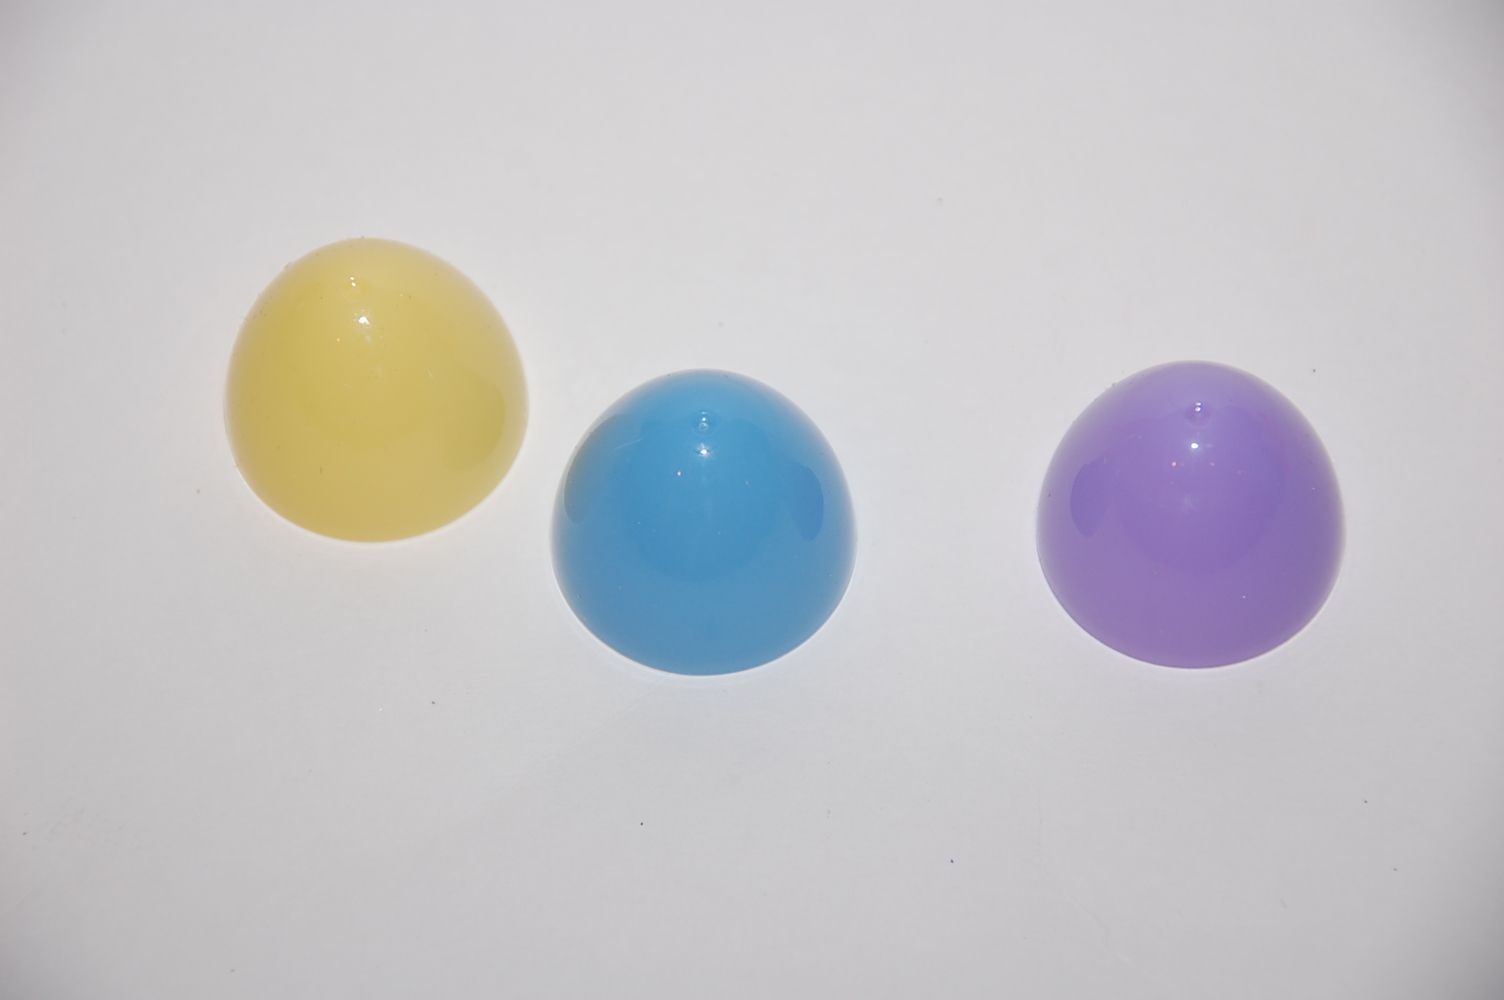
I took Hot Glue and filled the tip of the inside of the egg with glue.  I let it sit for a minute or two.  Then I placed the tinted lollipop sticks into the warm glue. 
Next I embossed my flowers. On these flowers, I used Glimmer Mist in Pashmina (pink), Sunflower (yellow), and Tiger Lily (orange).  
This flower from Plantin cuts with a hole in the center so there is not need to punch a hole. Once my lollipop and eggs sticks were dry, I began to assemble the rest of the flower.
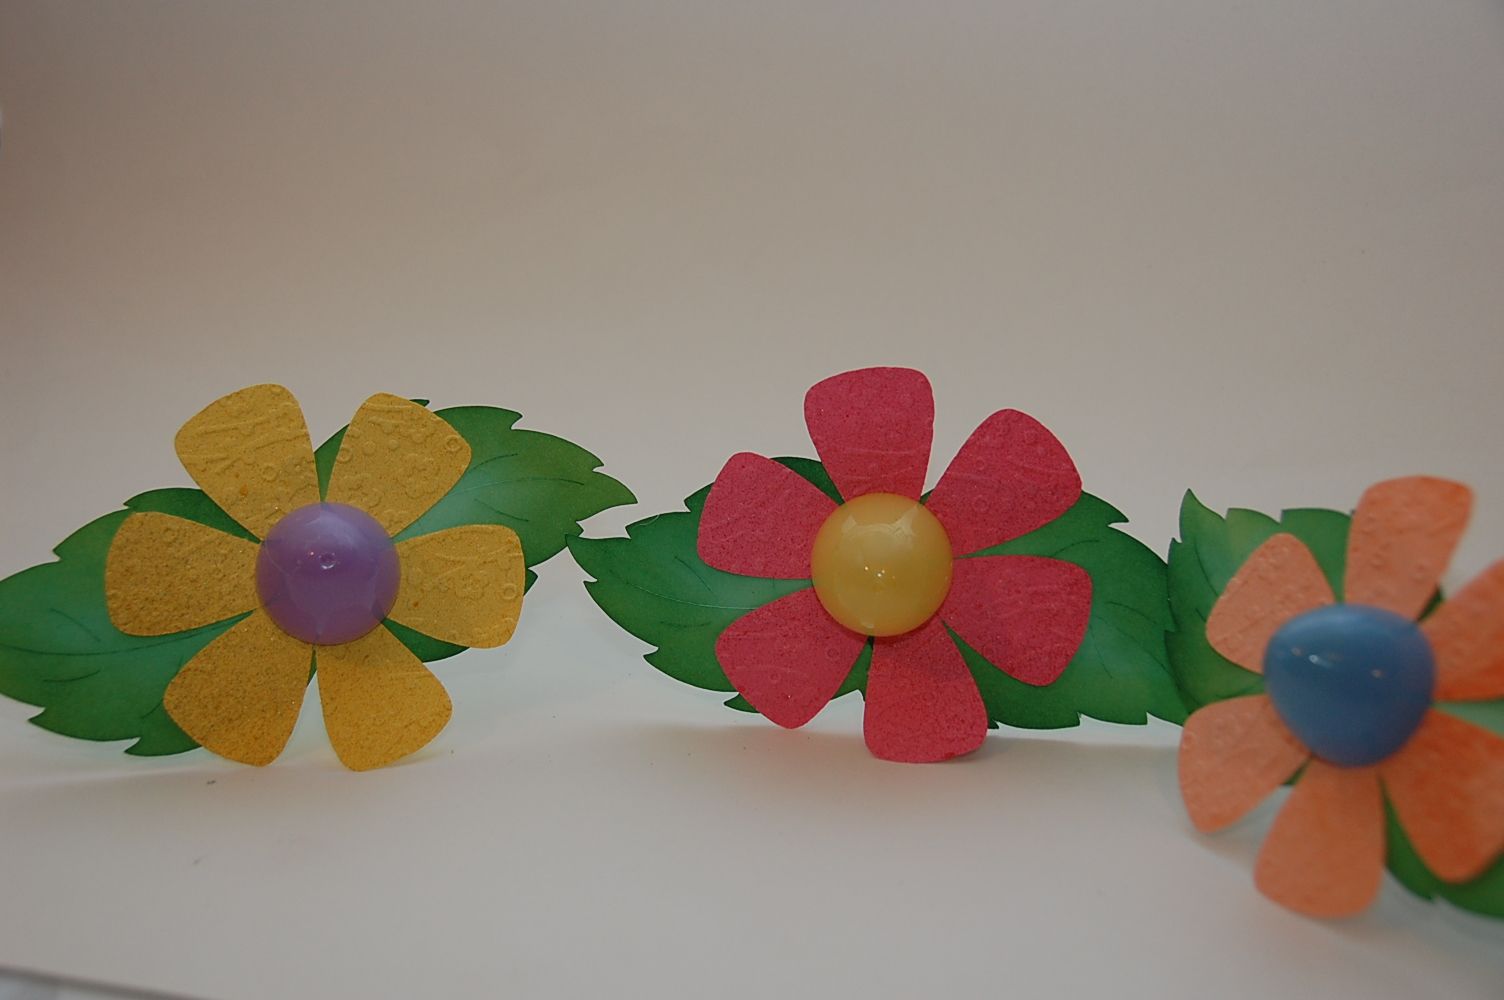
I started by feeding the lollipop stick through the flower followed by the the leaves.  If needed, place a small amount of hot glue between the layers to hold together. 
Stick the flowers into the floral foam and if need add some glue where the foam and stick meet.
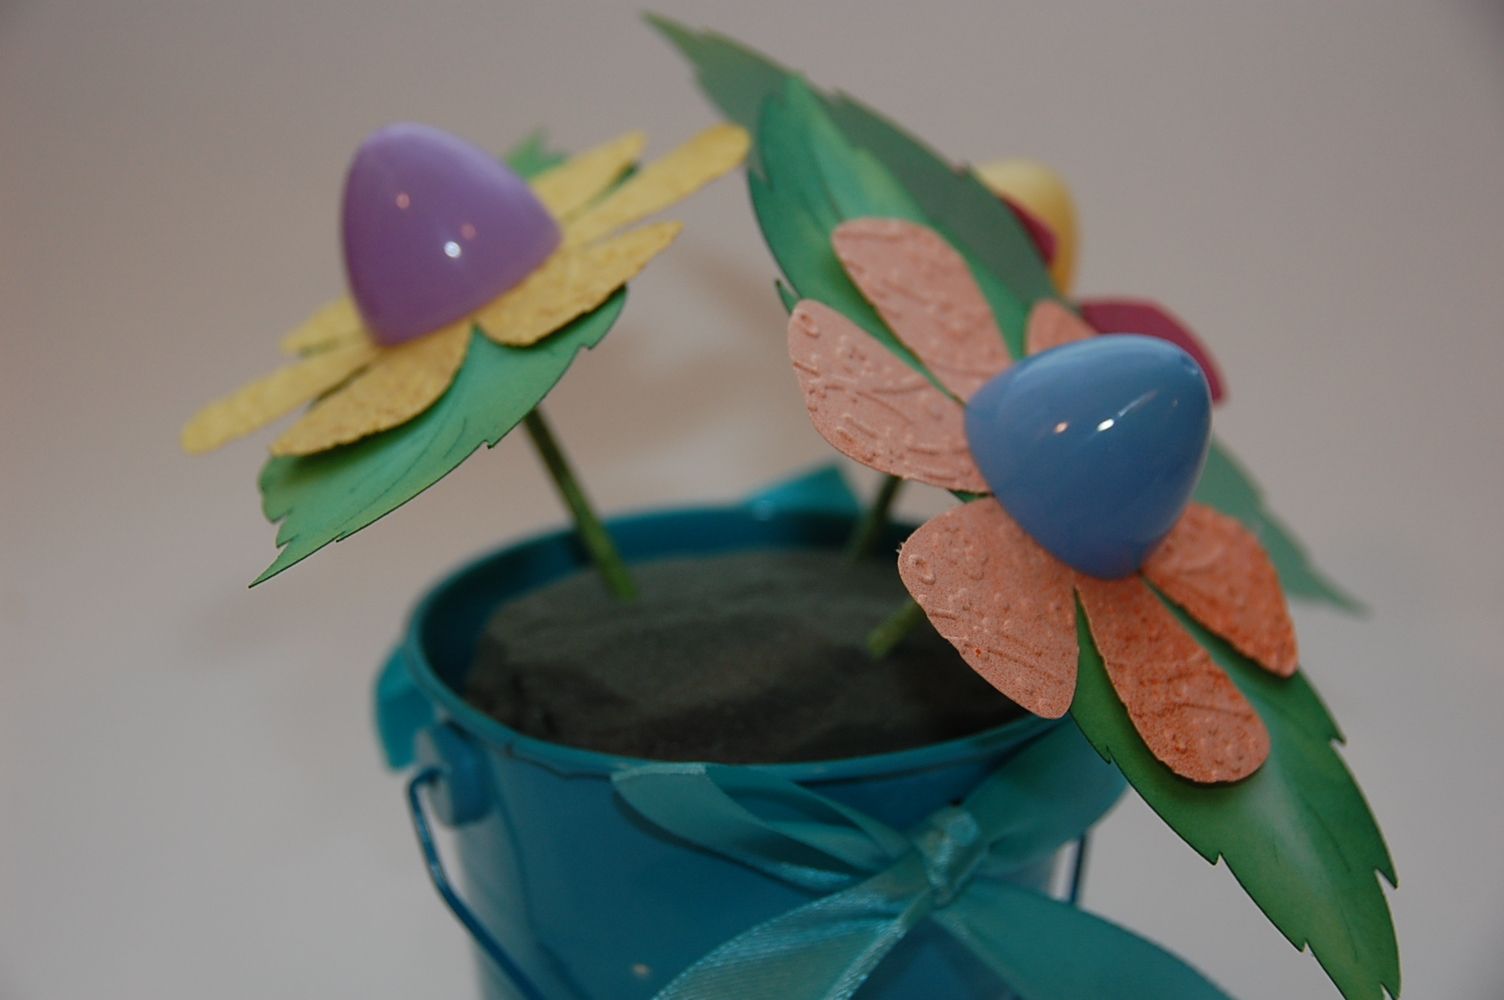
Finally add your green filler to conceal the foam.
 Here are several ideas for the green filler.  I chose to use the crinkled Paper Shreds.  
I just stuffed the crinkles into the gaps.
Gypsy and DS are not necessary to make this project, but if you want the file I used, you can download the file from my blog at www.217Creations.blogspot.com
Because this file has multiple pages, it is only for Gypsy users.
As always thank you for the comments and a huge thank you for subscribing or following! 

11 comments :

Sheila aka SassyLady said...

Oh how cute is this! I love it and I would have never thought of using the plastic eggs as flower centers and they are perfect. What a lovely spring floral bouquet! Thanks for sharing this great idea.

papillon digital design said...

wow - Now I know what to do with all the eggs thrown in my house after the kids have one eating the candy. I wuld never have thunk it. =D>

Jamie said...

I have some of those buckets!! Everytime I walk it to target I pick up something from the dollar section. I love your project and the tutorial is super easy to follow! Thanks

Unknown said...

How sweet!! Love the flowers but did not realize at first those were eggs. I thought they were gum drops (maybe because I am craving sugar right now)!!

Another great project!

Dakota Bear said...

Cute idea!

Sharon said...

Awesome! Love this idea! Would have never thought to use egg halves for flower centers. Super! :)

Jodie R said...

Looks like he May flowers came early this year! So cute! Do you know how many of these eggs I have at my house? I need to get busy! Thank you Elizabeth! And Pam for having her!

MelodyR aka Ry&MysMom said...

OMG so cute! I have to try this! Thanks for the very detailed instructions.

hugs, MelodyR aka Ry&MysMom

MizMaryAnn said...

What an adorable project. Great centerpieces. My plastic eggs are the big ones, so will have to pick up the smaller ones next time I'm at the store. I can hardly wait to make this project. Thank you for sharing.

My Creative Time said...

A D O R A B L E!!!!
hugs,
Emma:)

Anonymous said...

Beth, that is a 5 star project!! Beautiful and thank you for the great tutorial!

Mercy!!

"kind encouraging and inspiring words"

I appreciate your comments so much. They are treasured and such an inspiration. Thanks for leaving them.